I love to pick my subject fresh from the tree because it gives me the chance to connect with the plant and its habitat. Experiencing the intimate parts of the plant help me to plan interesting and informative compositions that can tell a “story” about a particular plant.
Let’s try this now with a peach! (Read tips on setting yourself up for success here.)
*Remember that this lesson can be applied to any subject!*
RECORDED: Aug. / Sept. 2022
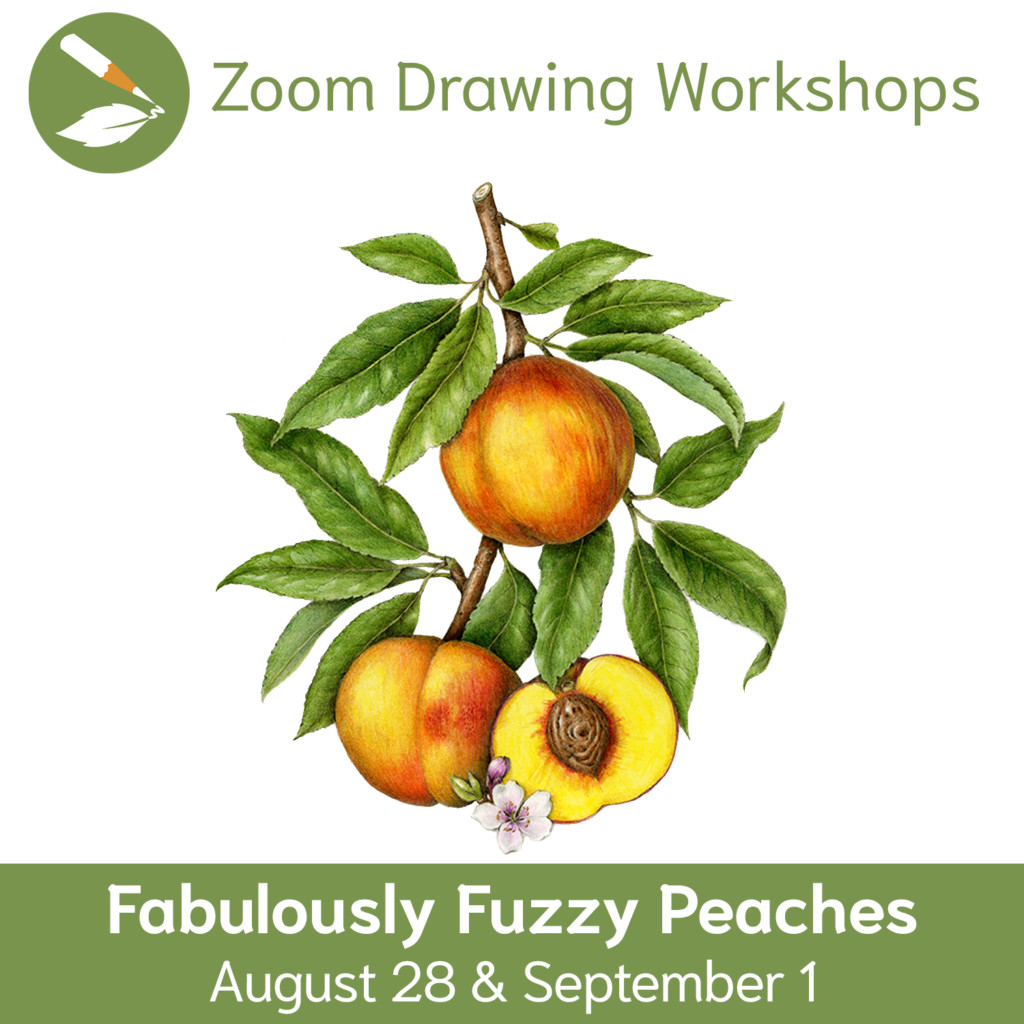
Peach fuzz helps protect the fruit’s skin from rot and decay by keeping moisture away! Learn to draw a peach’s fabulous fuzz at our drawing workshop on zoom, recorded August & September 2022. Work on a single fruit, and/or layout a more complex composition with stem, leaves, and cut fruit.
Purchase Peaches Workshop Recording Here!
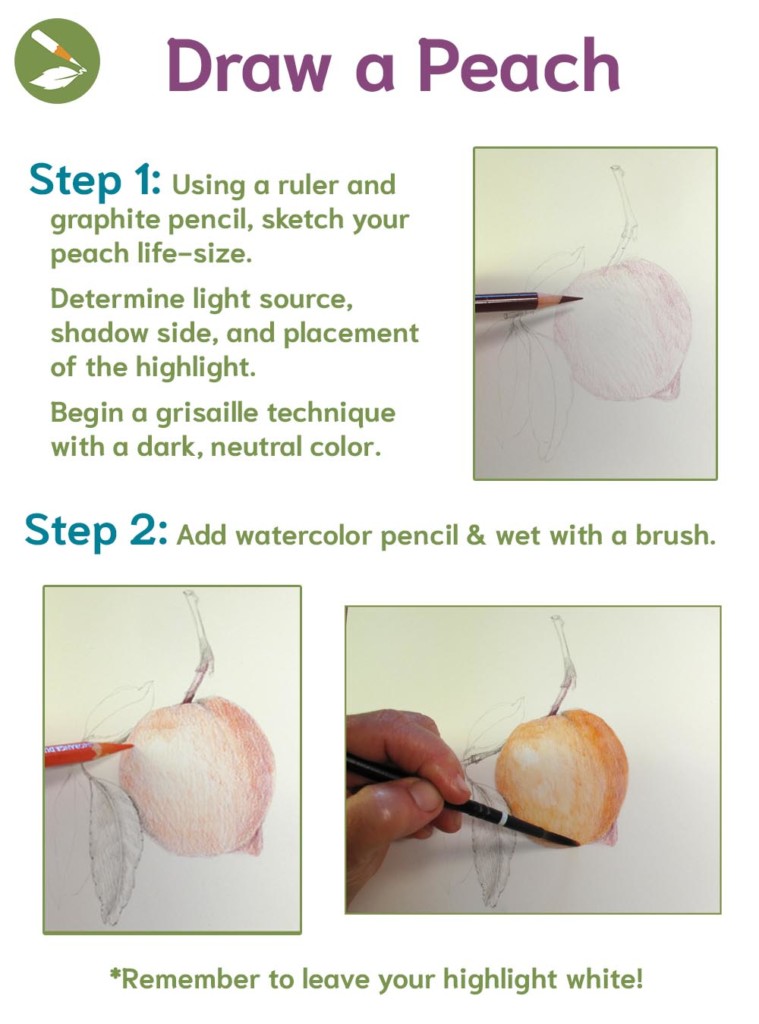
Step 1: Sketch
Using a ruler and graphite pencil, sketch your peach life-size. (Read more tips on perspective and measuring here.) Determine light source, shadow side, and placement of the highlight. (Read more tips on light source here.) Begin a grisaille technique with a dark, neutral color. Here, I’m using Red Violet (#194).
Step 2: Add watercolor pencil & wet with a brush.
Start with an orange base color for your peach. (Read more tips on color theory here.) Leave your highlight white!
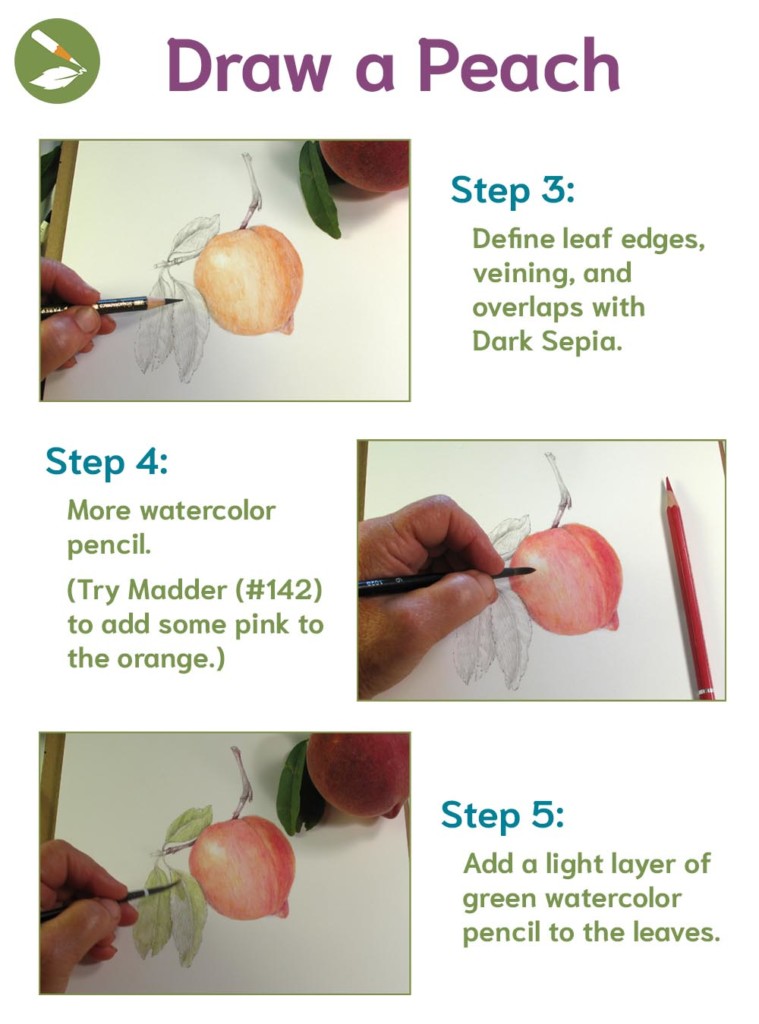
Step 3: Define leaf edges, veining, and overlaps.
I like to use Dark Sepia (#175)! (Read more tips on drawing leaves here.)
Step 4: More watercolor pencil
Try Madder (#142) to add some pink to the orange.
Step 5: Add green to leaves
Add a light layer of green watercolor pencil to the leaves.
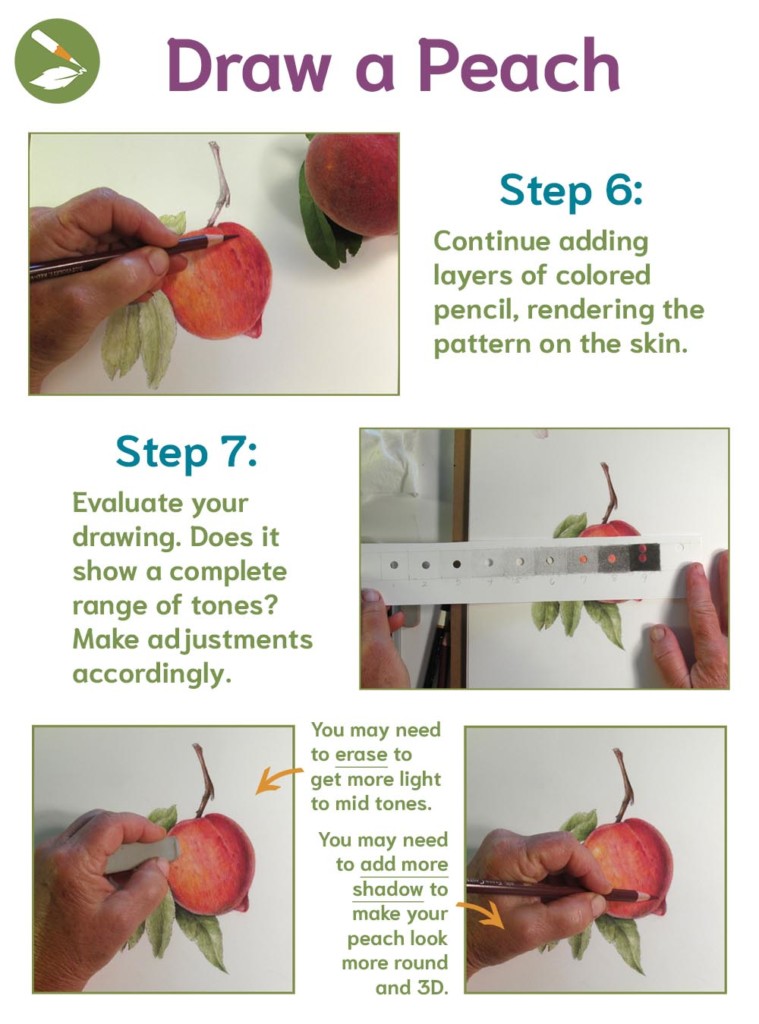
Step 6: More layers
Continue adding layers of colored pencil, rendering the pattern on the skin.
Step 7: Evaluate your drawing
Does it show a complete range of tones? (For a guide to creating the value scale tool, see Botanical Basics, Module 1, Lesson 5: How to Create a Value Scale Tool) Make adjustments accordingly. You may need to erase to get more light to mid tones. You may need to add more shadow to make your peach look more round and 3D.
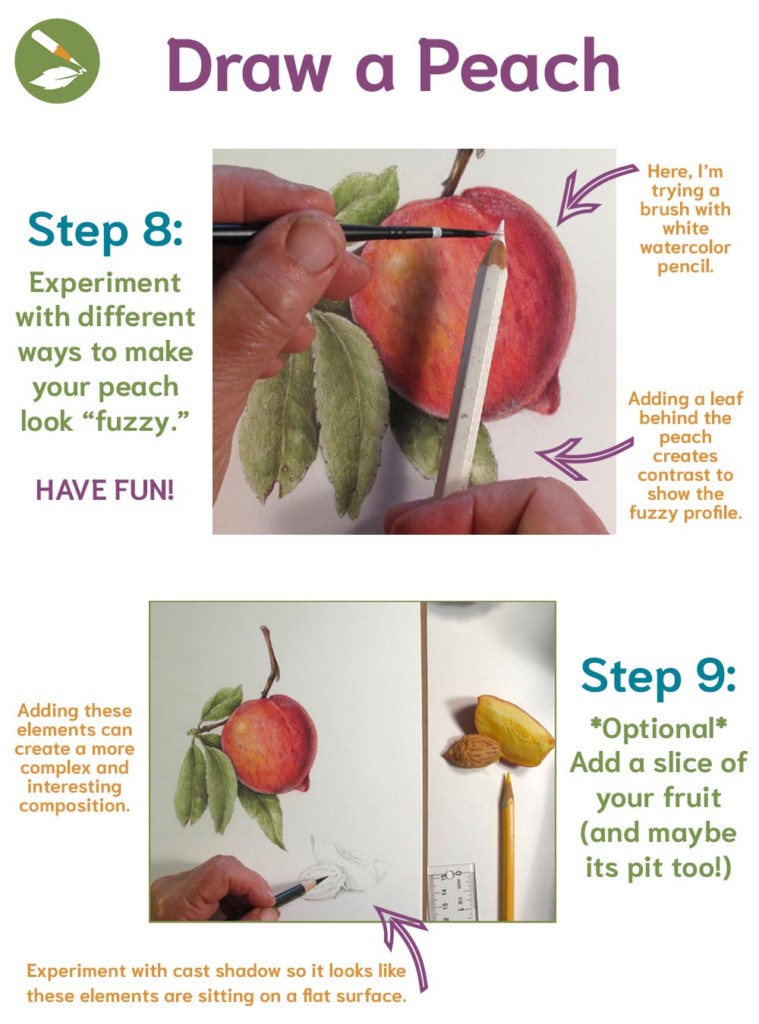
Step 8: Experiment with peach fuzz
HAVE FUN with different ways to make your peach look fuzzy. Here, I’m trying a brush with white watercolor pencil. Adding a leaf behind the peach creates contrast to show the fuzzy profile.
Step 9: Add a slice
*Optional* Add a slice of your fruit (and maybe its pit, too!). Adding these elements can create a more complex and interesting composition. If you feel really ambitious, try adding different stages of the fruit’s life cycle, like its flowers, an unripe fruit, and/or a decaying fruit. Experiment with cast shadow so it looks like these elements are sitting on a flat surface. Be careful to create a cast shadow doesn’t feel solid and is a supporting actor, not the star of the show.
Most importantly, your creations should come from a place of JOY.
Rekindle your sense of curiosity and wonder by practicing your beginners’ mind! Find more helpful motivation here.
Want to learn more?
Try your FIRST WEEK FREE and cancel any time with no hidden fees!