Set For Success
The Power of Preparation
When you cook dinner in your kitchen, how do you prepare? You probably clean the countertop, retrieve ingredients, gather utensils, maybe pre-heat the oven. Just as you prepare your kitchen before you jump into the art of cooking, you must prepare your drawing space before you jump into the art of botanical illustration.
BEFORE you begin botanical drawing, prepare your workspace, set up your light source and subject, and position yourself so you’re all set for success!
Here are some great tips to prepare your workspace before you even put your pencil to paper:
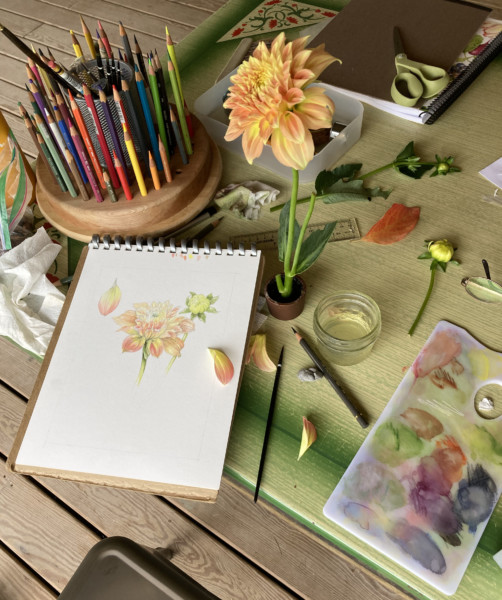
Prepare Your Workspace
Ready your art supplies and your workspace. This can also include putting on music or otherwise creating a calm atmosphere in which you’ll ENJOY working! Gather and arrange any supplies you might need, such as:
+ Paper
+ Pencils
+ Colored pencils
+ Watercolor pencils
+ Paintbrushes
+ Palettes
+ Water
+ Paper towels
+ Scrap paper
+ Lamp
Find our full list of recommended art supplies here.
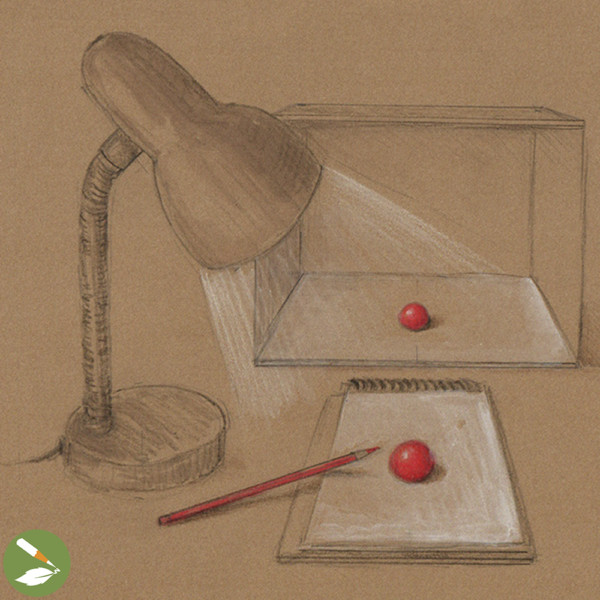
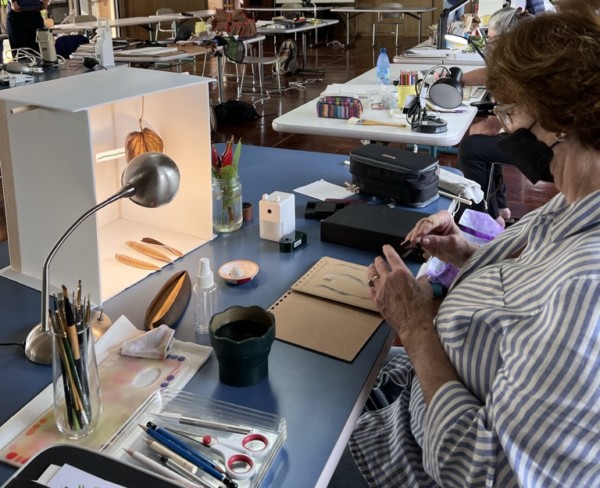
Light Source Setup
Light should hit your subject at about a 45 degree angle from the upper left. Use a box to block out other light sources in the room so you can clearly notice where shadows and highlights appear.
Before you start drawing, it’s helpful to notice the basic shapes that make up your plant and draw thumbnail sketches to remind you how you want to draw the light.
Learn more about Light Source.
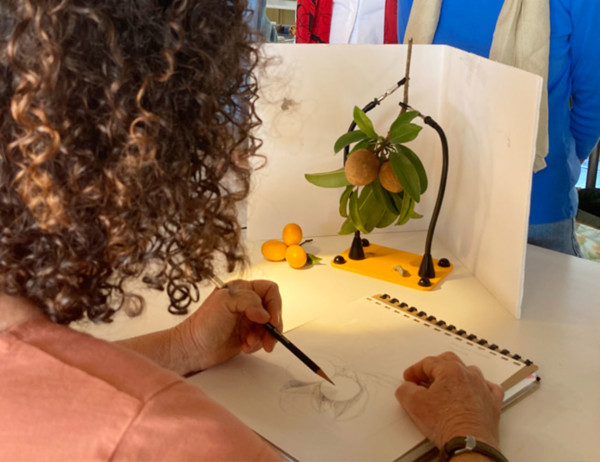
Subject Setup
When setting up your subject, keep these 4 things in mind:
1. Composition
What do you most want to communicate about your plant? Let the plant guide you and tell you what to draw. Note that you’ll want to show more details up front where it’s brightest (and make things farther back more in shadow and less detailed) to create the illusion and let your mind imagine the form. Read more tips on composition here.
2. Perspective
Perspective is what makes form and space look three-dimensional. We can create the illusion of depth using foreshortening. Try the cup exercise and learn more about perspective.
3. Pruning
Choose how you want your subject to be arranged to optimally communicate your subject’s form to others.
4. Position your subject
Put your subject in the best location for the view you want to capture. This can involve whatever you need – using a frog-prong flower holder or masking tape, raising your subject up off of your drawing table to be more at eye level, etc.
Position Yourself!
Get as close as you can to your subject, and get comfortable! Don’t move, as it’ll change your view as you draw and make measurements inaccurate.
Most importantly, your creations should come from a place of JOY.
Rekindle your sense of curiosity and wonder by practicing your beginners’ mind!
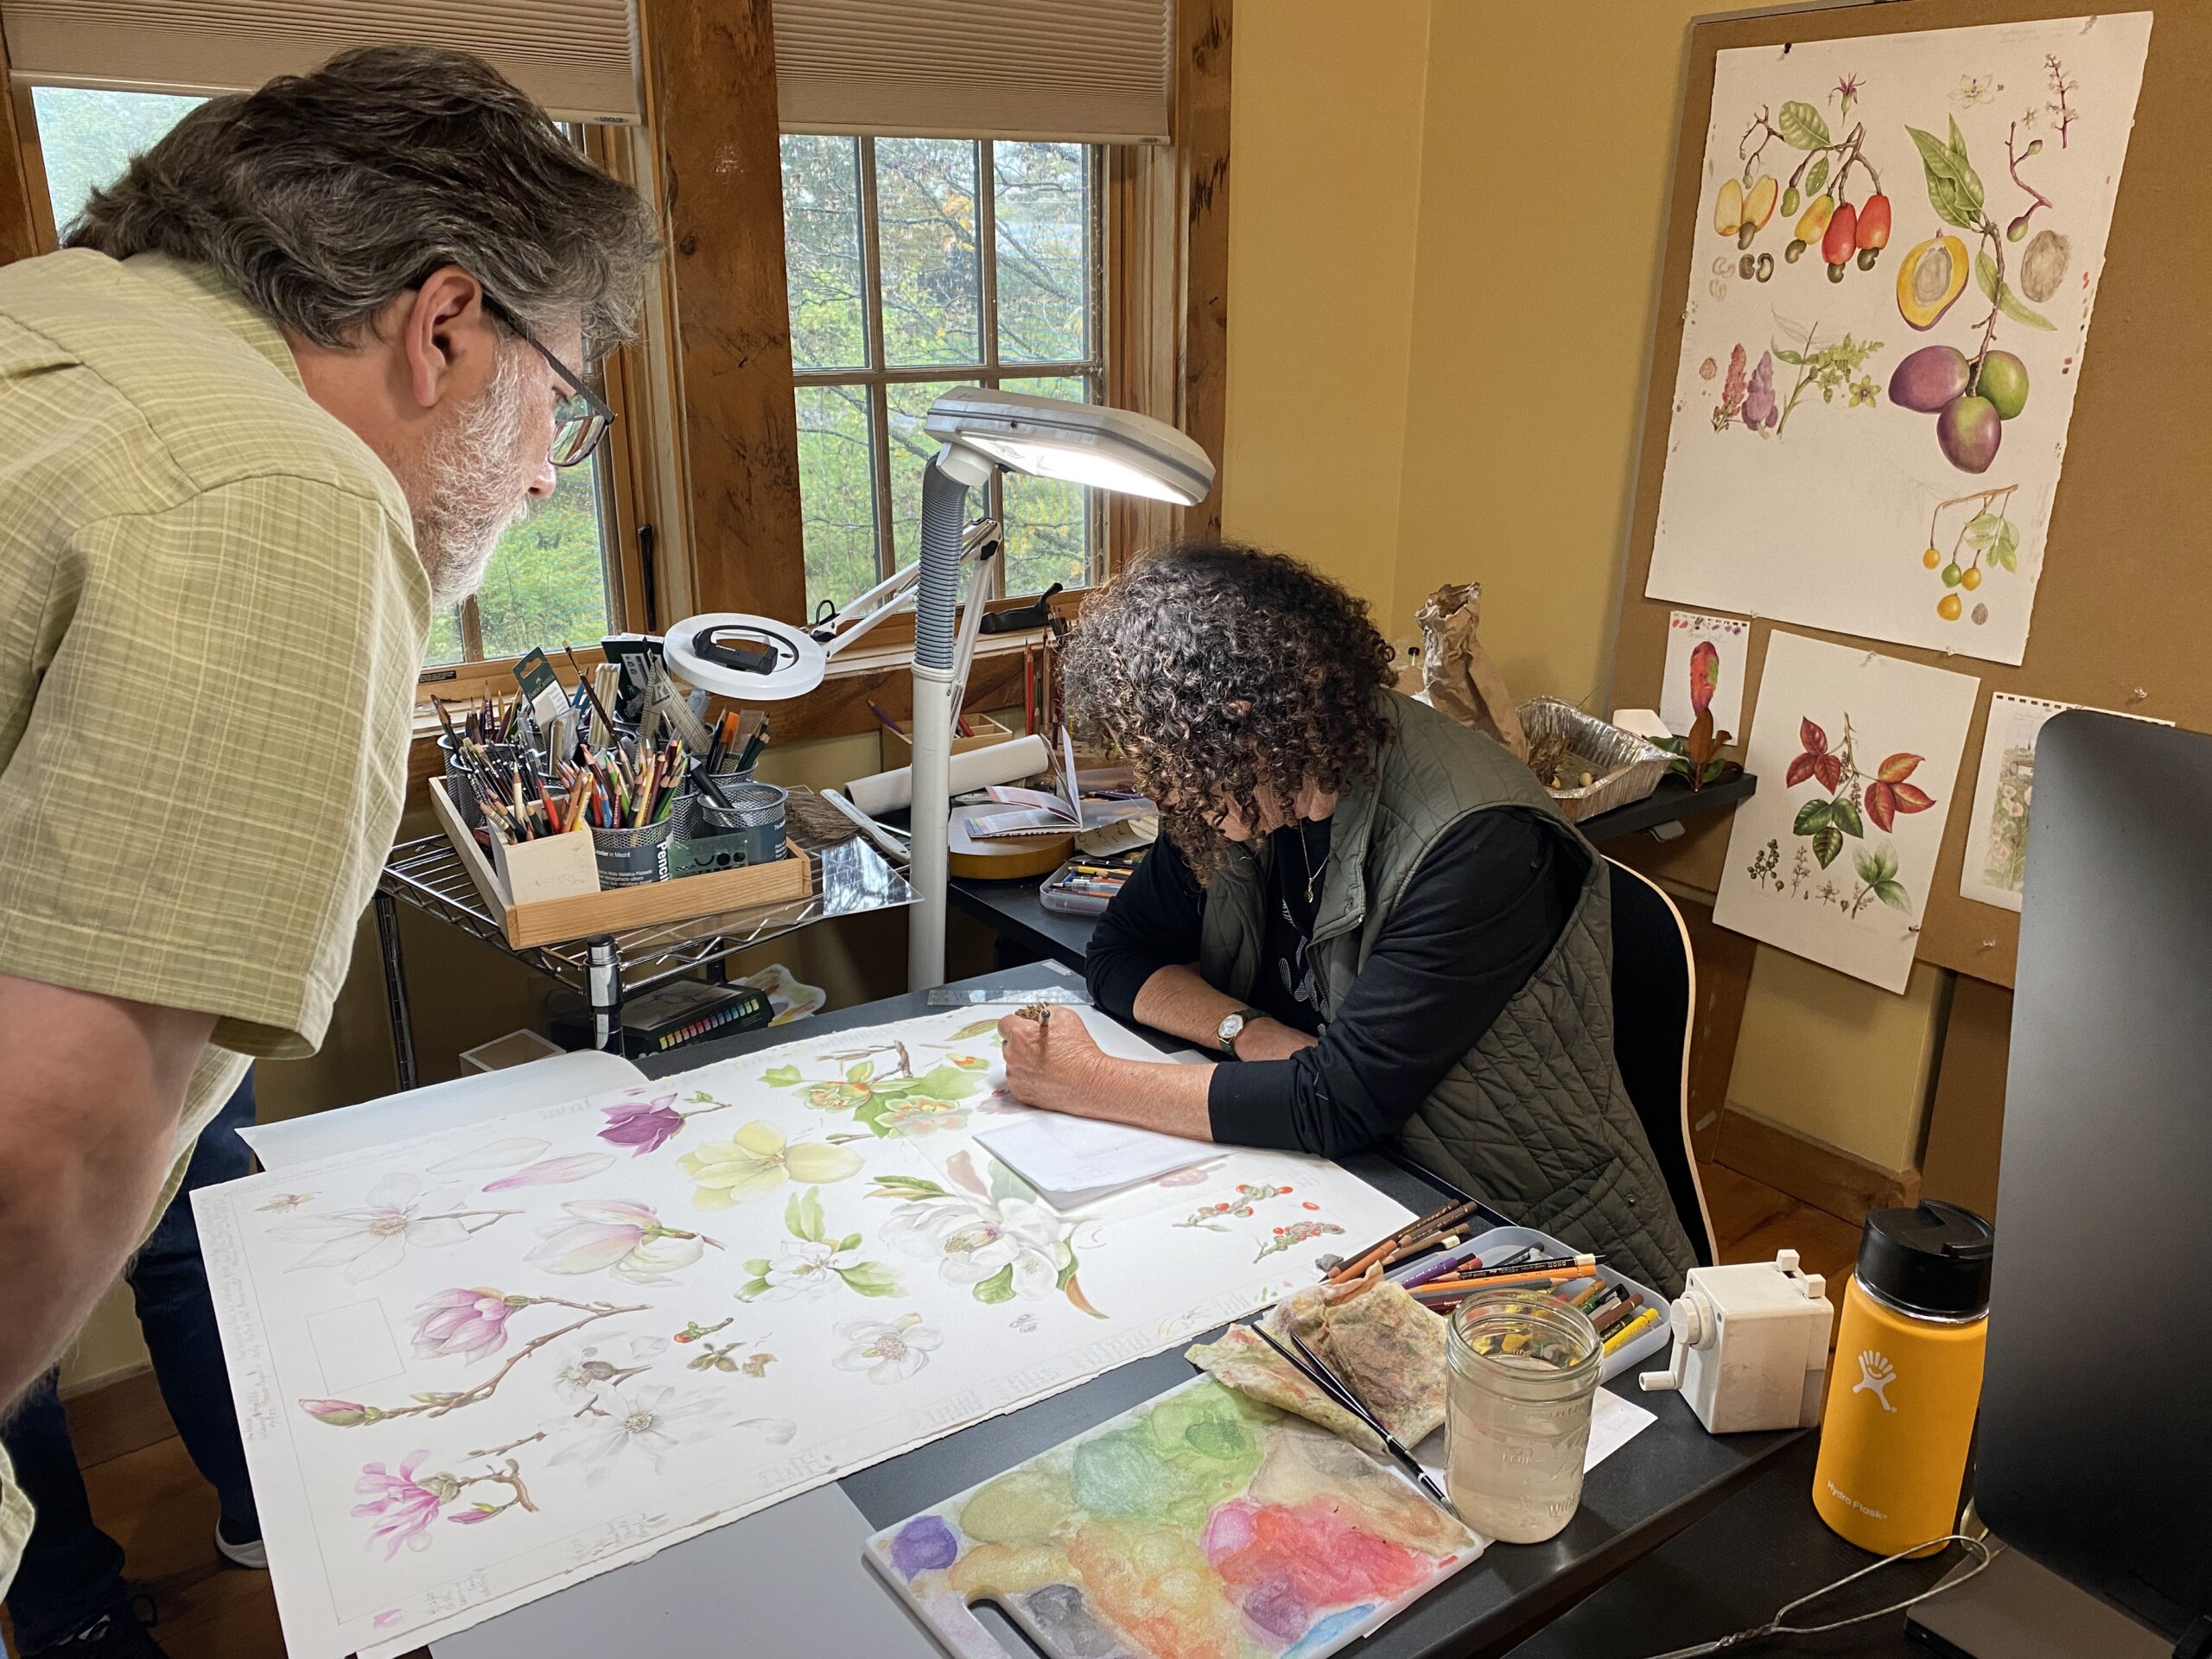
If you want to practice the fundamentals on your own time, try a free 1-week trial of one of our courses, Botanical Basics or Practice of Botanical Drawing, where you can not only watch helpful video lessons but also post your progress to our community Art Feed and receive positive and helpful personalized feedback on your drawings. You can also join our monthly Webinar where we look at all of the lovely work from the past month, ooh and aah at your talents, and discuss possible improvements and suggestions for future pieces.
Take a FREE sneak peek at lessons from our courses on Light Source, Perspective, Color Theory, and more!