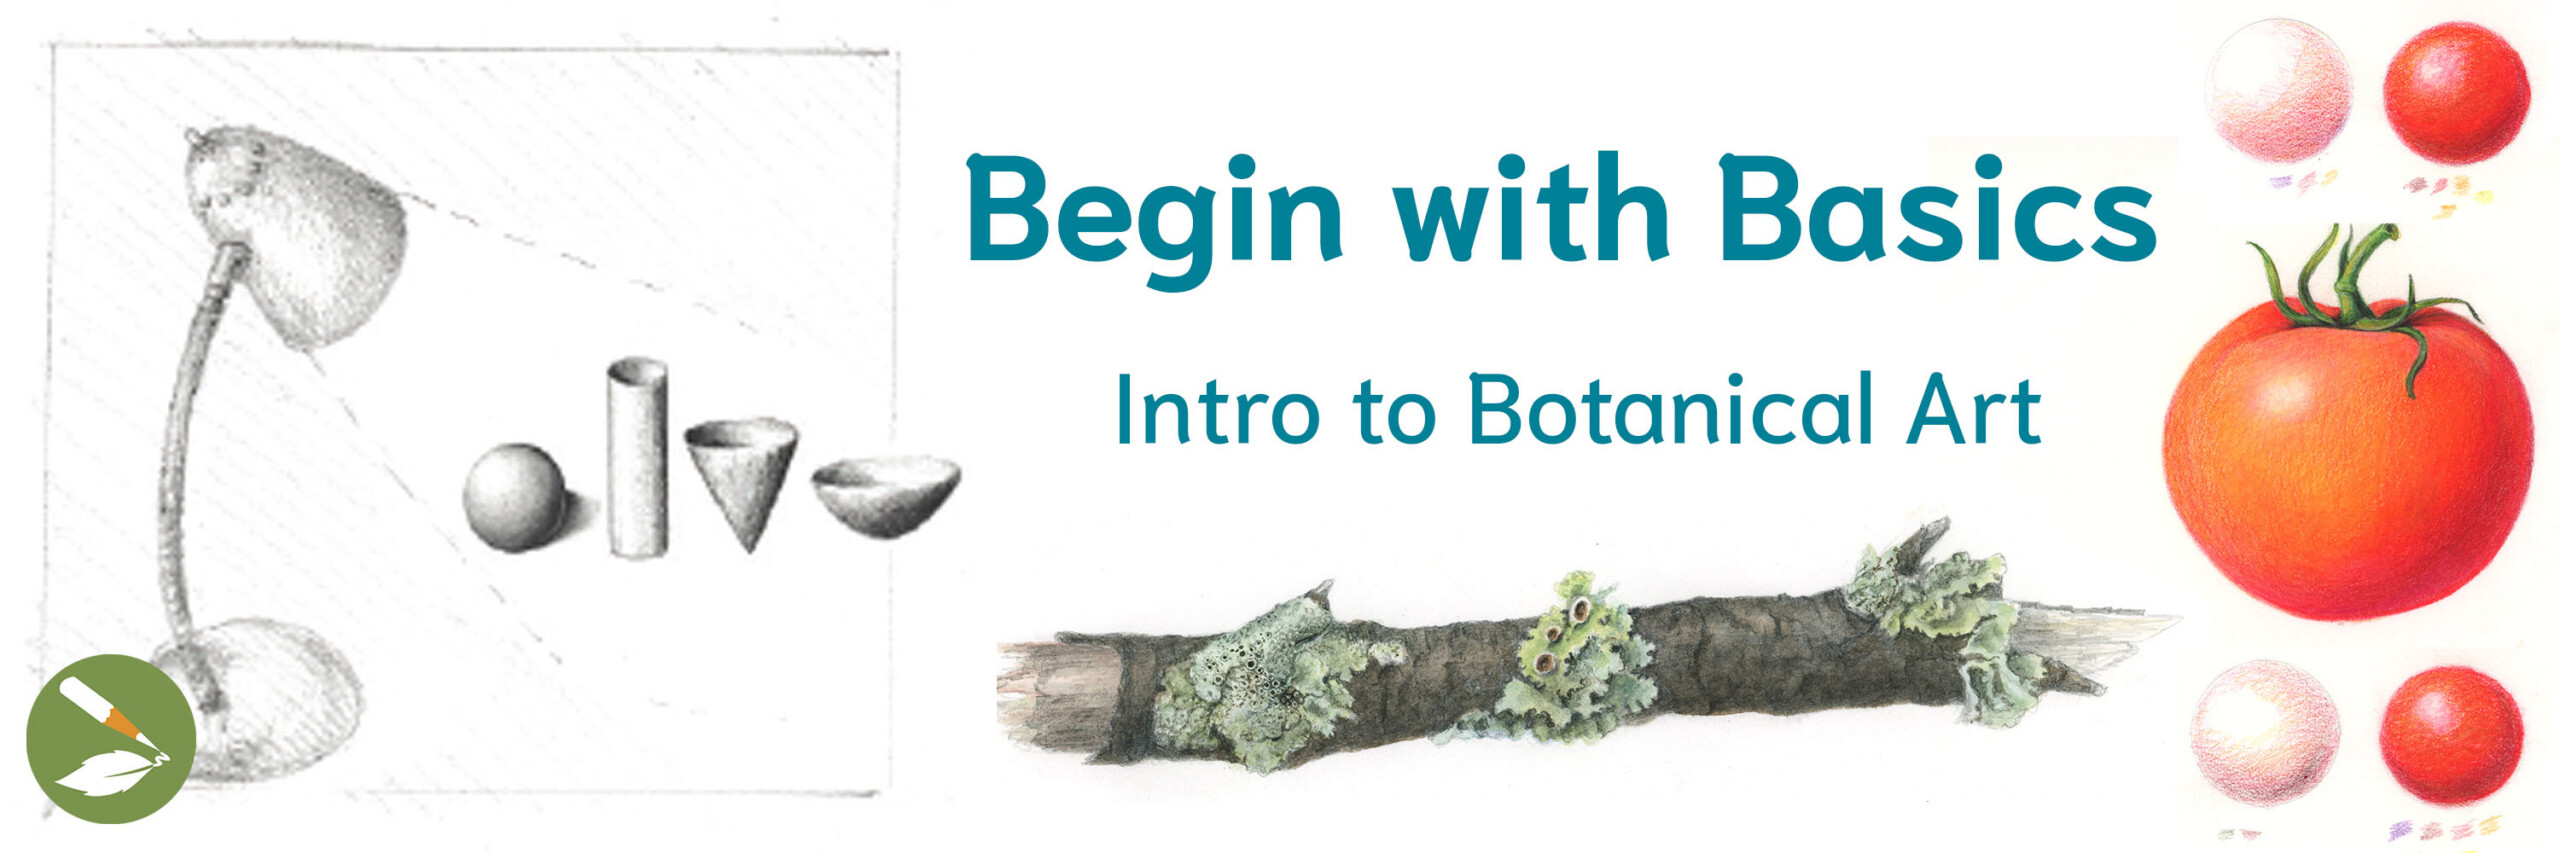
Botanical Art for Beginners: Intro to Botanical Drawing
Starting Steps to Create Realistic Plant Illustrations

Many people say things like, “I can’t draw to save my life,” and “I could never draw something like that!”, but the truth is…
ANYONE can draw!
(Yes, even YOU!)
If you have the desire to learn, and you commit to the time it takes, we can show you how. Here’s everything you need to know to get started on your botanical art journey. It’s as easy as 1-2-3!
Scroll through this post or click below to jump to a section:
1. PREPARE
a. Art Supplies
b. Live Subject
c. Light Source
2. CREATE
a. Warm Up
b. Start Small
c. One Step at a Time
d. Draw What You See
e. Describe 3D Form
f. Slow & Steady
g. Evaluate
h. Finishing Details
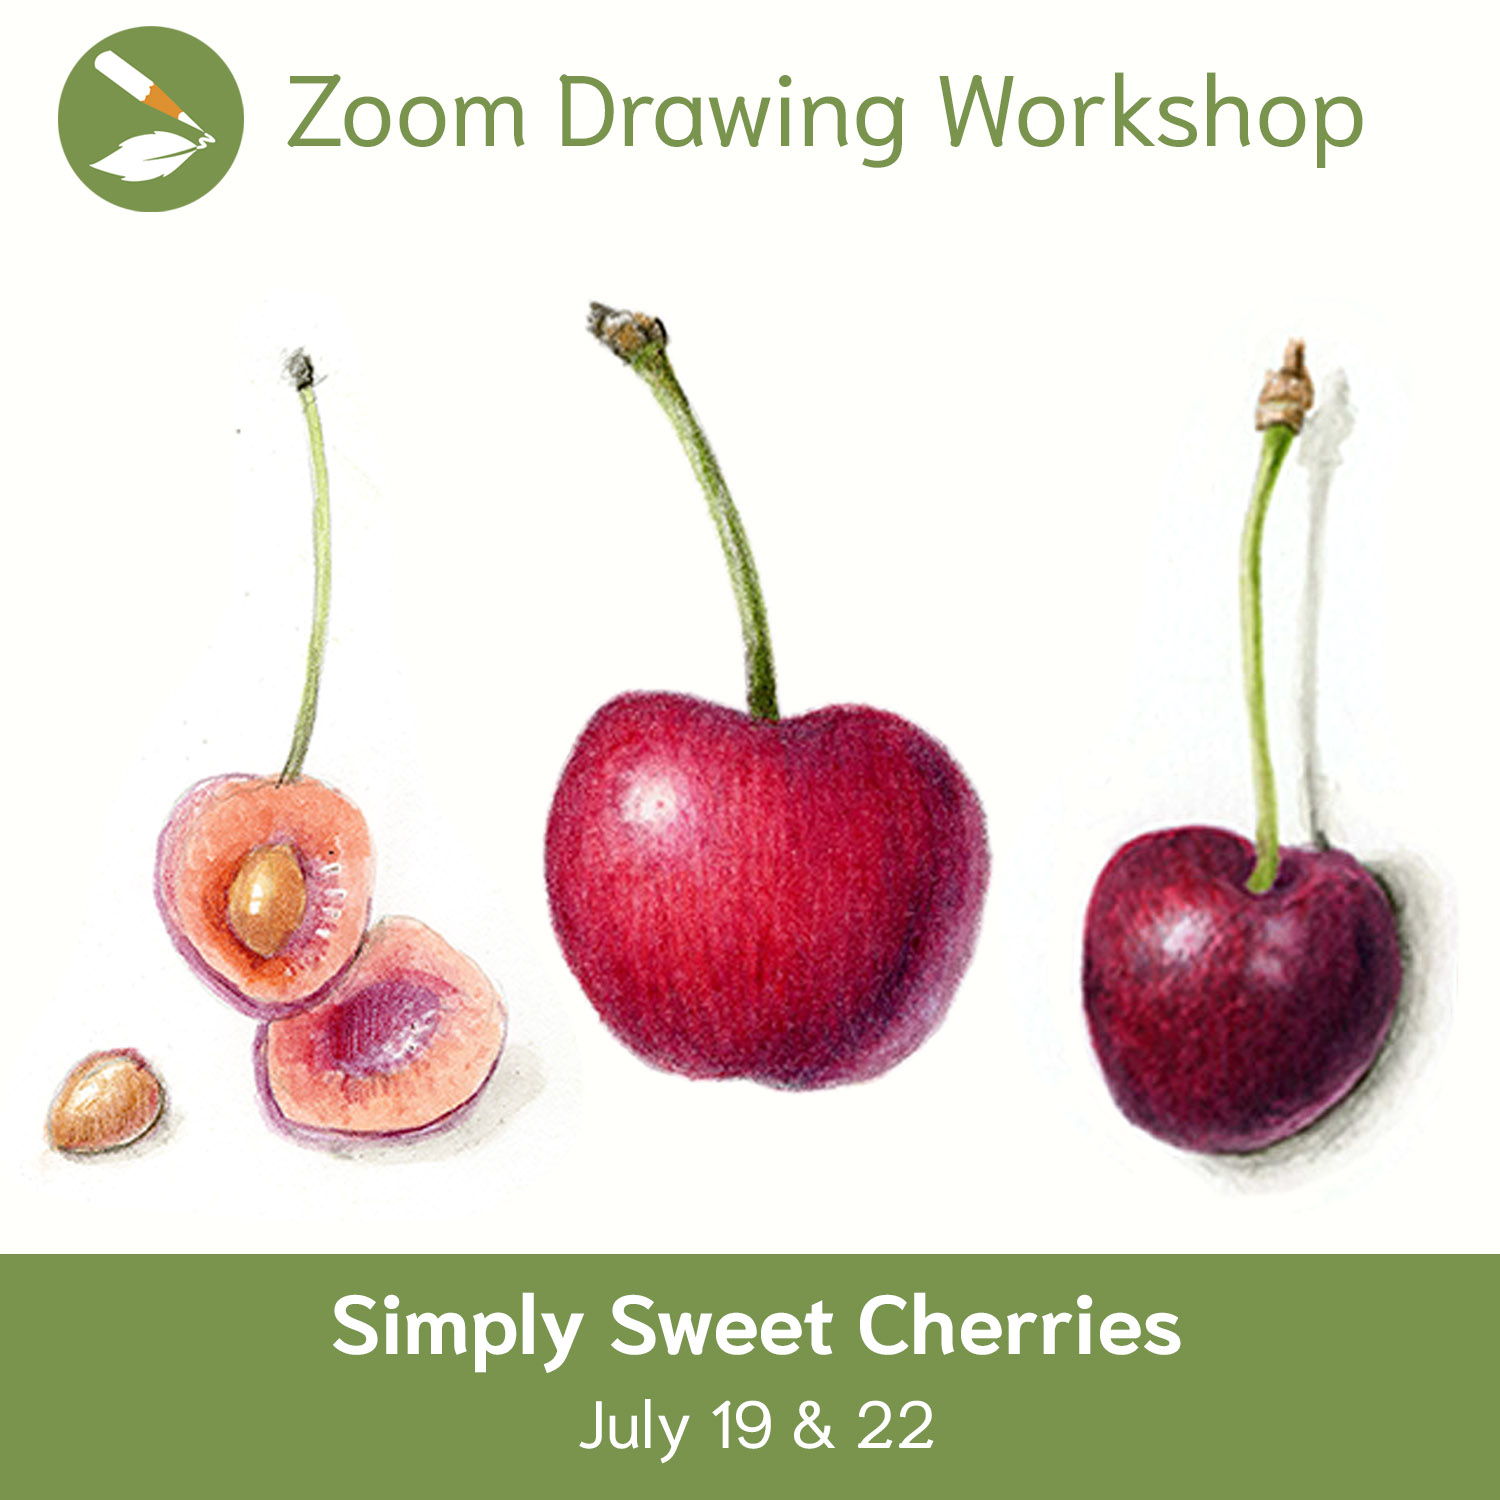
We’re here to help along every step of the way. If you want to feel capable from the very first mark you make, join Pam and Sam on July 19 & 22, 2026 (or watch the recording later!) for a beginner-friendly Zoom workshop focus on drawing cherries.
Cherries are so charming, but the real cherry on top is how perfect they are for practicing fundamental drawing techniques like:
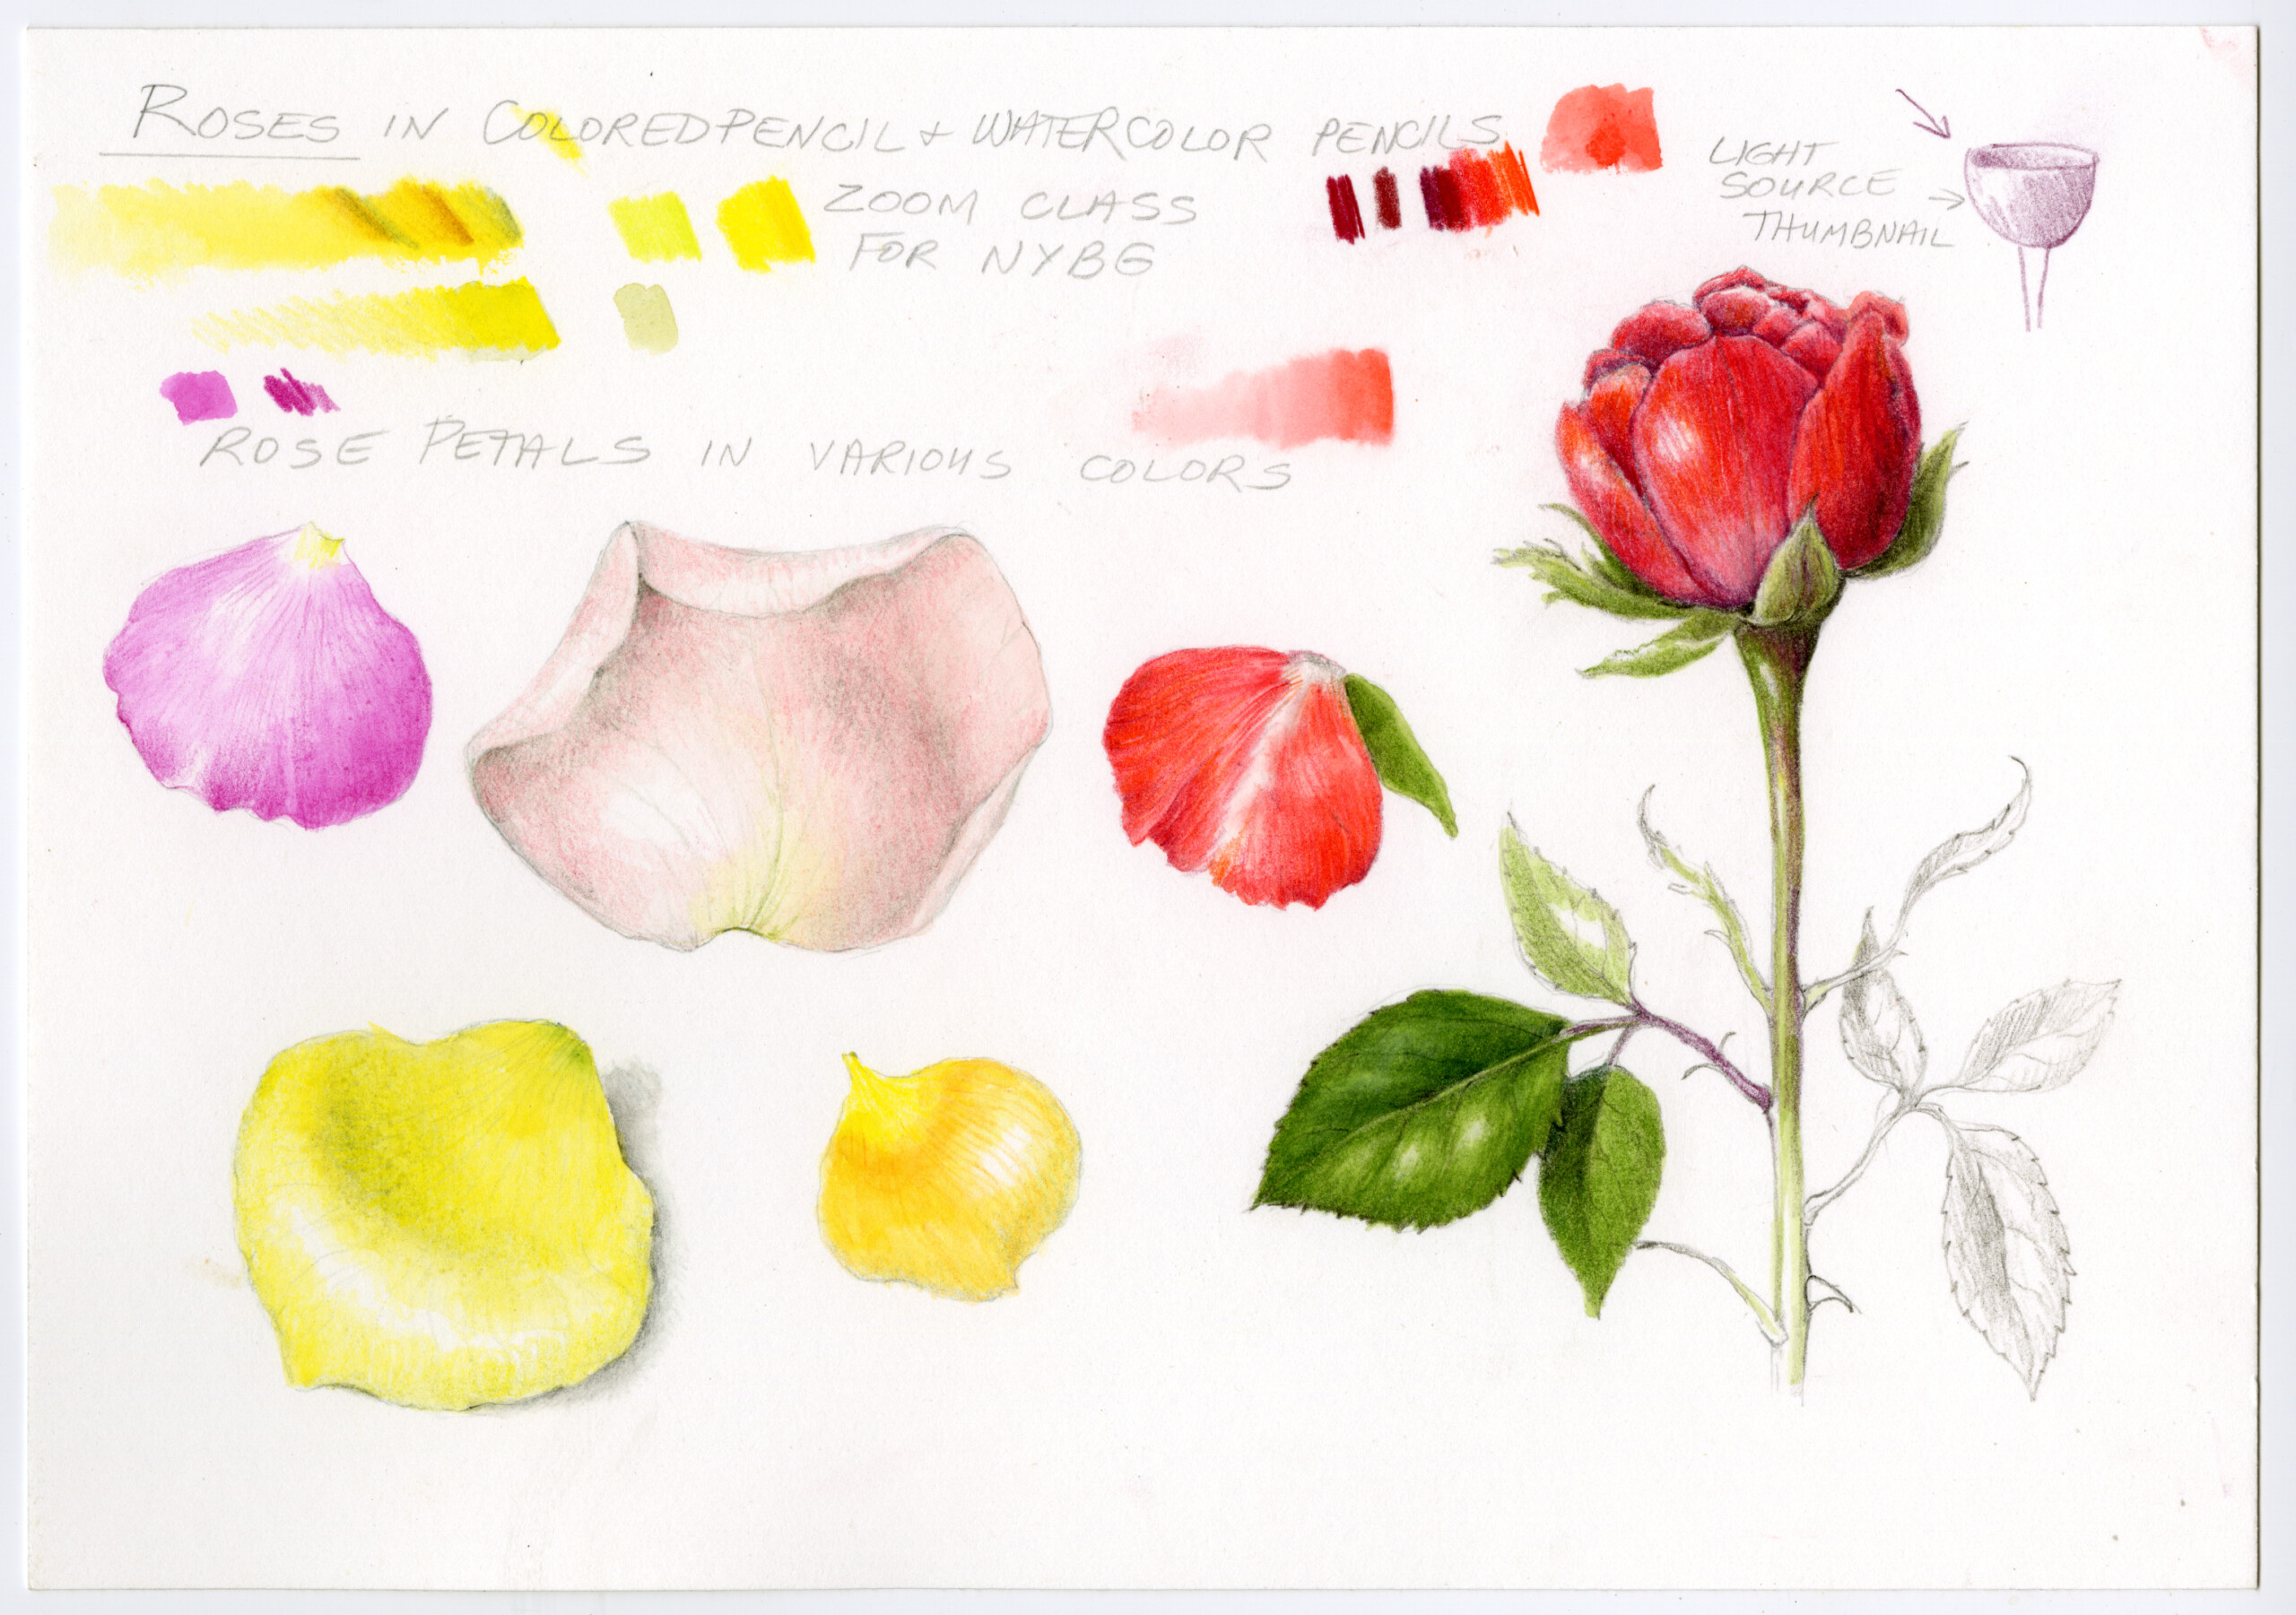
 Sketching Basic Shapes: Observe and draw cherries as full, 3D forms, starting with simple light source thumbnails.
 Layering Watercolor & Colored Pencil: Use our favorite mixed-media method, the heart of our botanical illustration approach.
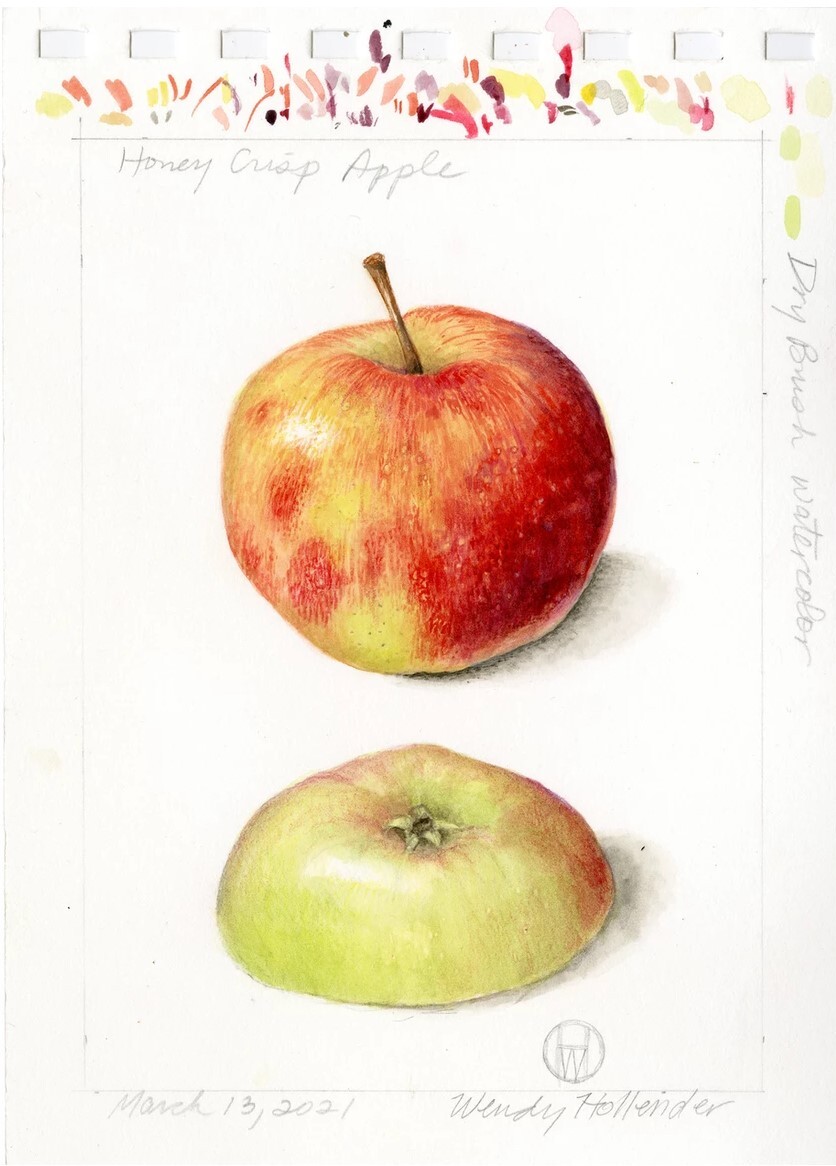
 Building Vibrant Color: Mix rich reds, warm shadows, and the subtle shifts that bring color to life.
 Shading, Highlights, & Shine: Create depth and dimension that makes your illustration feel real.
 Blending Techniques: Achieve smooth, seamless transitions that give your drawing a… Learn more
Register / Get Recording of Cherries Zoom Workshop
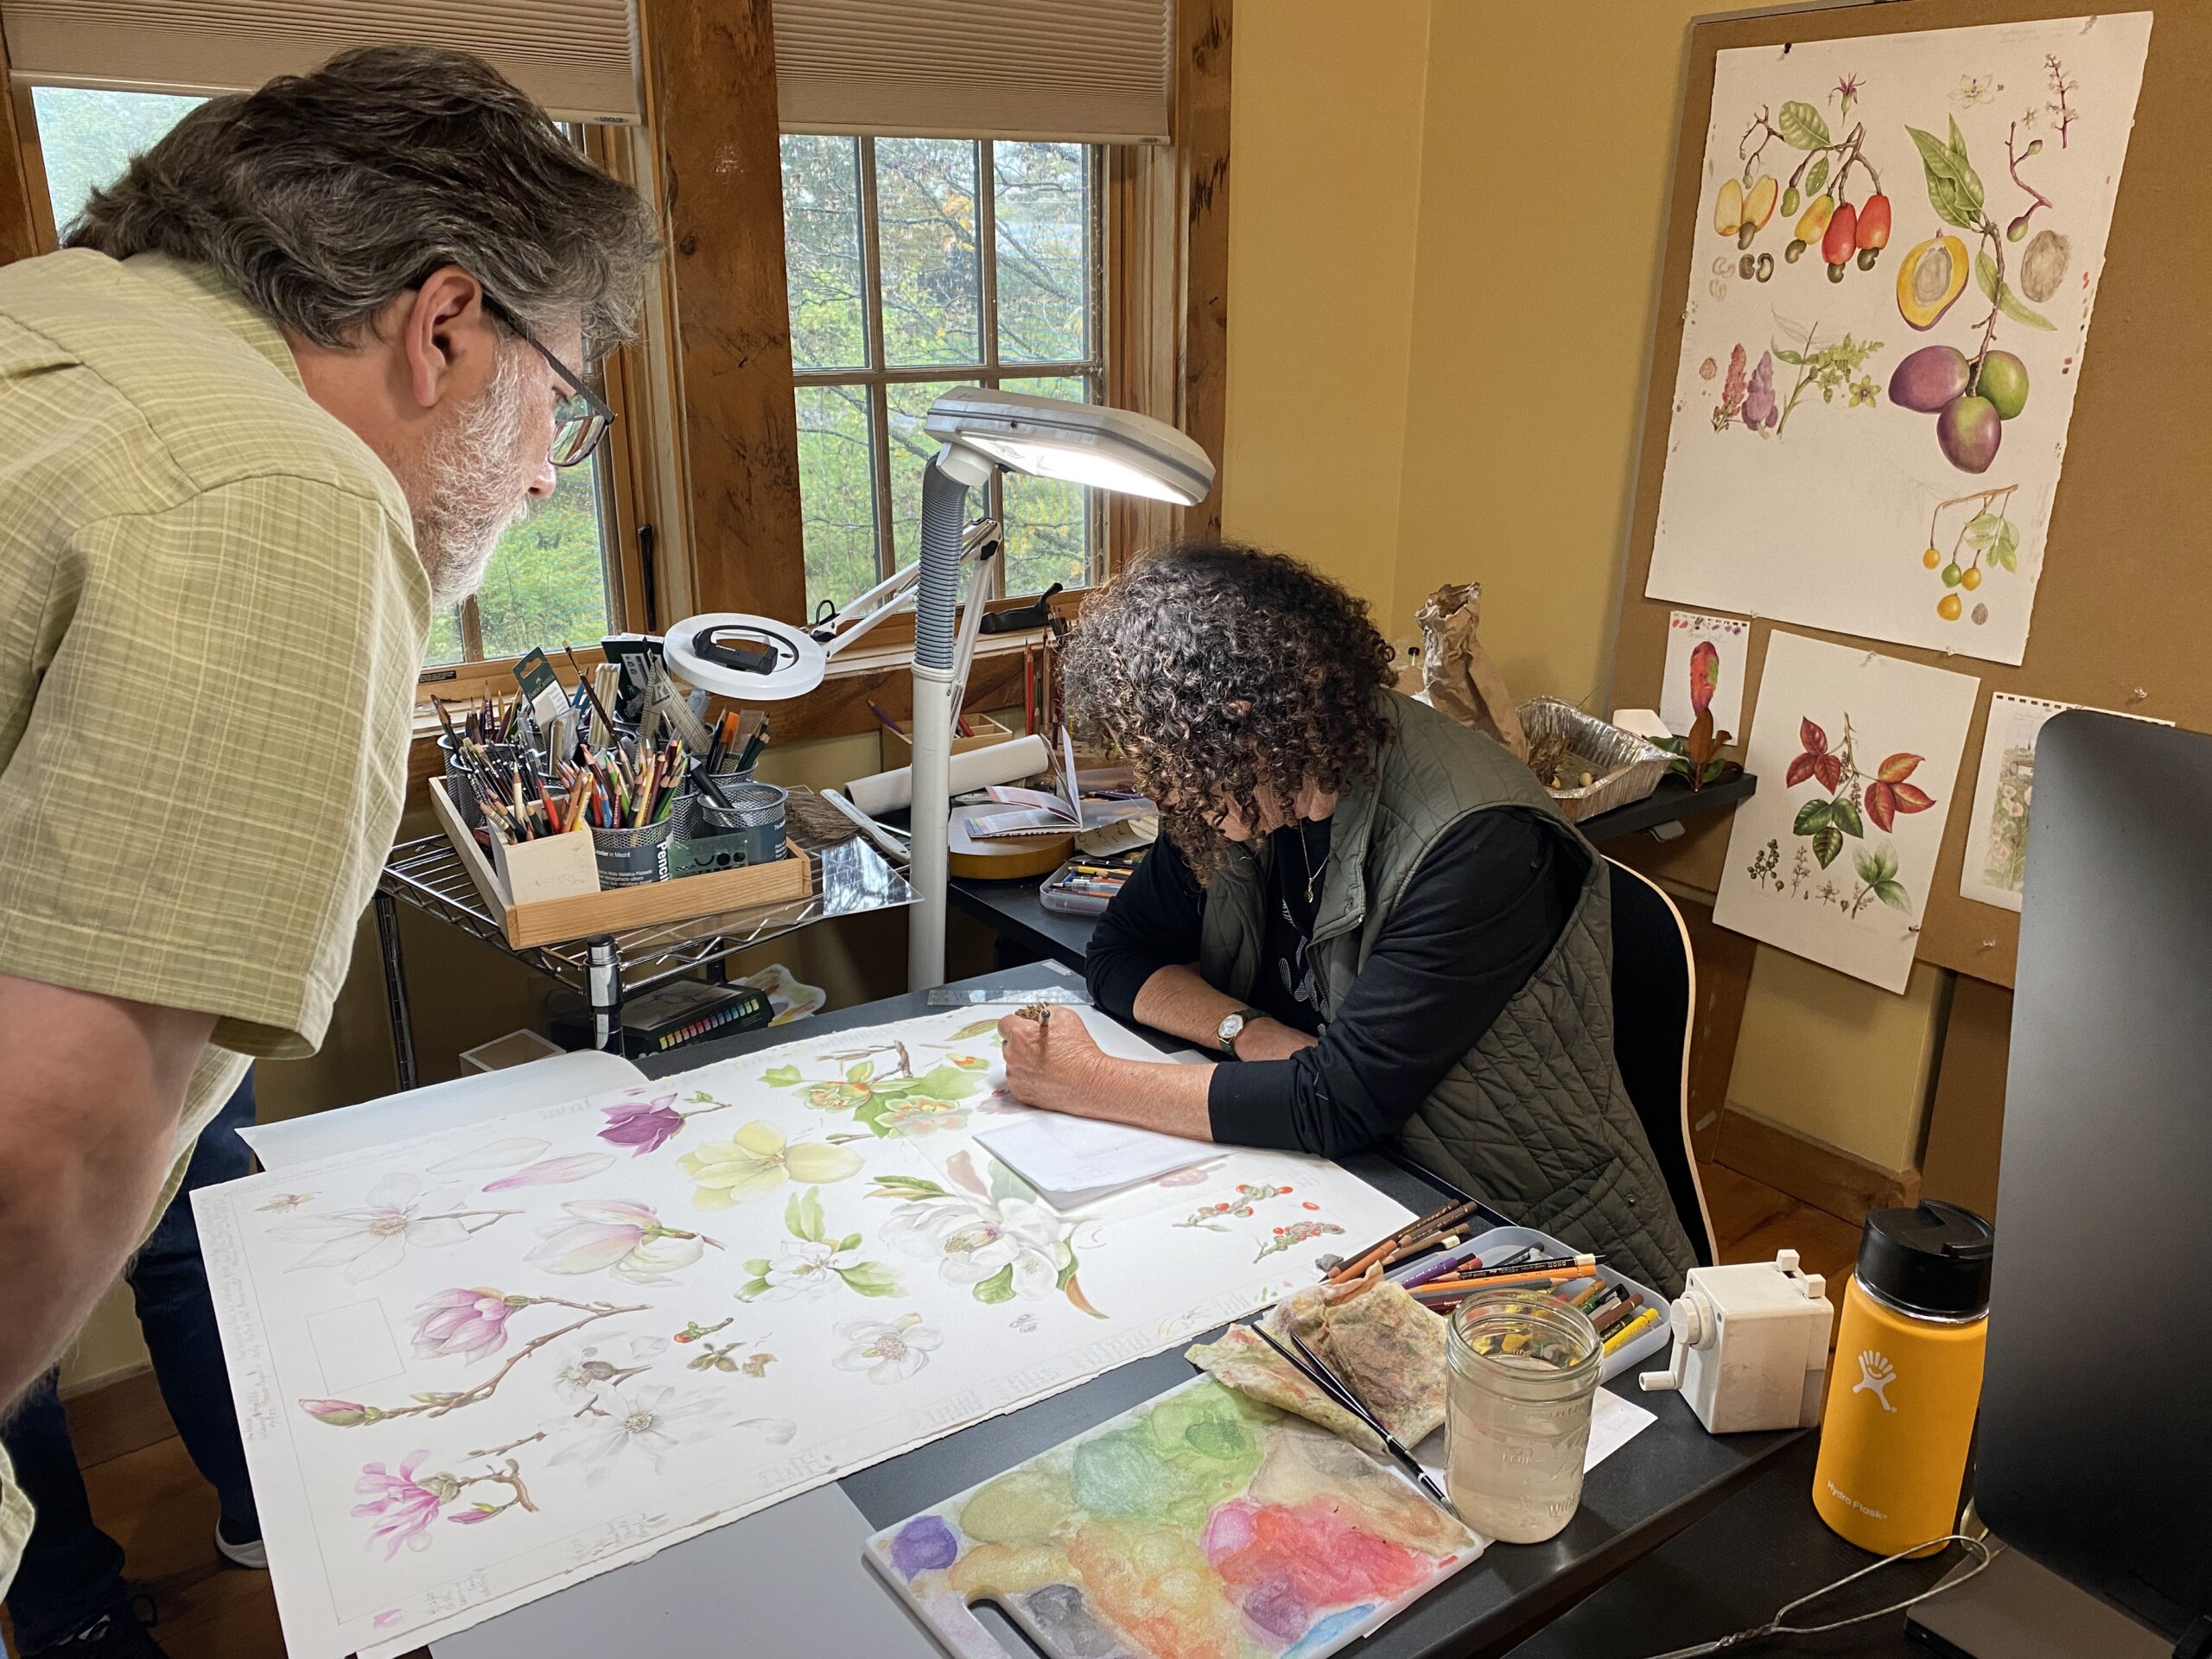
1. PREPARE
Just as you prepare your kitchen before you jump into the art of cooking, you must prepare your drawing space before you jump into the art of botanical illustration.
With these tips, you’ll be set for success!
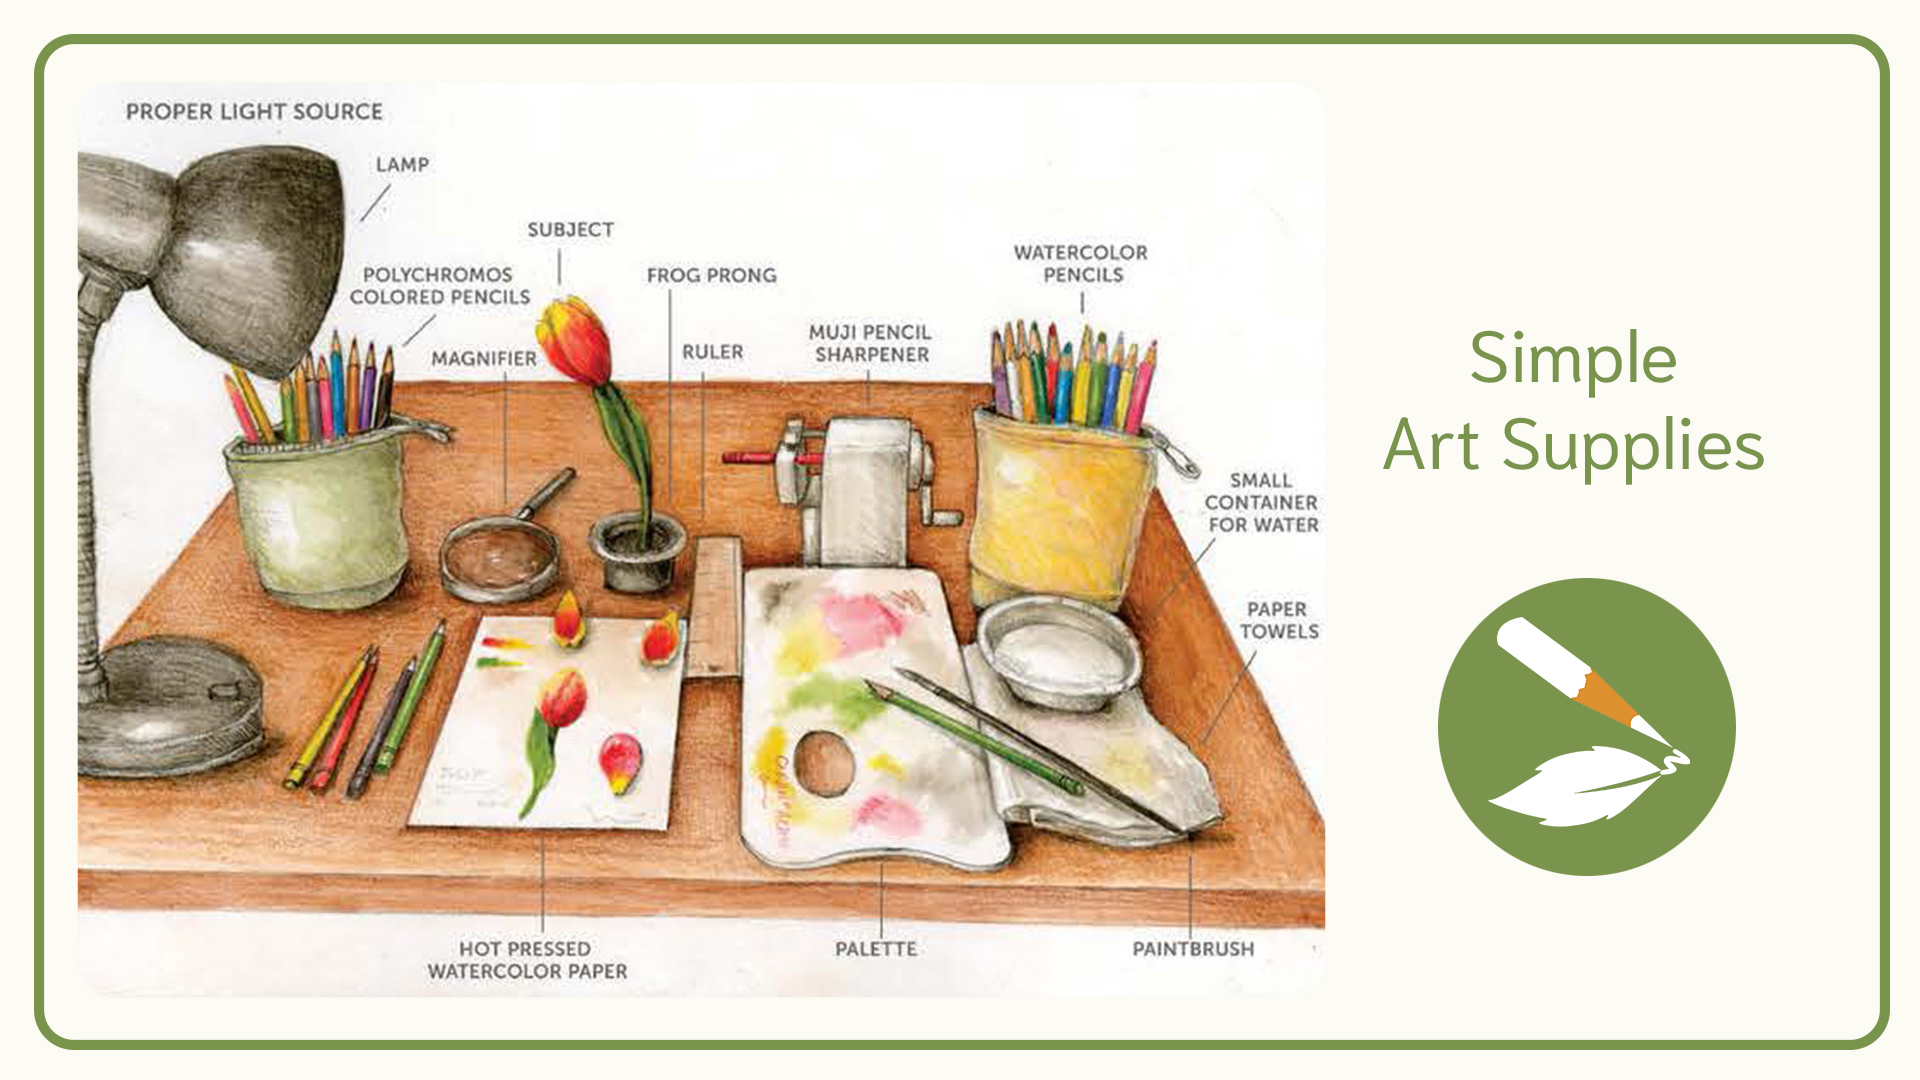
ART SUPPLIES
There are so many different types of art supplies these days (see our Ultimate Guide to Art Mediums here), but we like to keep it as simple as possible. To begin, you’ll just need some colored pencils, a small pad of paper, and a really good pencil sharpener.
Feel free to follow along with any supplies you have (your result may just end up looking a little different). Our lessons are about a combination of fundamental 3D art concepts and colored pencil and watercolor technique, so you can skip the supplies-specific tips and still learn a lot about art basics including perspective, light source, composition, etc. One of the main points we teach is colored pencil and watercolor technique for slow, continuous toning, but as long as you are able to achieve the same blending result with your chosen materials, you can still benefit from our course lessons.
Find our full list of recommended art supplies here.
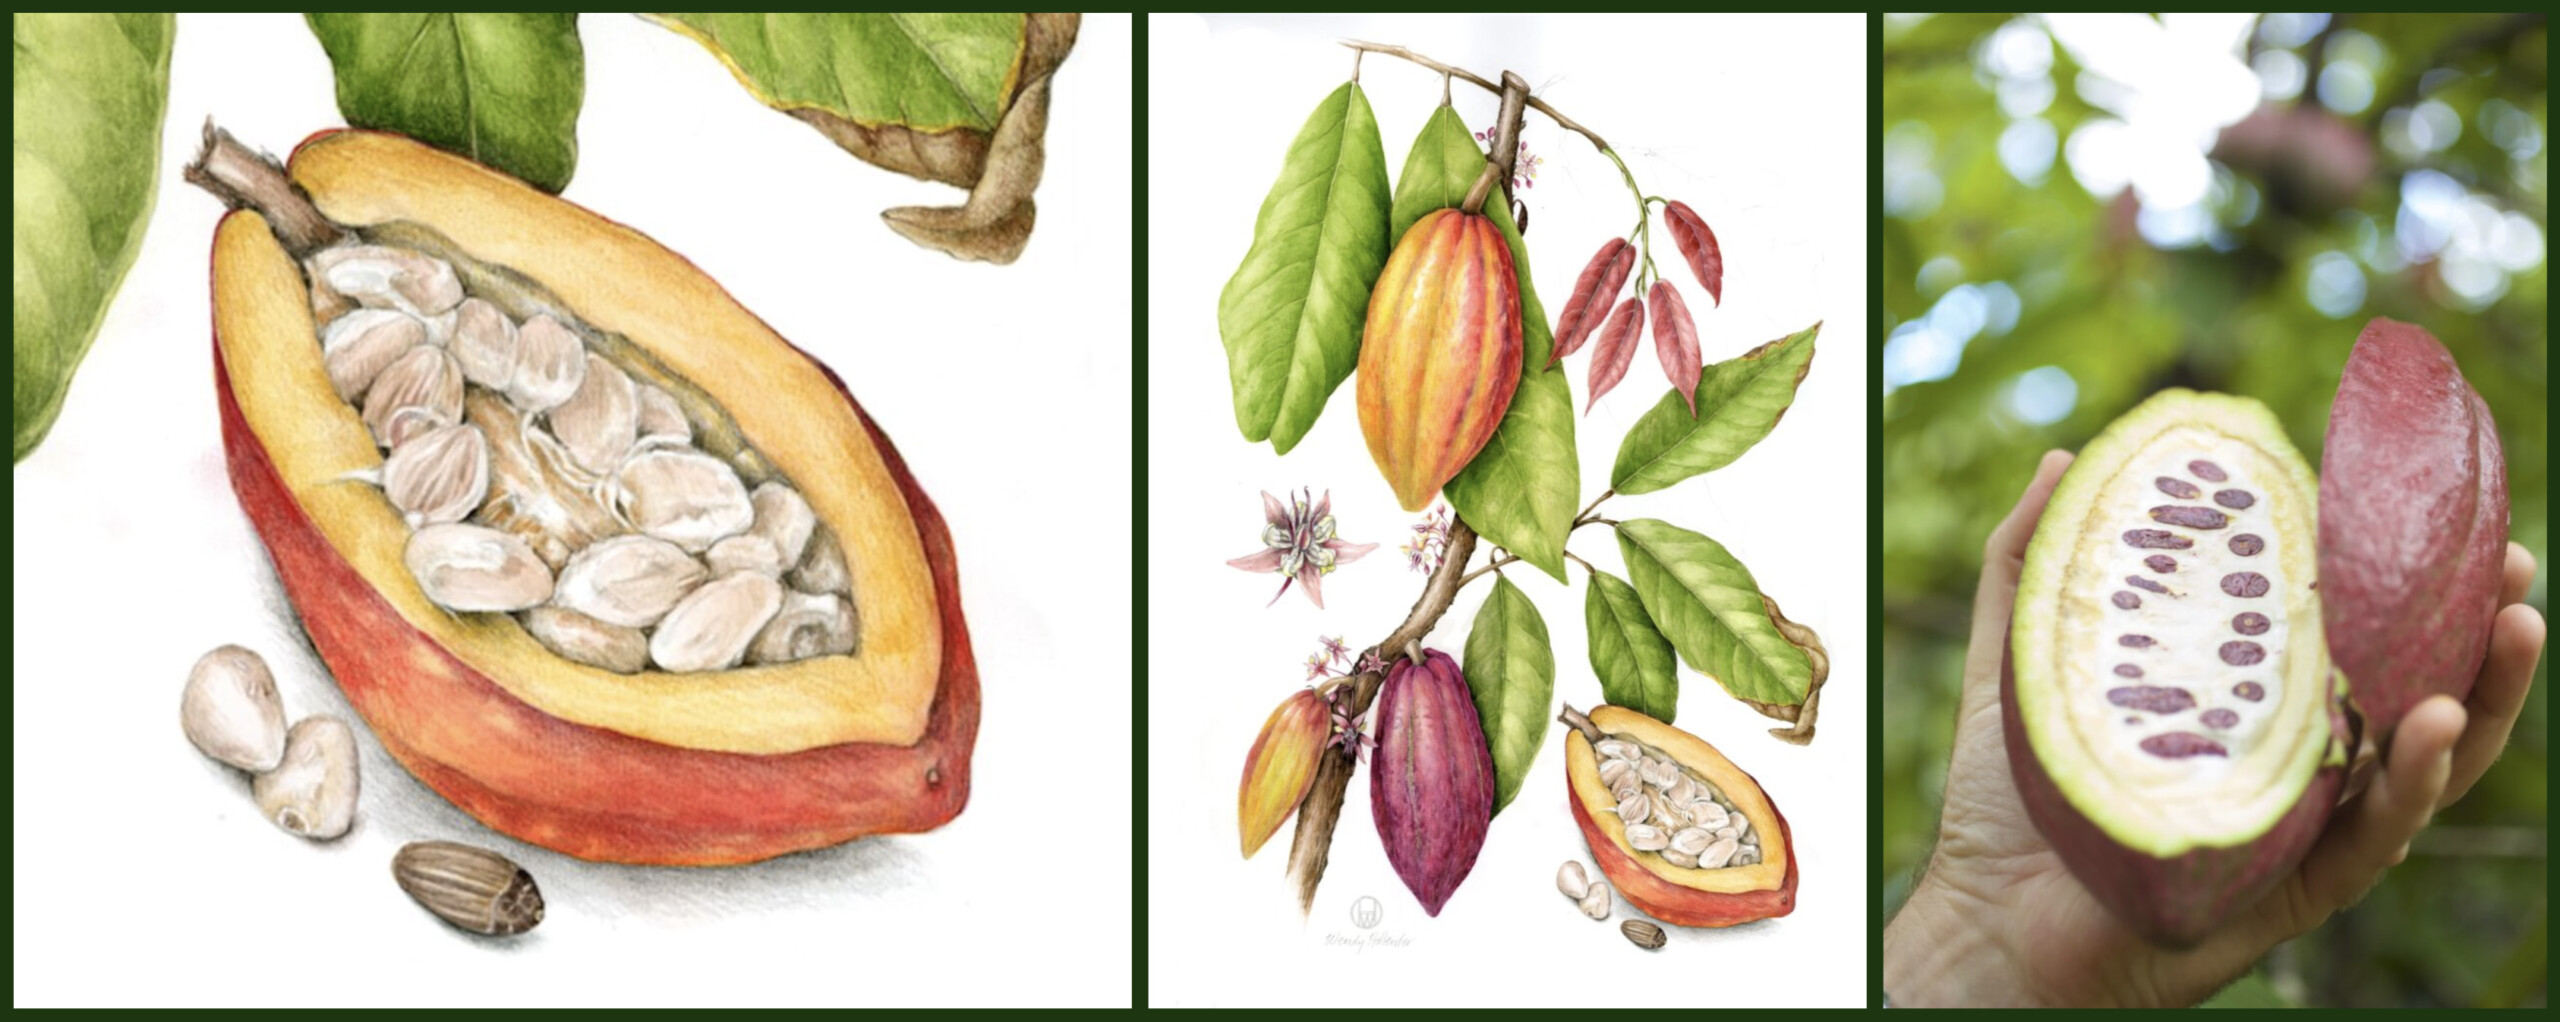
LIVE SUBJECT
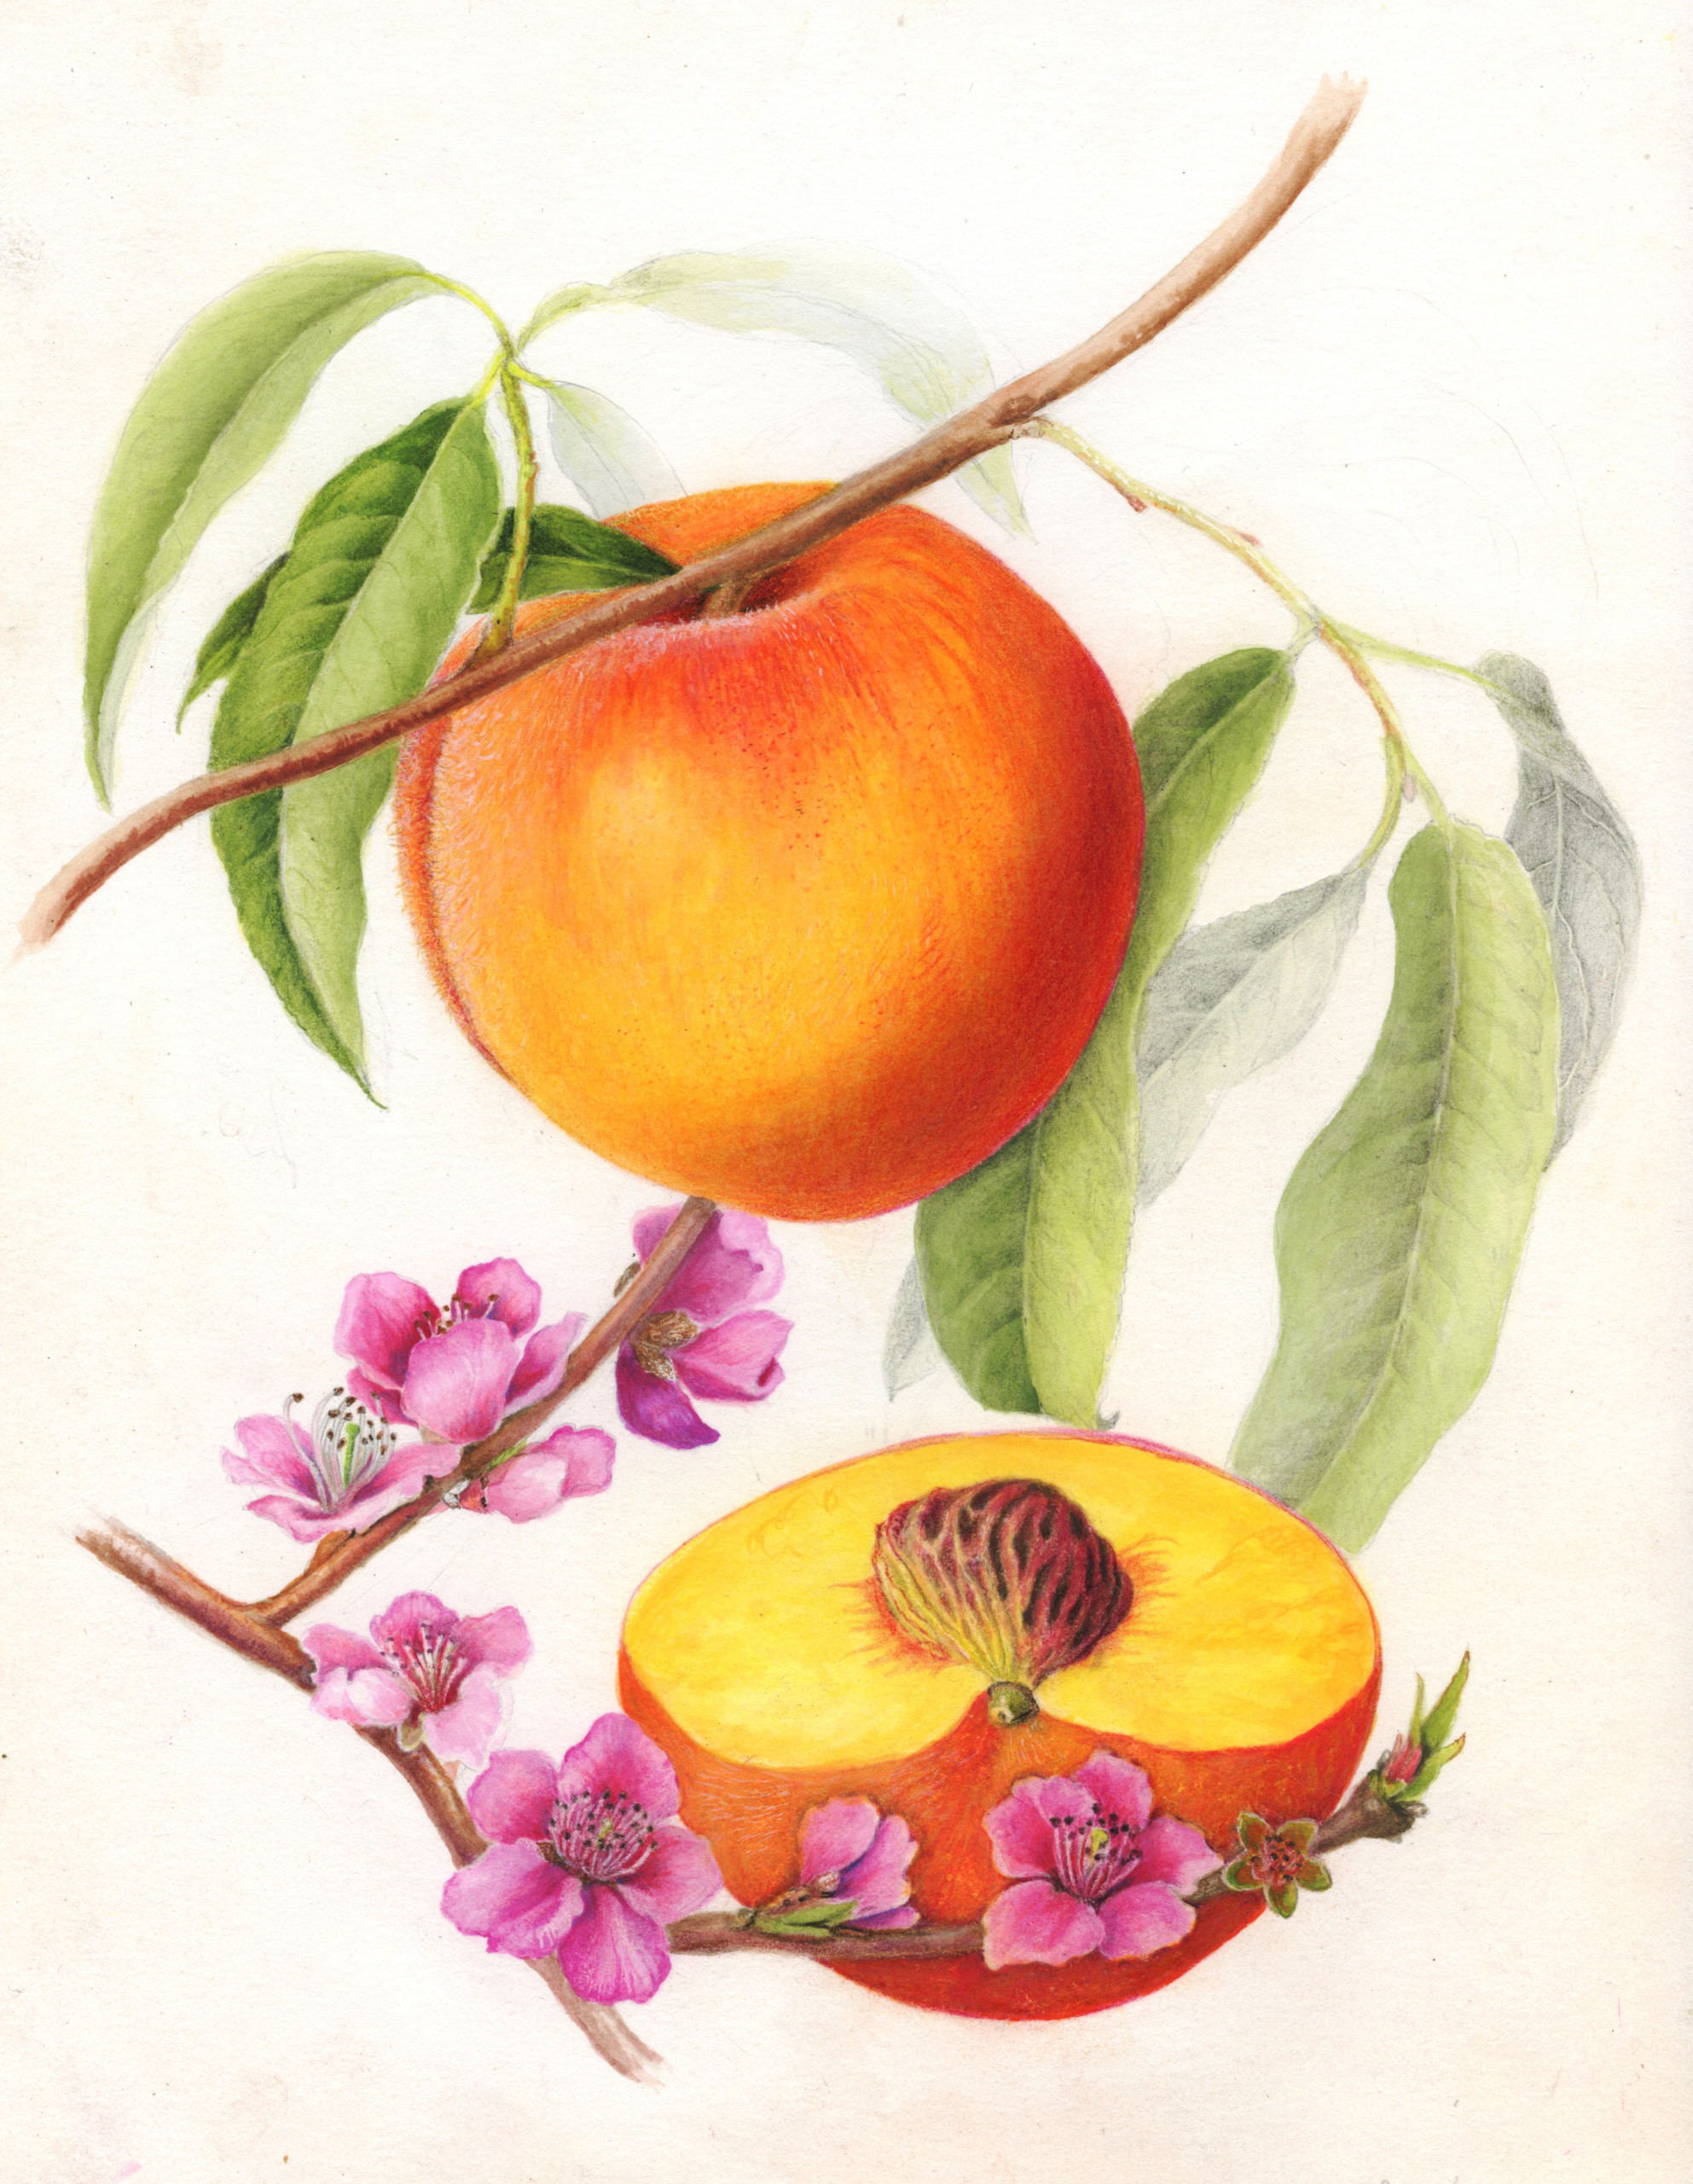
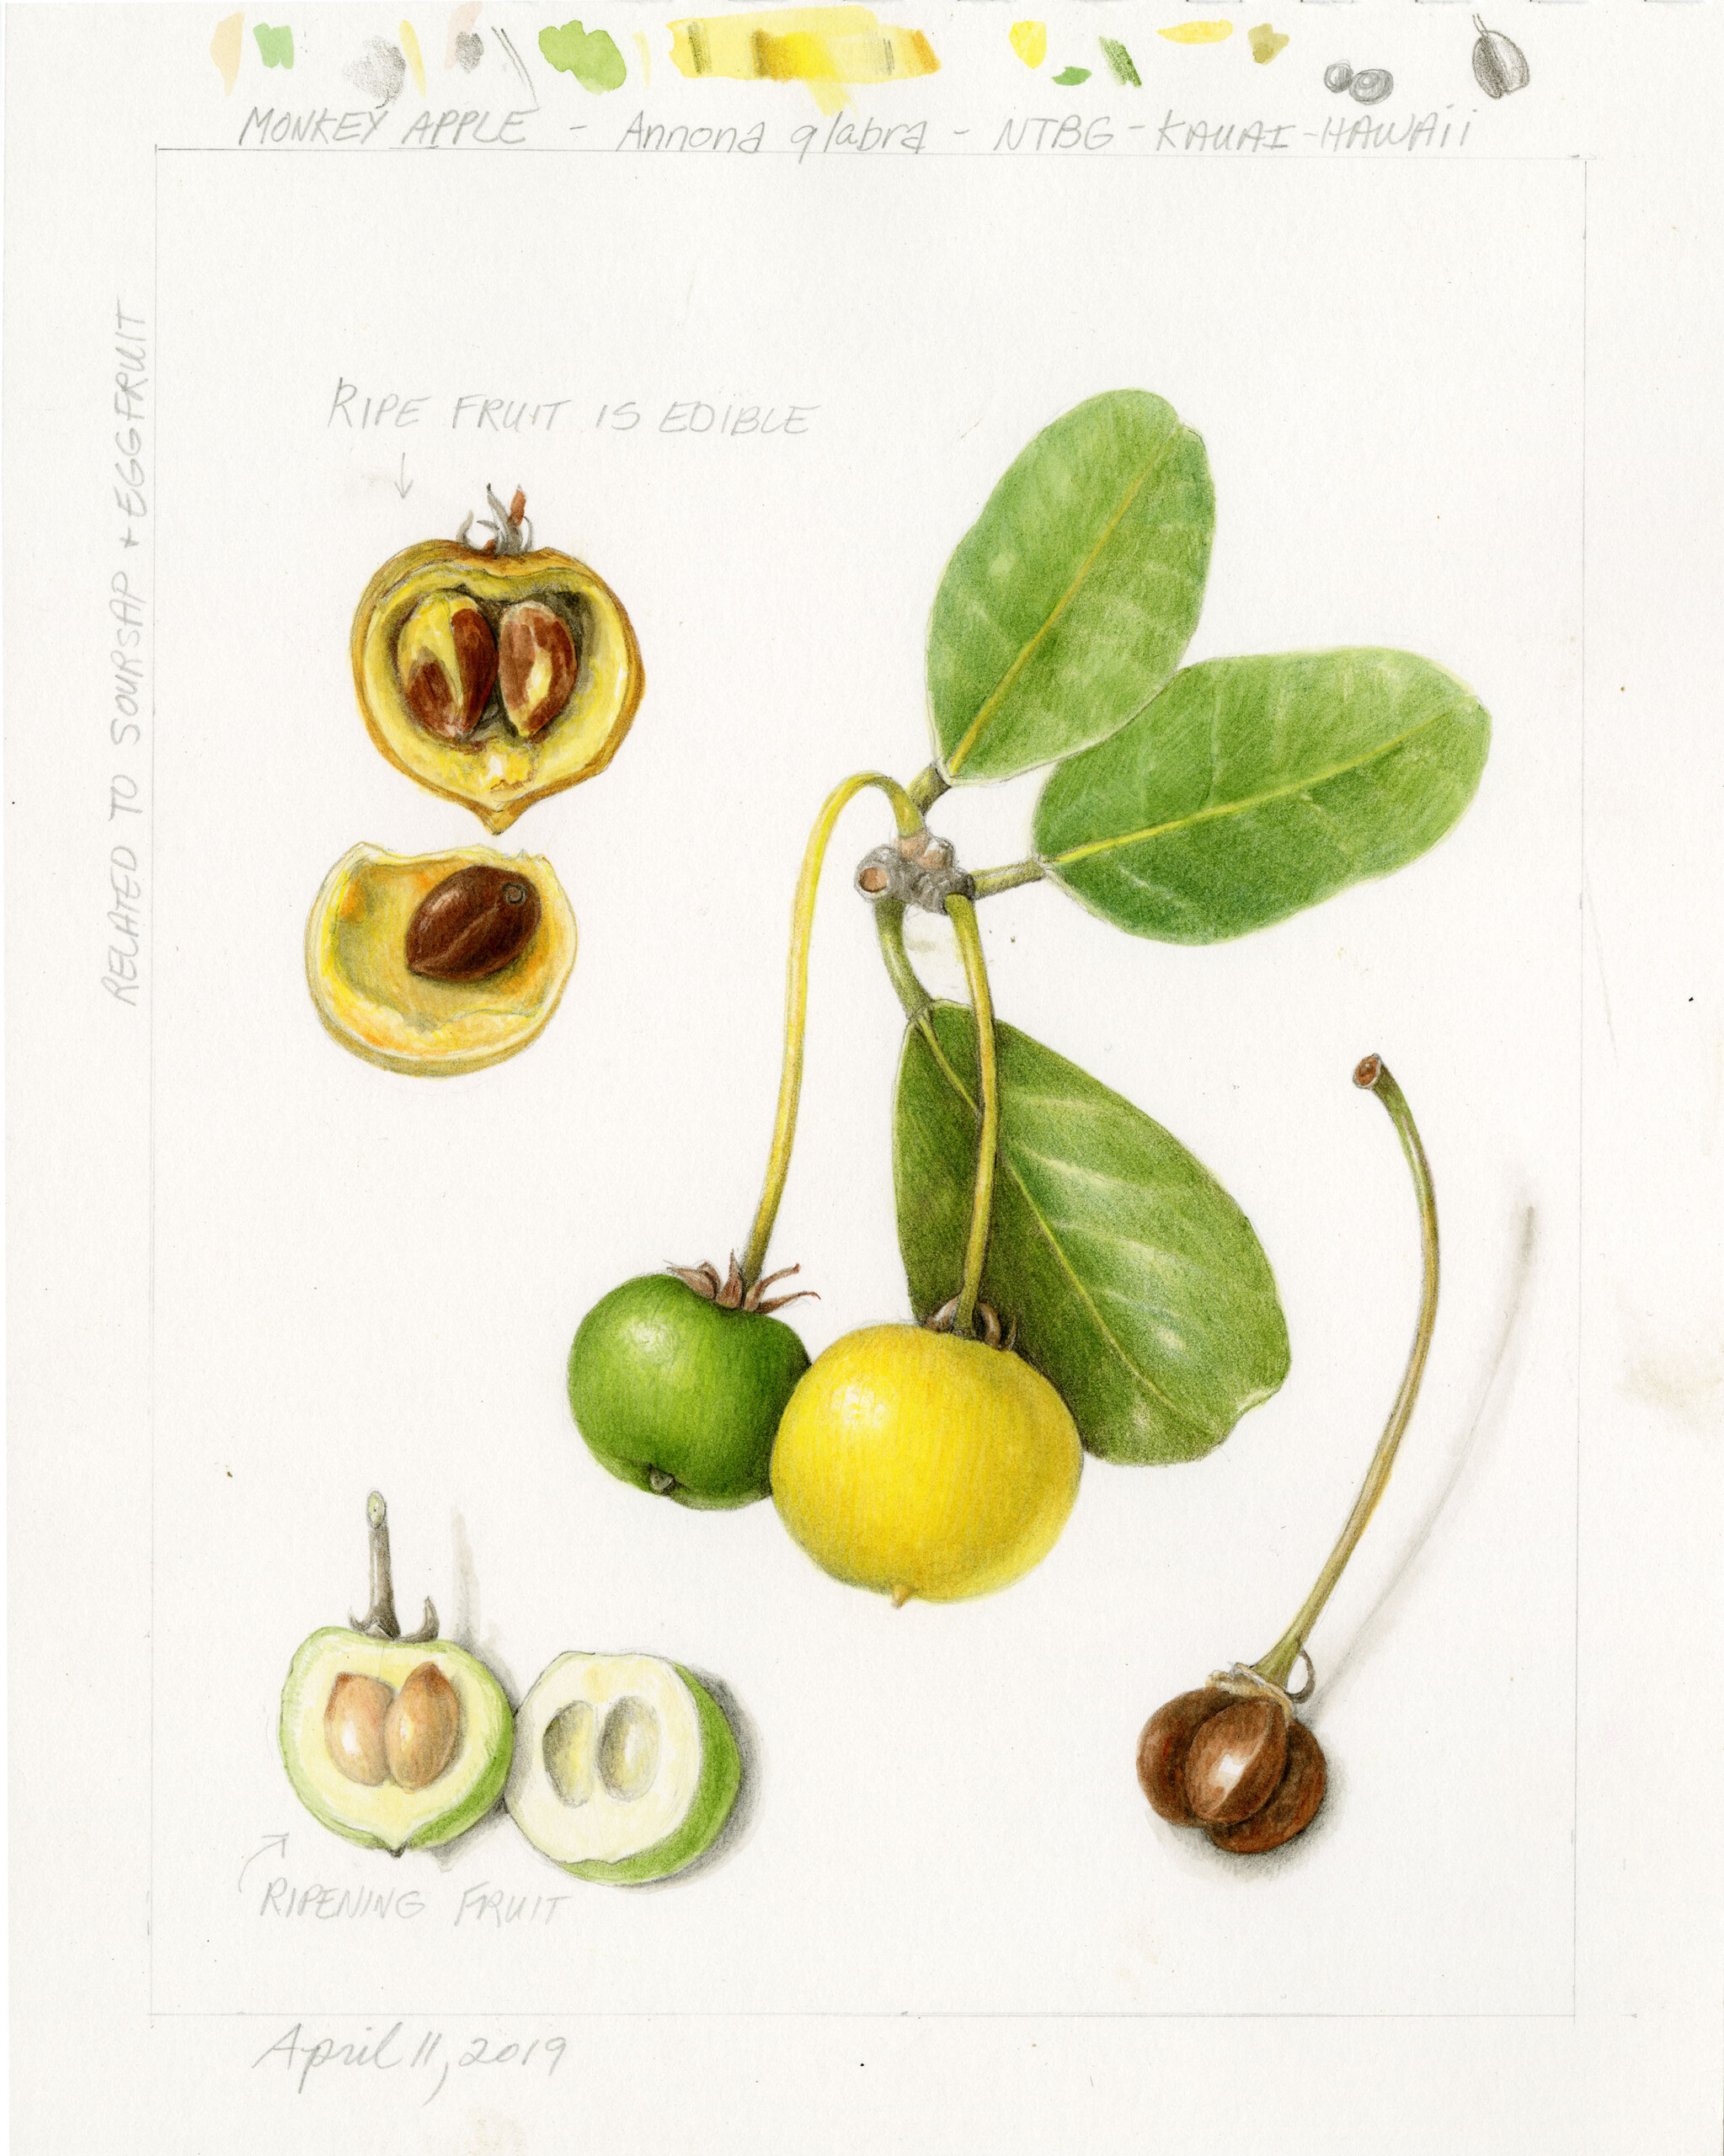
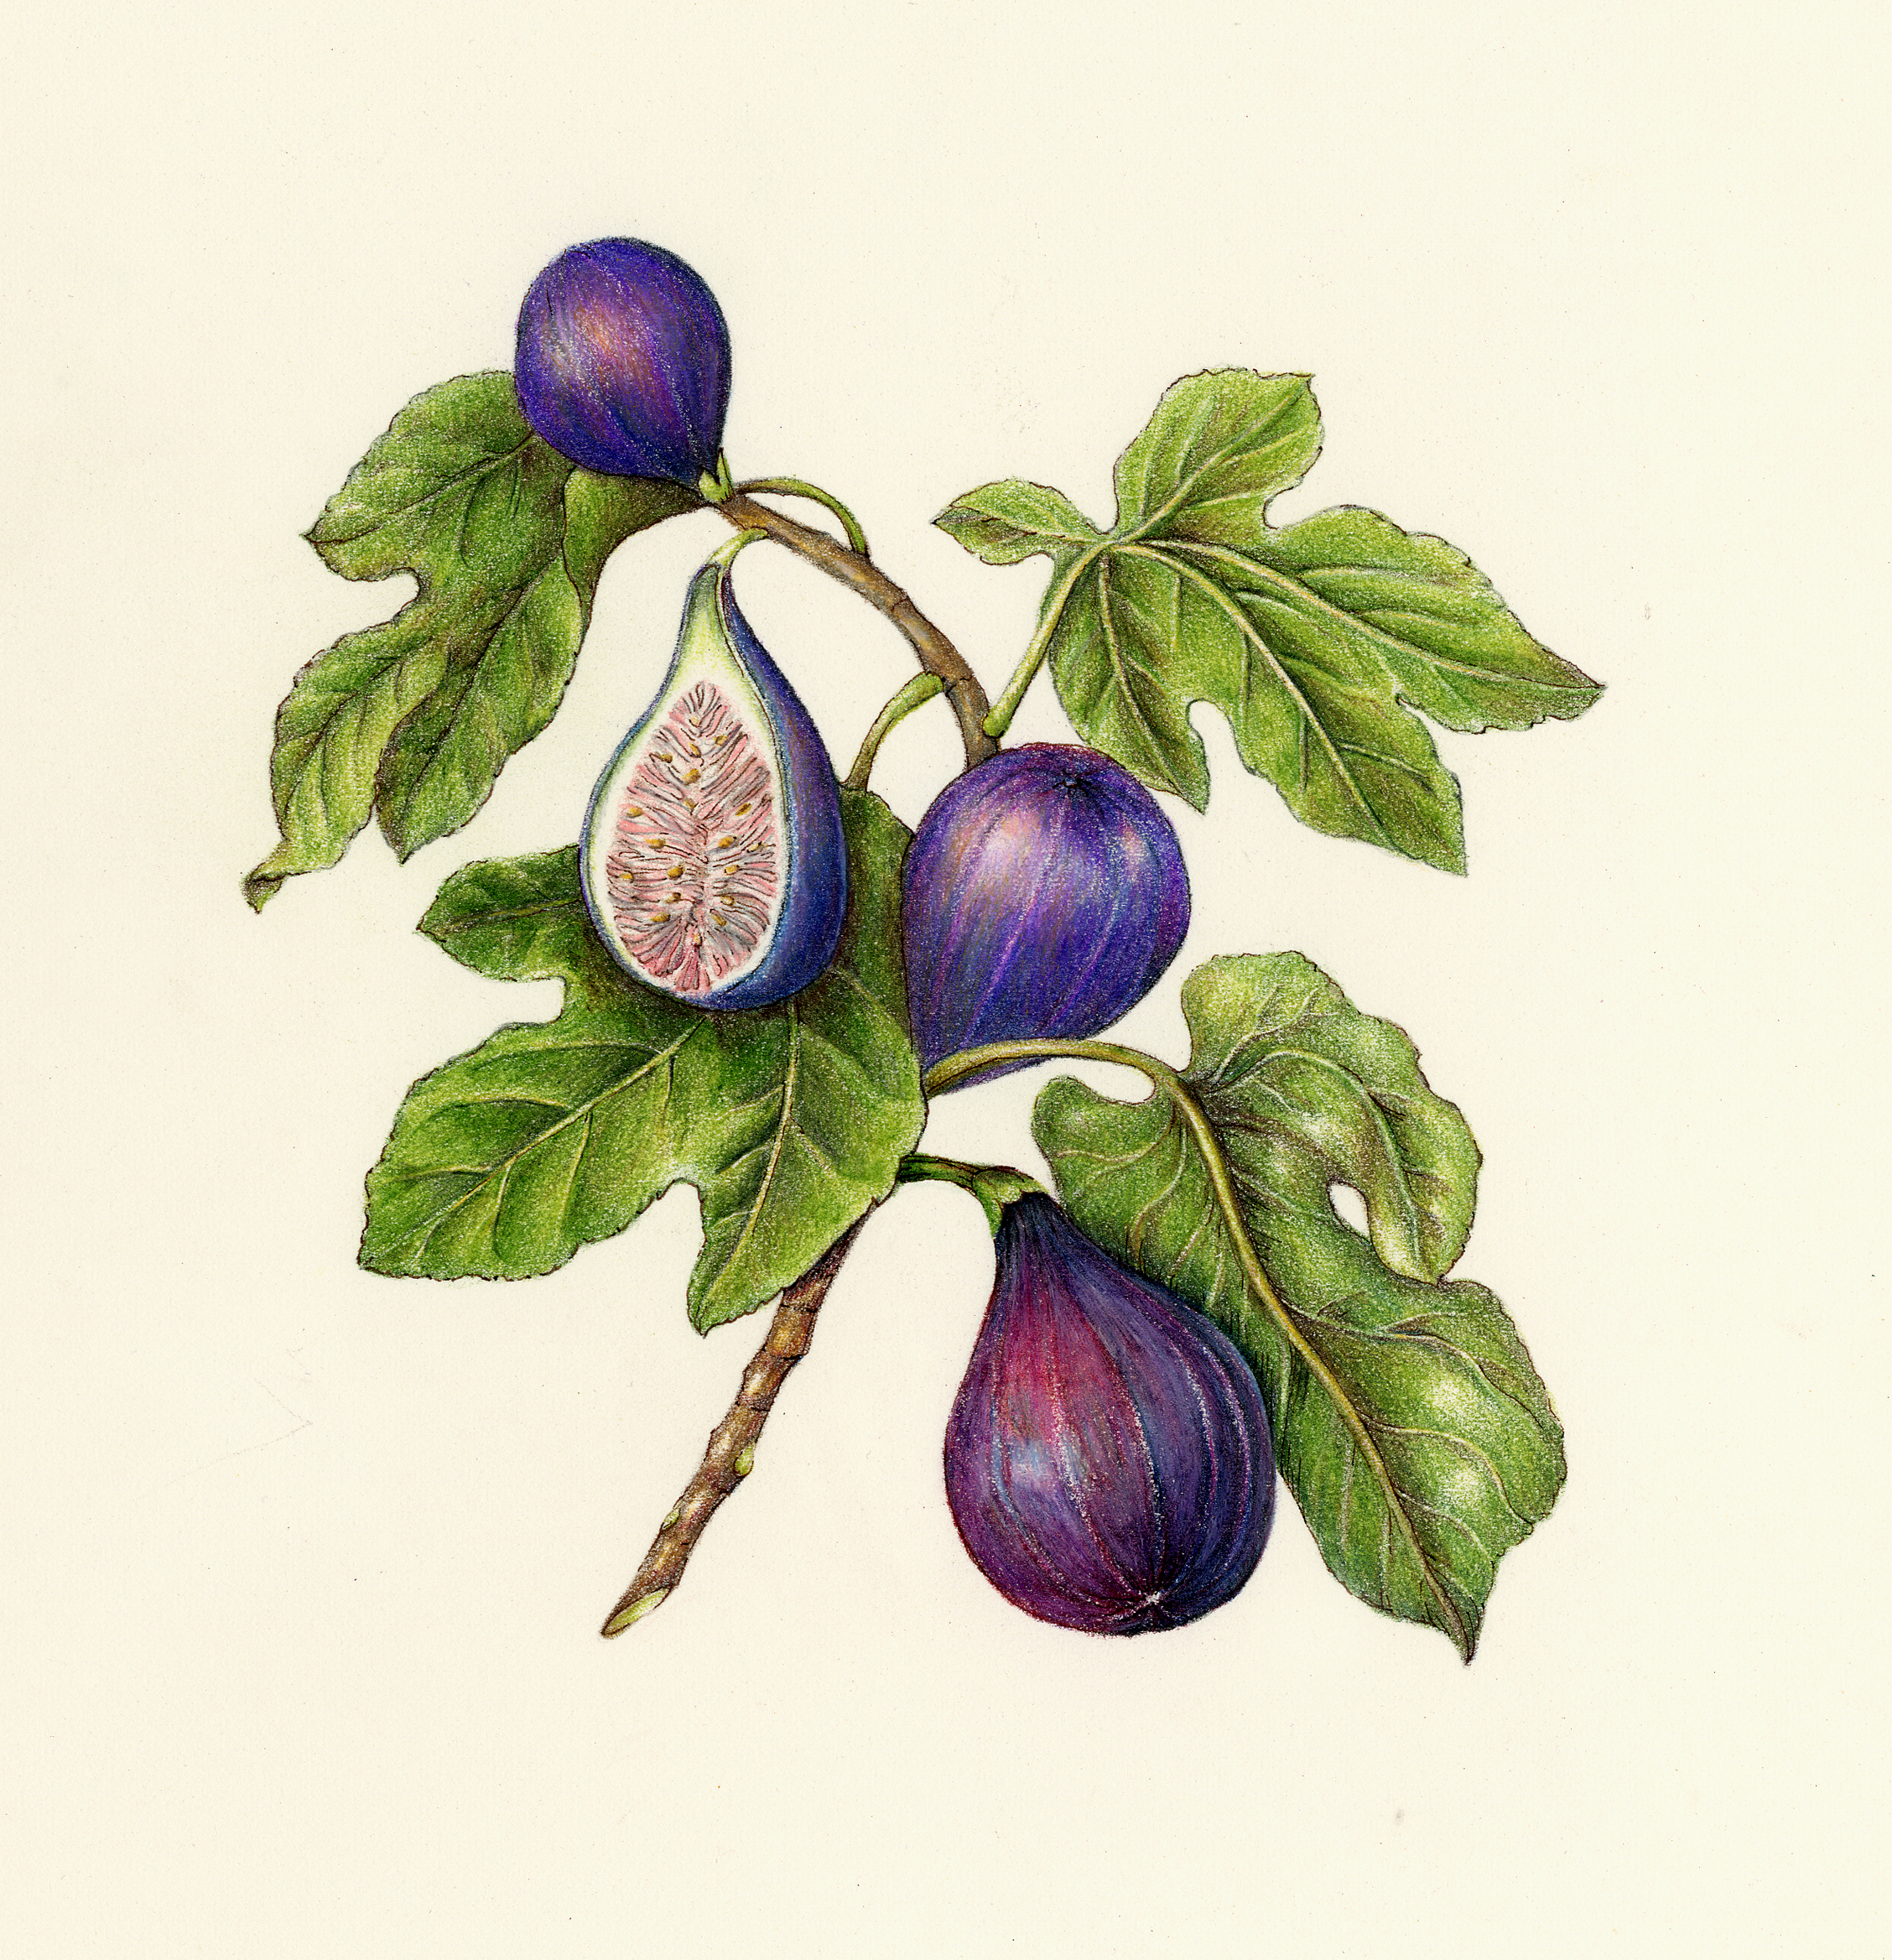
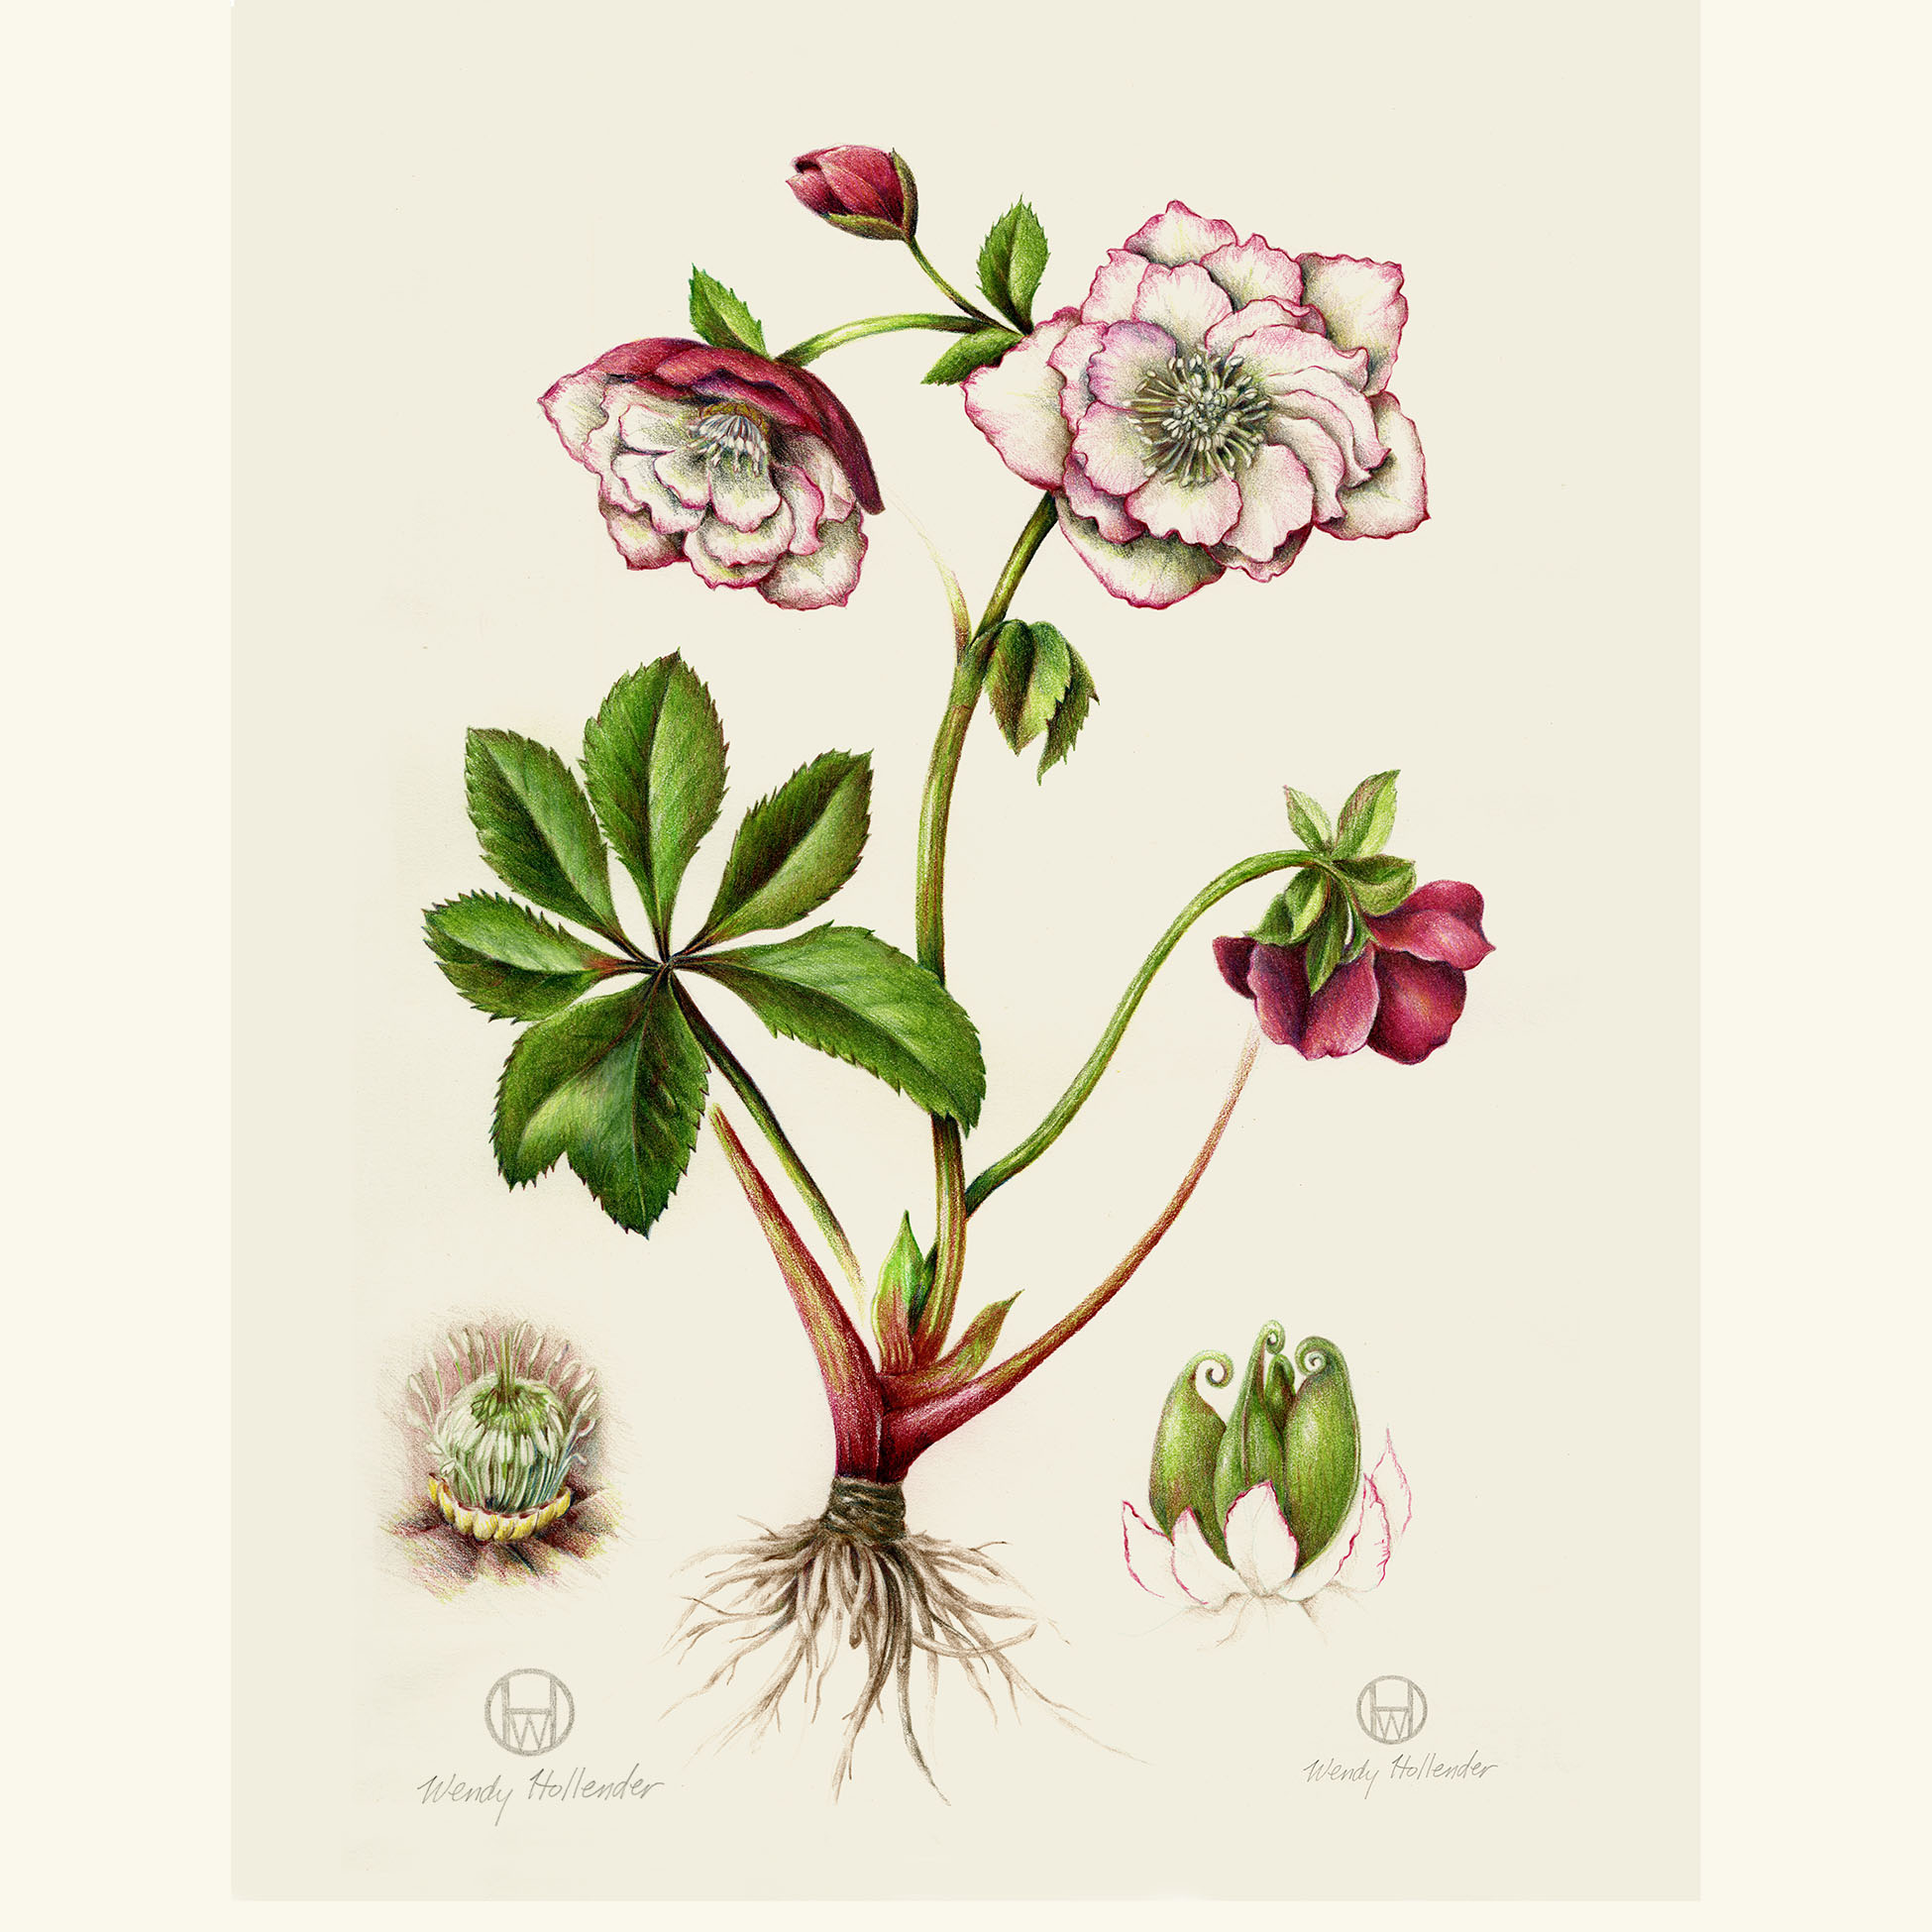
I always recommend using a real subject from nature and avoid copying a photograph or someone else’s drawing. Not only is this the best way to connect with nature, but also the best way to create a convincing 3D illusion!
Photos are 2-Dimensional, so when you use them as your only reference, your results may lack depth and appear flat. (However, it’s wise to take photos of your subject to reference in case your subject wilts before you’re finished drawing it!)
When setting up your subject, remember to consider composition, perspective, pruning, and position. Learn more about Subject Setup here.
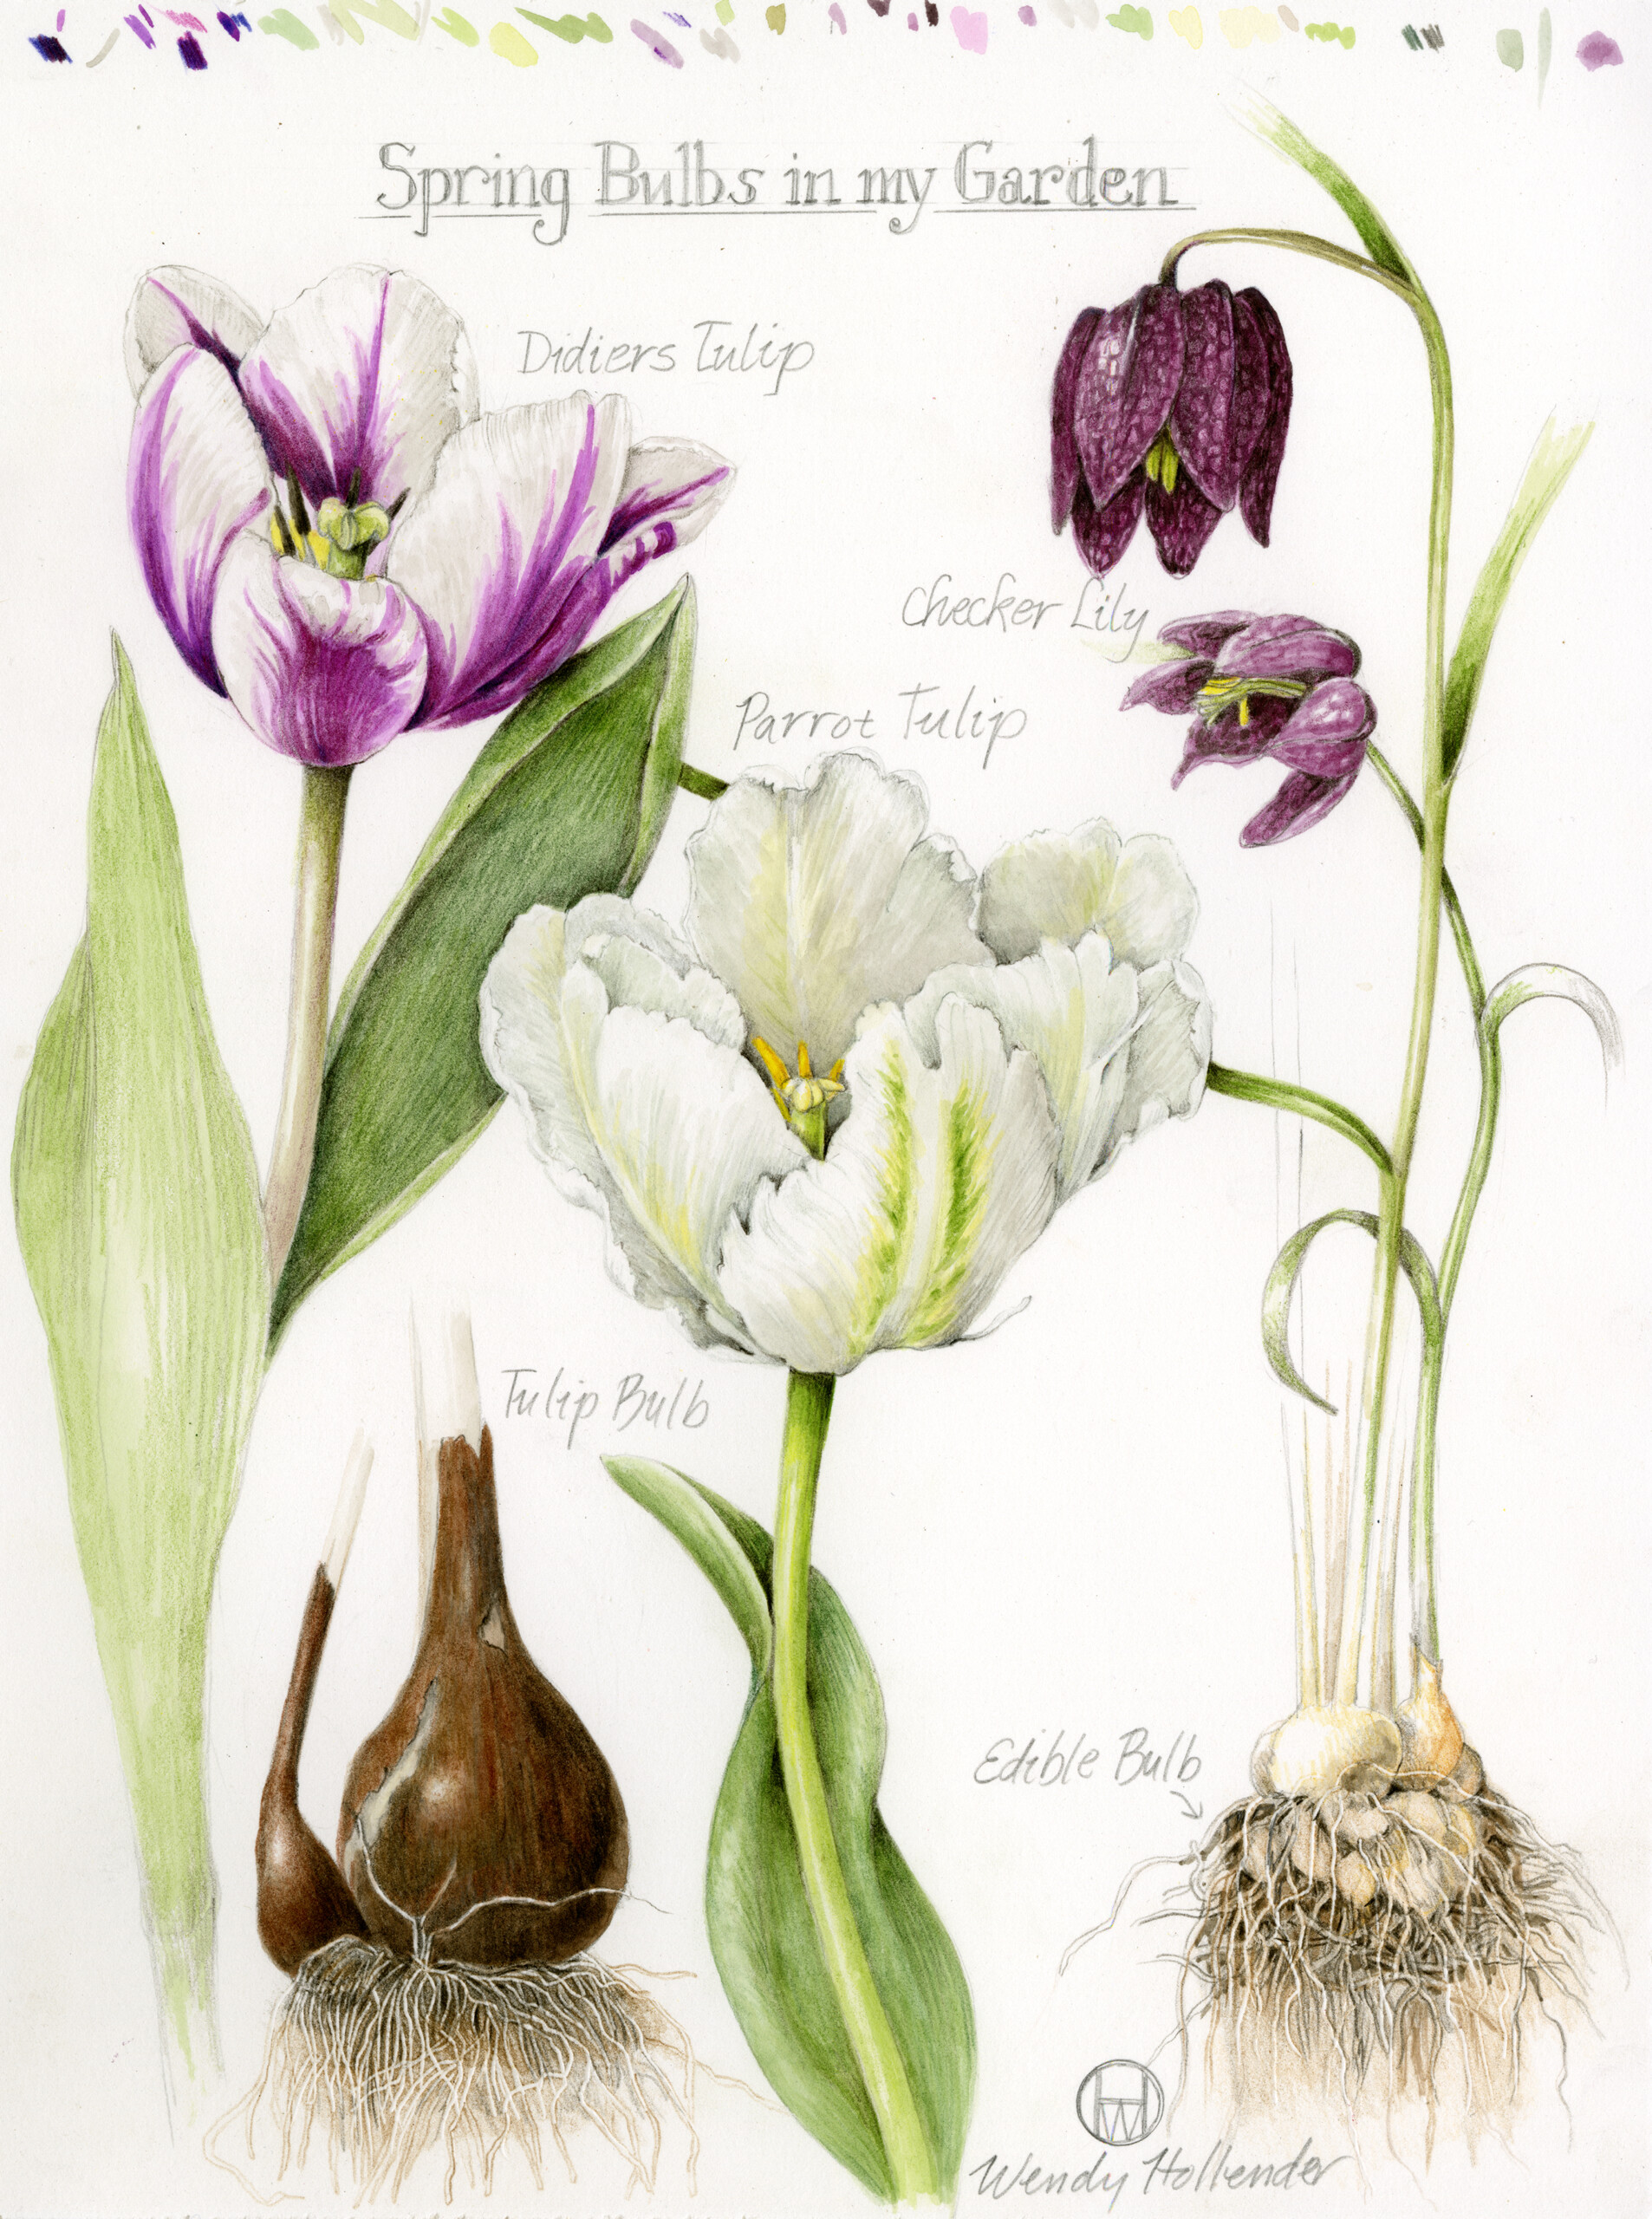
A good first subject to practice is a daisy or a tulip. Measuring correctly on an imaginary picture plane allows you to translate the three-dimensional world to a two-dimensional surface.
Learn more about perspective here.
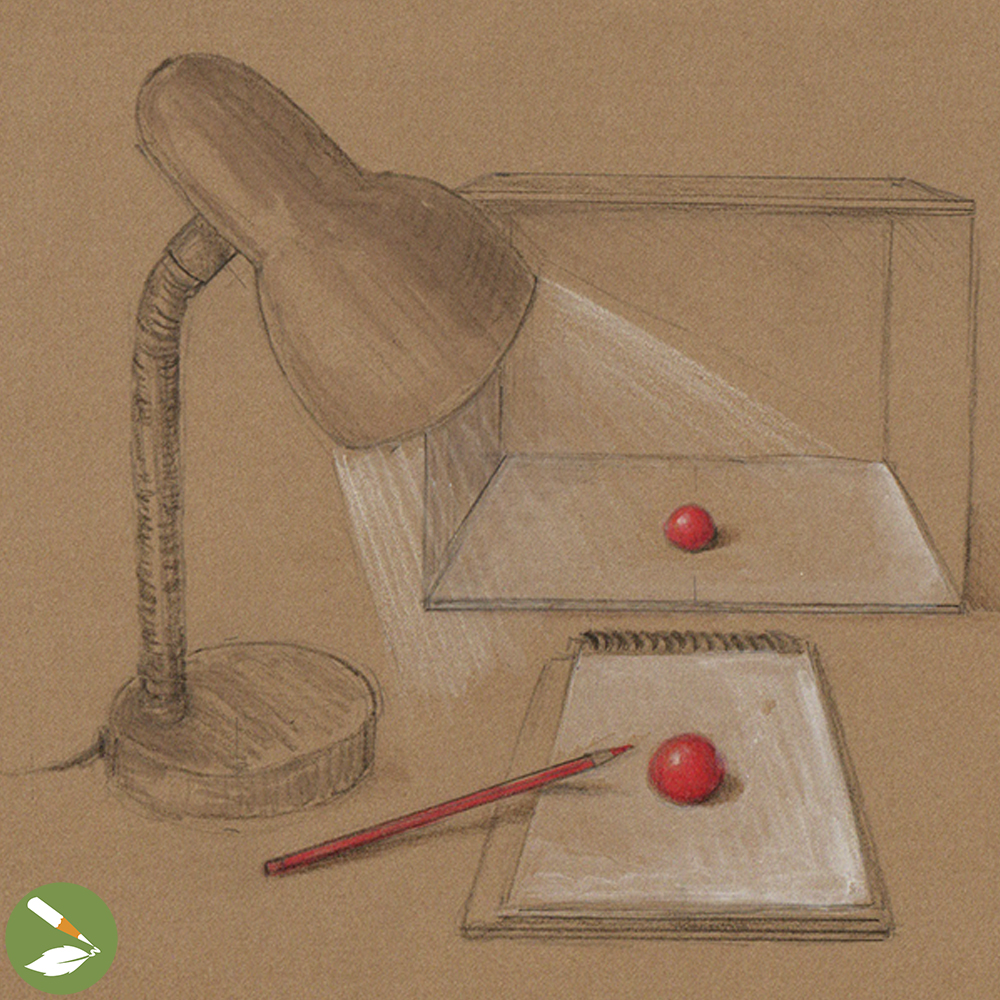
LIGHT SOURCE
Drawing with one consistent light source gives you a clear understanding of where your shadows and highlights belong. Light should hit your subject at about a 45 degree angle from the upper left. Use a box to block out other light sources in the room so you can clearly notice where shadows and highlights appear.
Learn more about Light Source here.
2. CREATE
For step-by-step instructions, check out these free lessons that outline how to draw subjects like tulips and peaches.
Remember that these lessons can be applied to ANY subject!
WARM UP
Begin with these 5 warm-up exercises designed to stretch your artistic abilities and prepare you for the detailed work ahead.
Nature Journaling is also a great way to get your creative juices flowing! To get started quickly, check out our quick guide, Nature Journaling in a Nutshell (printed booklet or downloadable PDF).
START SMALL
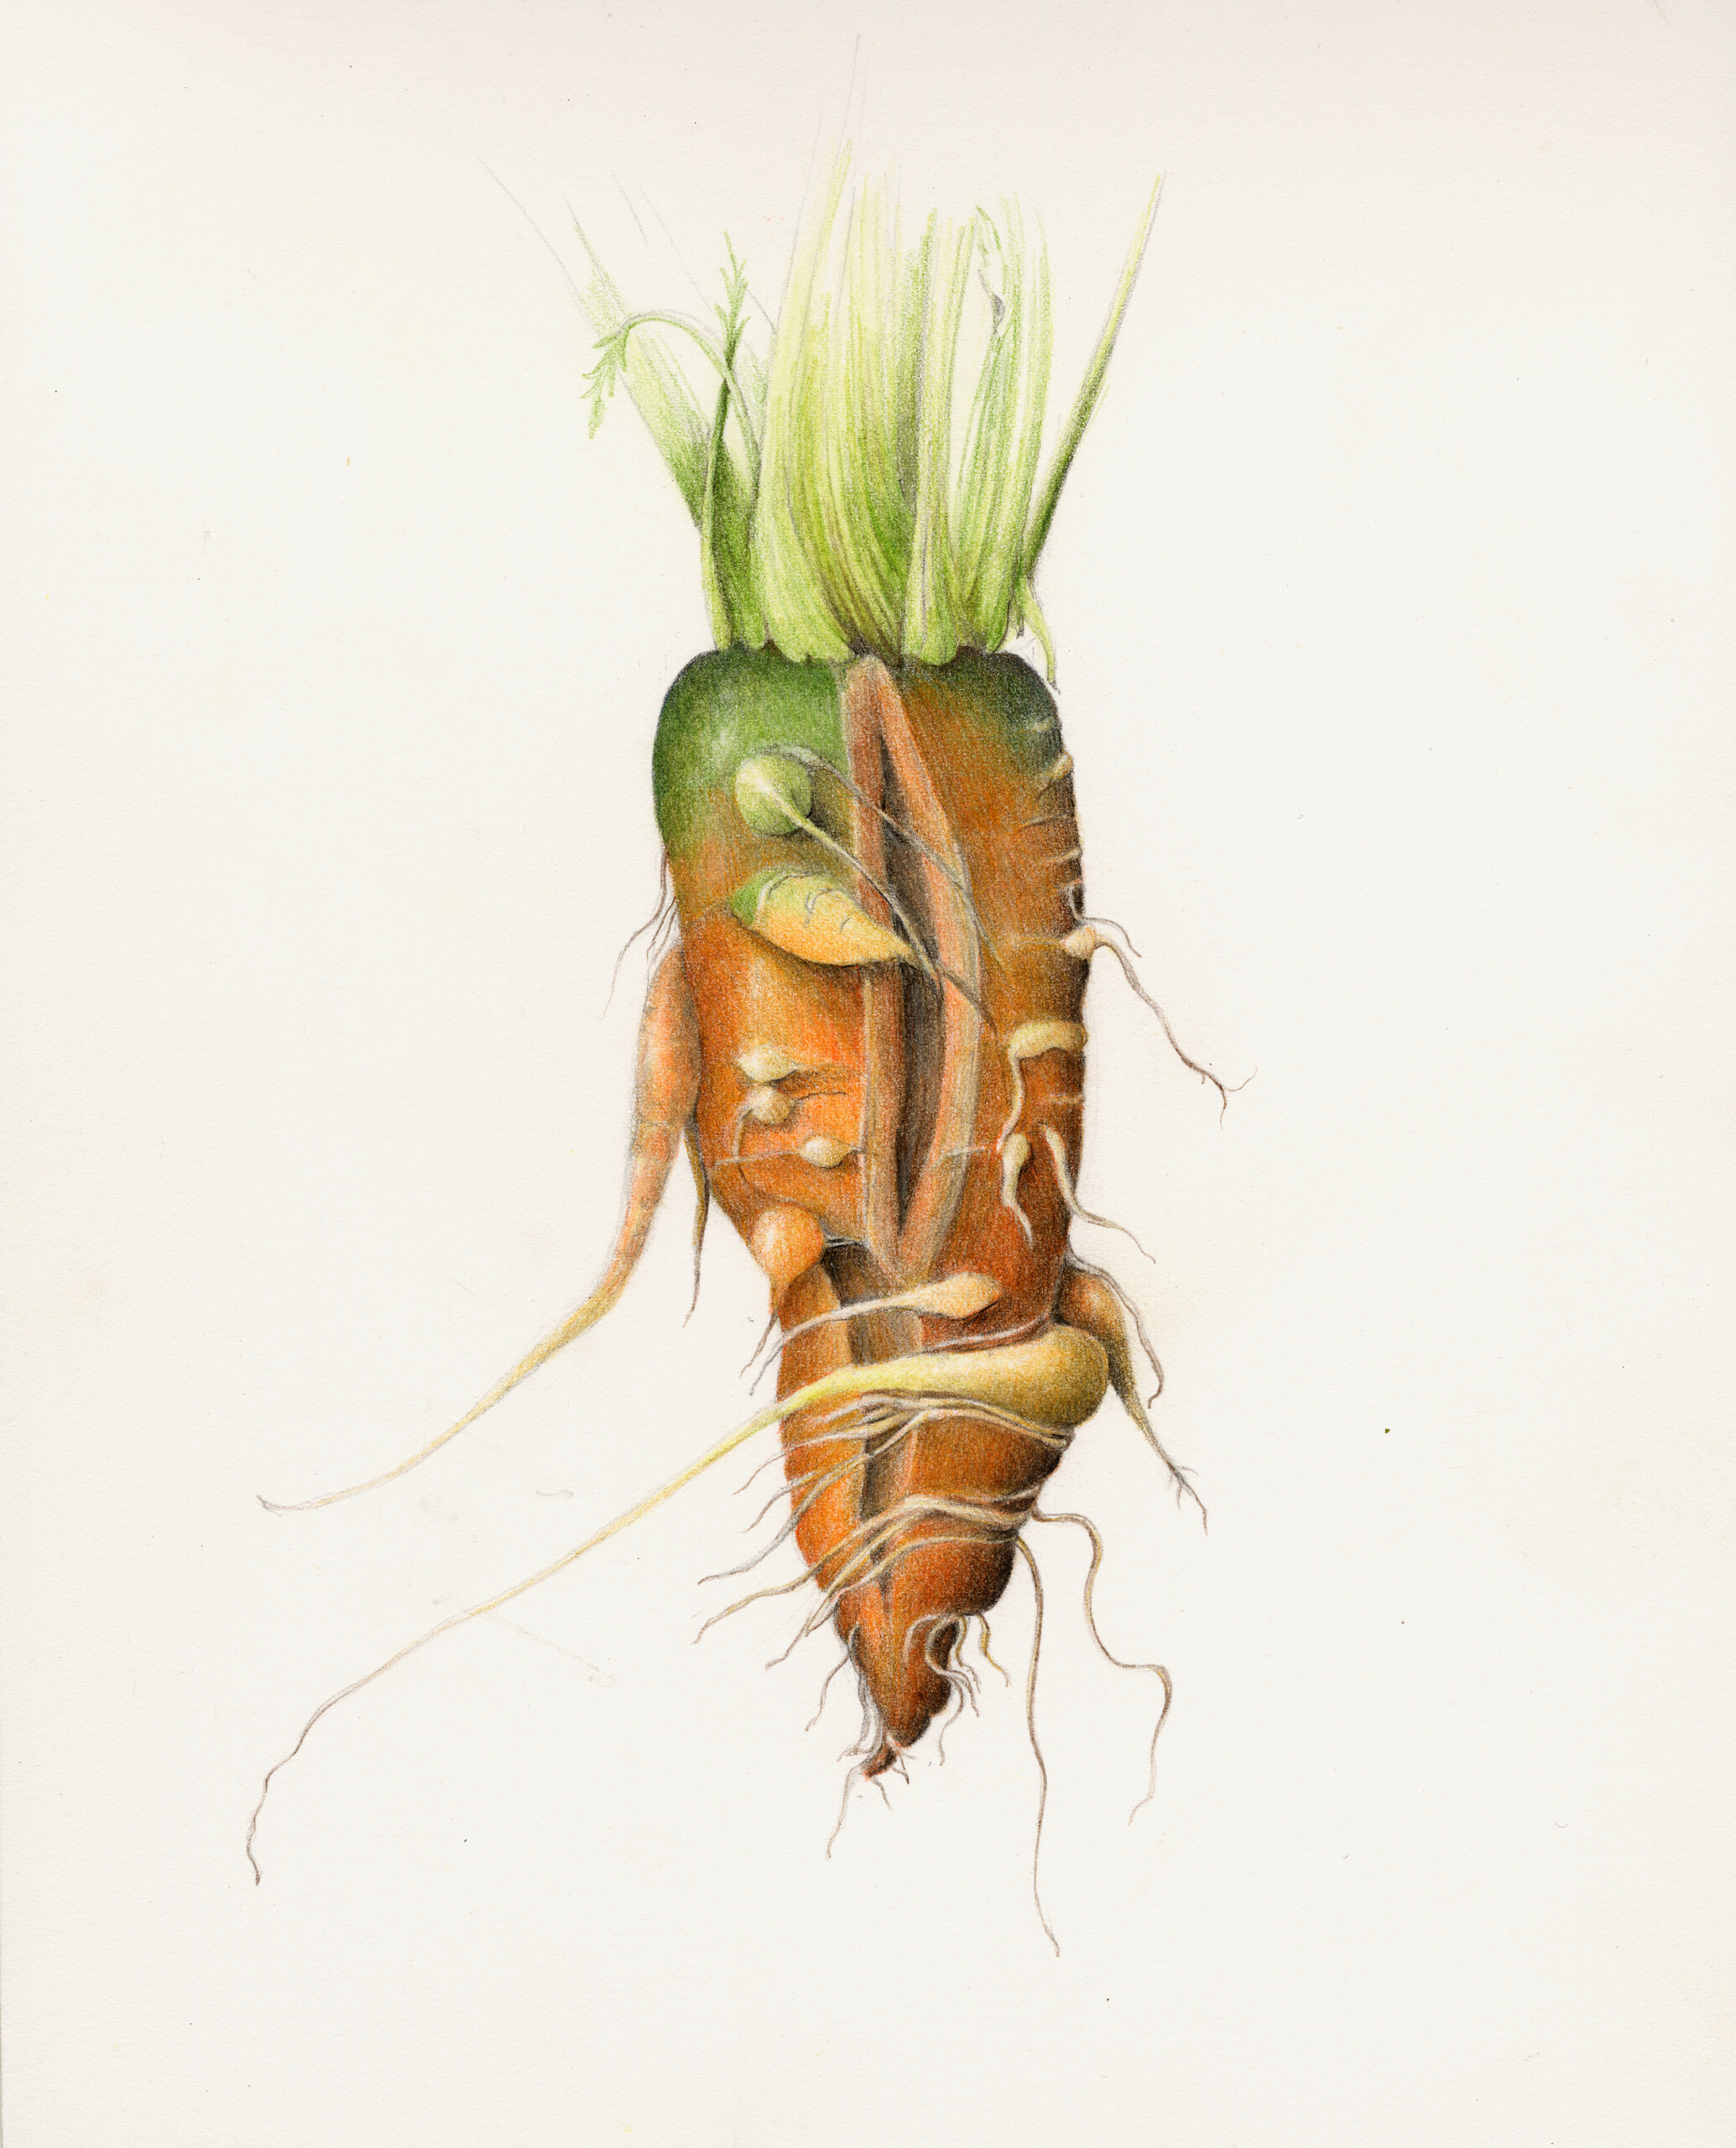
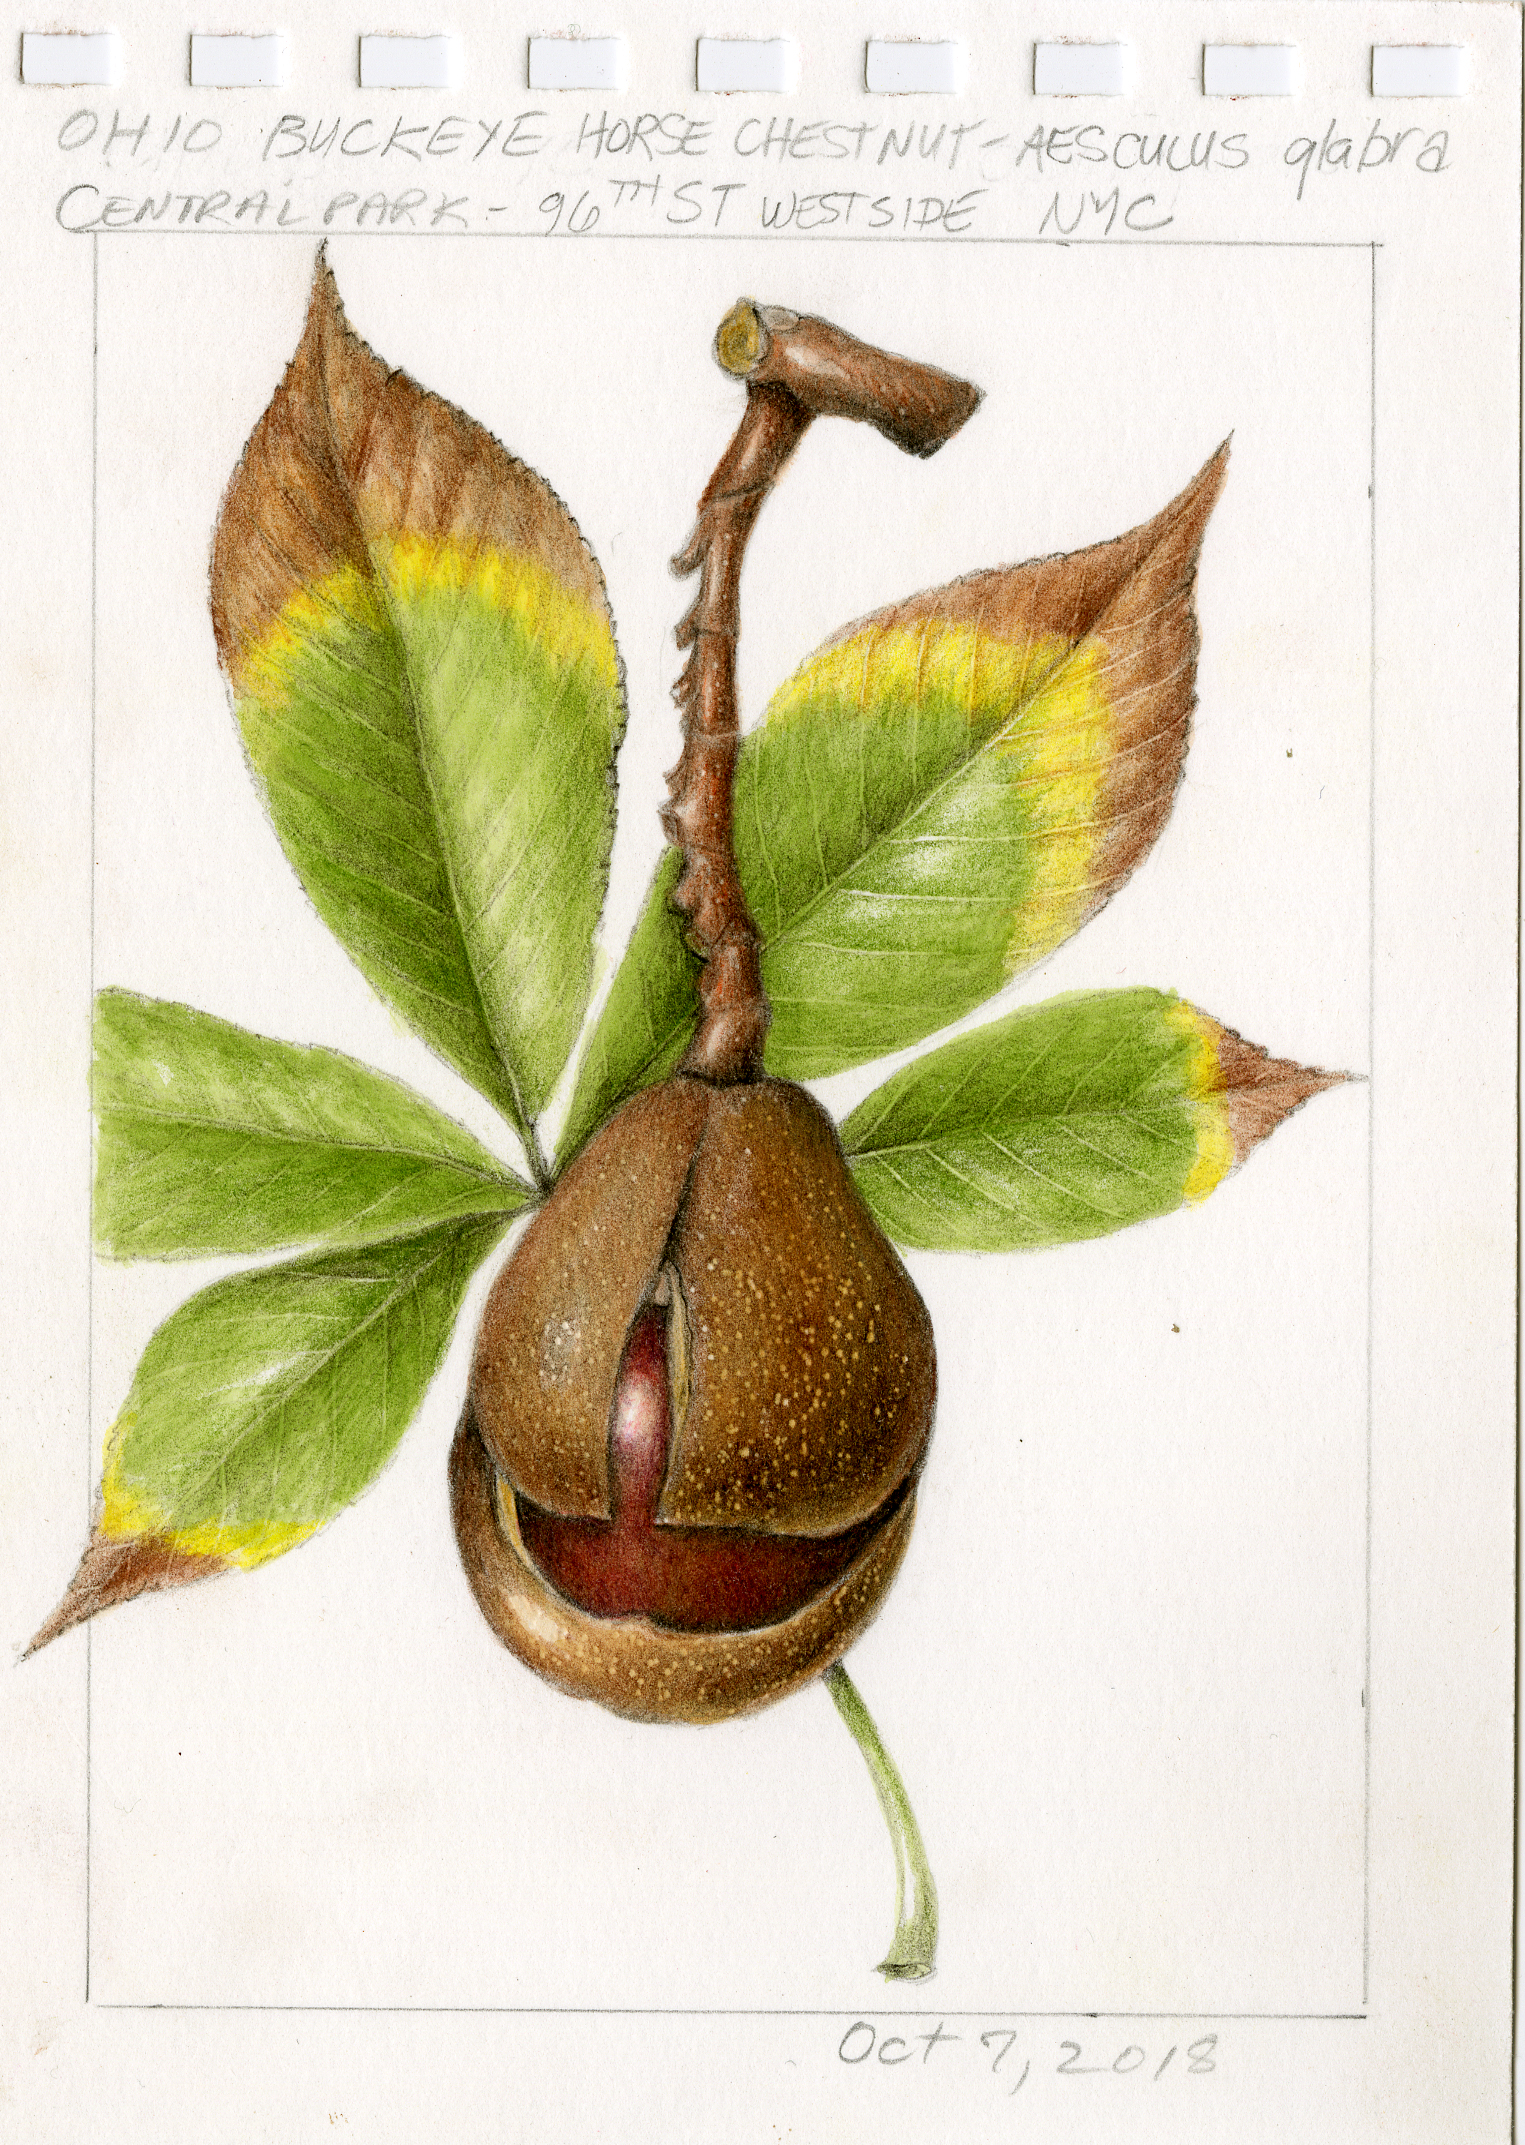
Start small with one simple subject such as a small branch or a small nut or fruit.
Consider our Botanical Basics program: short 30-minute lessons to help you get started. You will be amazed how you can develop an understanding of basic drawing skills in a brief amount of time.
ONE STEP AT A TIME
Our step-by-step approach allows you to build on basic skills one at a time. Continue to practice one skill until you’ve really got it, and then move on to the next.
The Practice of Botanical Drawing Course Subscription provides step-by-step guidance for using colored pencil and watercolor pencil to capture nature’s seasonal forms, patterns and colors, plus access to our motivational community and the Botanical Basics library. The subscription encourages an ongoing practice that advances at your own pace, one skill at a time.
DRAW WHAT YOU SEE
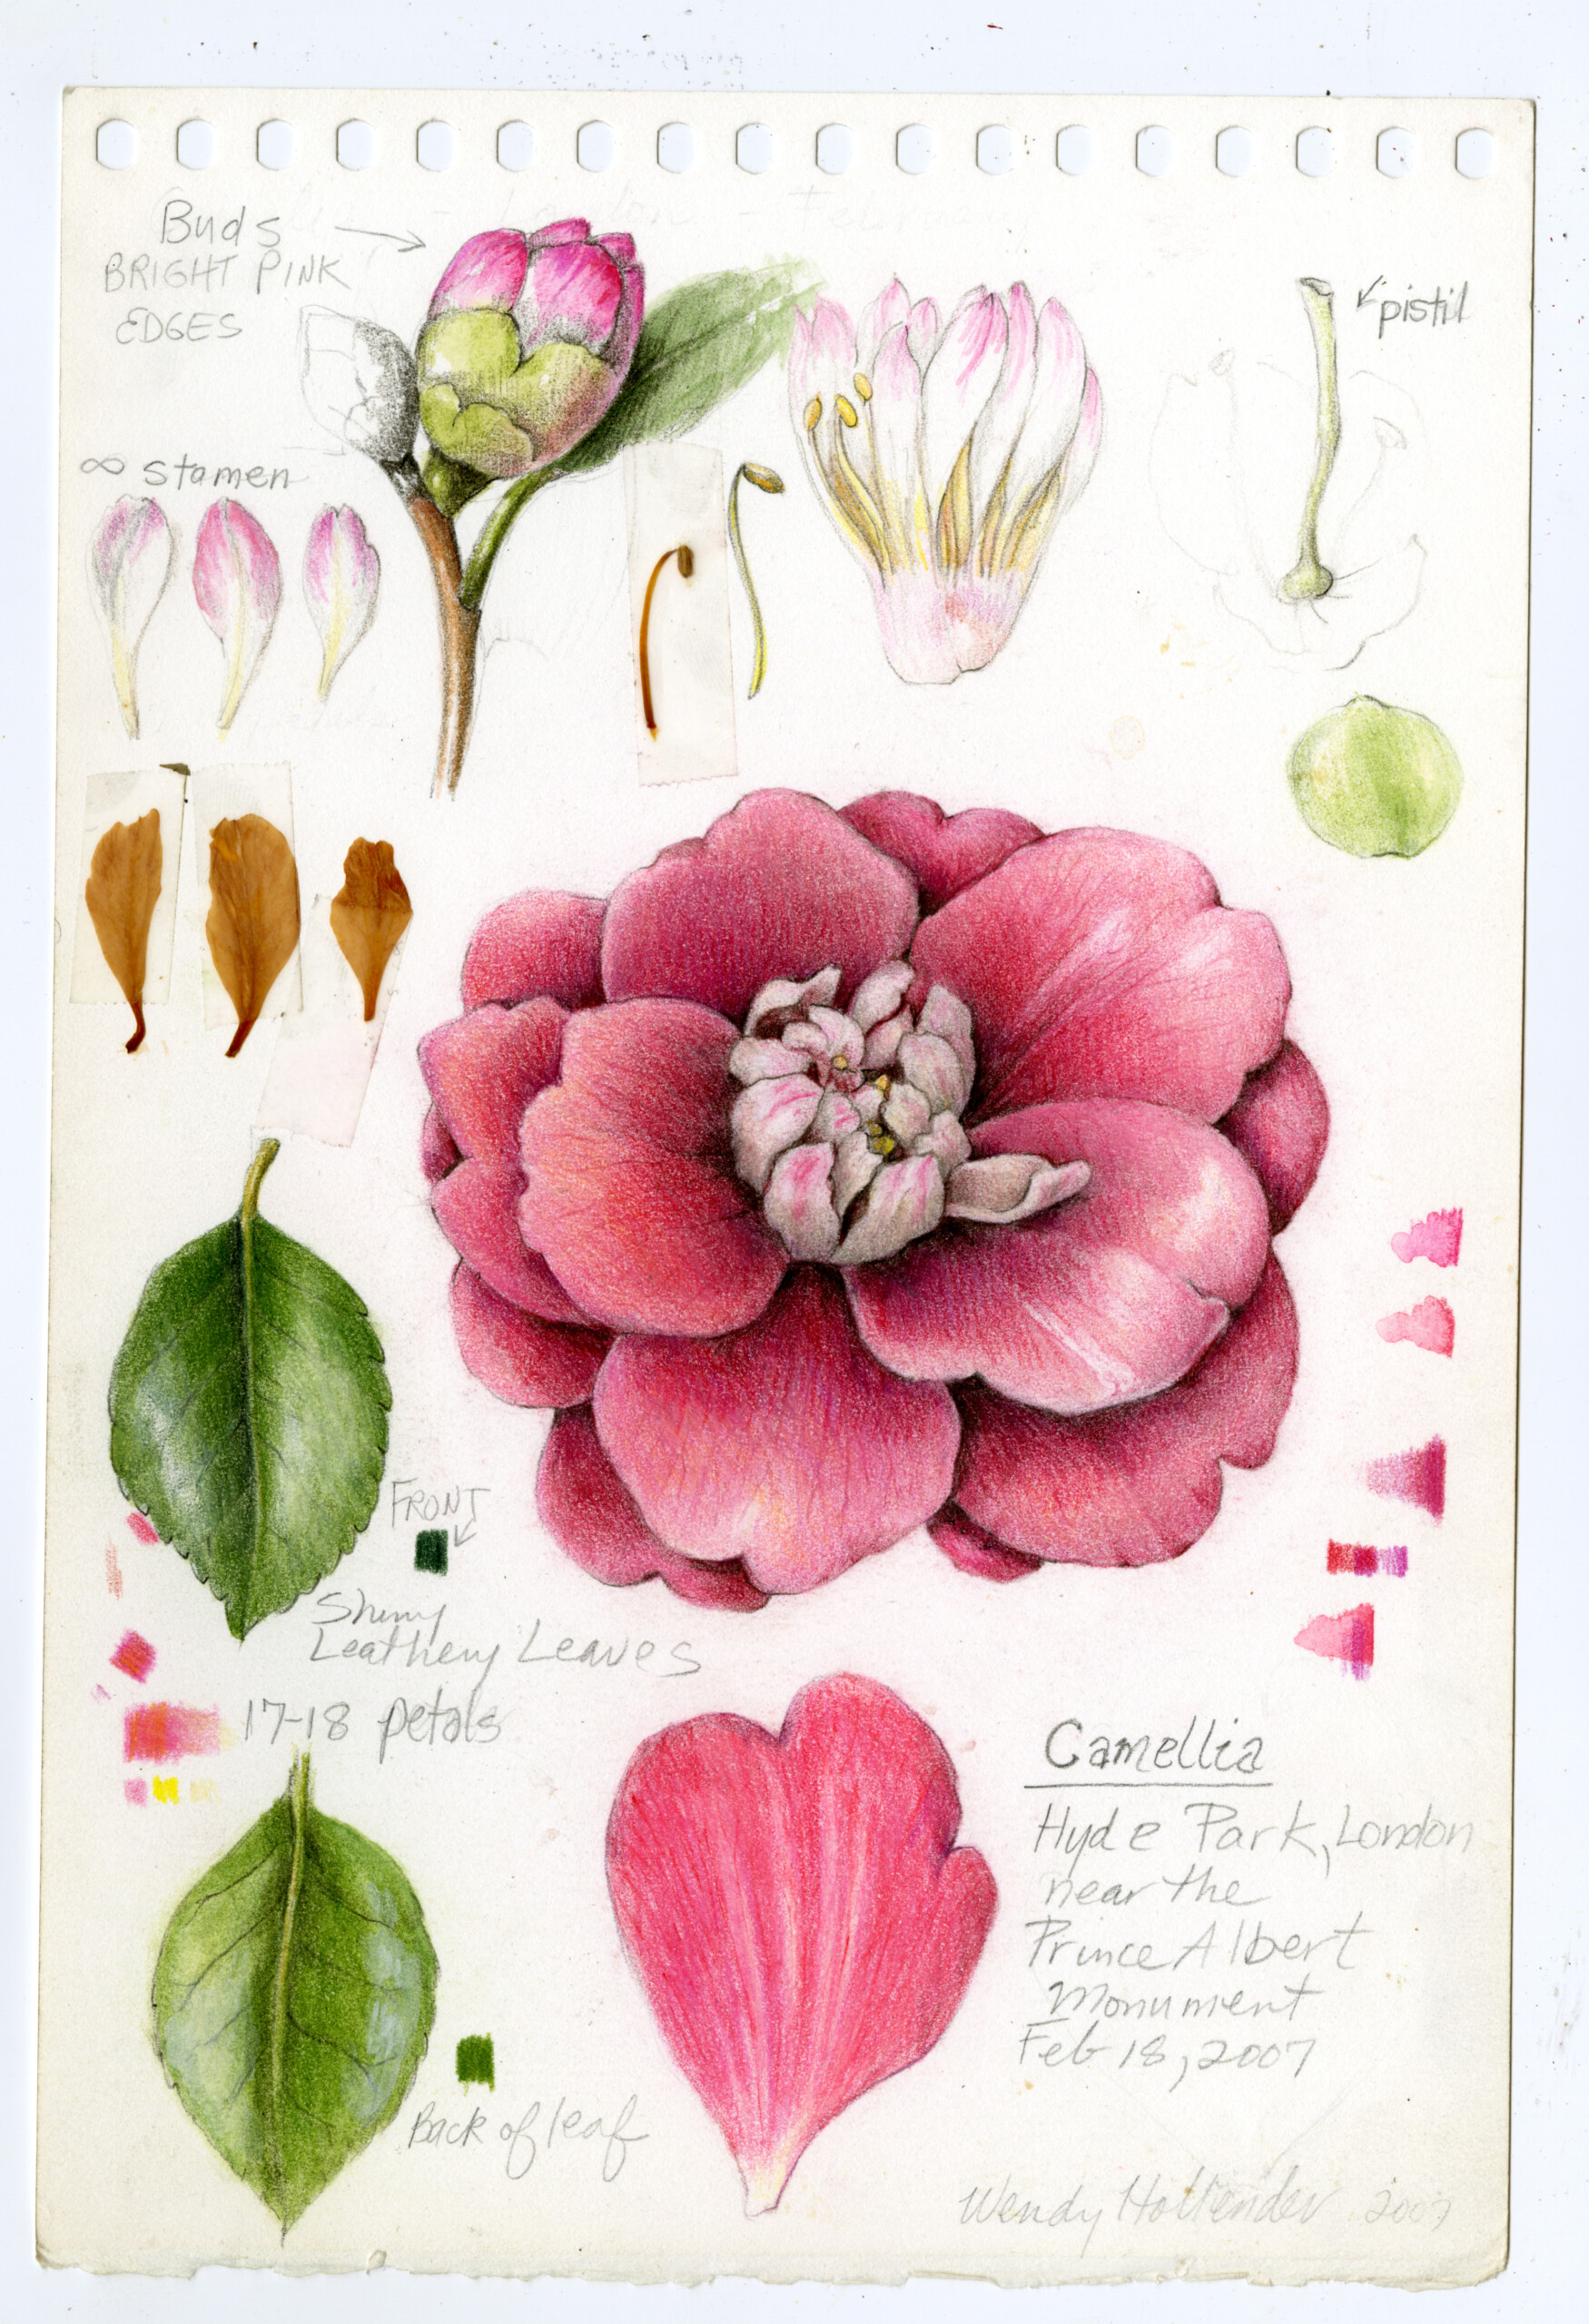
Allow nature’s beauty to guide you in combination with these basic techniques to avoid that overwhelming feeling of not knowing what to do next. By closely observing and then drawing what you see, you will learn about a plant’s structure as you draw.
PRO TIP – Use a see-through ruler against an imaginary picture plane for precise measurements.
DESCRIBE 3D FORM
Before you start drawing, it’s helpful to notice the basic shapes that make up your plant and draw thumbnail sketches to remind you how you want to draw the light.
Practice toning slowly and carefully to create the illusion of depth. It’s important to start with grisaille toning to define the subject’s three-dimensional form before layering color on top, rendered with light and shadow in neutral tones.
Learn about Color Theory here.
SLOW & STEADY
You will be amazed by how pleasurable it feels to build layer upon layer of tone and color. Continuous toning is the “secret” to creating the illusion of depth that makes your drawing feel realistic, so be sure to take your time and practice seamless toning from dark to light.
EVALUATE
Ask yourself these 10 questions every artist should ask while drawing. Make necessary adjustments until your drawing is accurate in size, proportion, and perspective and arranged in a pleasing composition.
FINISHING DETAILS
Burnish and polish with cream color or colorless blender to add luminescence and hide the paper texture.
With a good eraser, clean up the background and erase your guidelines. (Here are helpful tips for using different erasers.)
With a hard pencil or your sharpest Dark Sepia colored pencil, sharpen details. In your darkest shadow areas, press a bit harder to elevate your contrast and emphasize overlaps.
3. REJOICE (& REPEAT!)
The next time you put your pencils and paintbrushes down, take intentional time to admire your page. You made something! That’s amazing! You could have been doing anything else, and instead, you chose to spend your time connecting with nature and harnessing your creativity onto a previously empty page.
You are the only one who could have created what you did like you did it. No one else could have created it exactly like you. Really revel in this moment, and be proud of yourself for creating something that shares a piece of you with everyone (regardless of how your inner critic judges the quality of your work). Creating brightens not only your life, but also the larger world.

No one likes an artist who endlessly boasts and brags, but sometimes (especially when you’re feeling doubt about your artistic skills) you have to toot your own horn! Let pride step up to the mic for a moment, and take their compliments to heart. “Wow, I drew that?!” “I love the movement of that petal!” “My drawing really shows how that plant grows!”
Celebrating personal growth is a powerful tool to motivate and inspire ourselves to keep creating. The world needs the unique art that only you can bring to life, so remember that every step forward is worth celebrating – it’s a testament to your dedication, hard work, and creativity. Take a well earned break… then enjoy doing it all over again!
WANT MORE? – Learn to Draw
Practice makes PROGRESS, so keep practicing! Check out all of our opportunities to learn without leaving home at drawbotanical.com/online.
Prefer to practice in-person?