How to Draw Flowers That Feel Real
Practical Tips for Painting Beautiful Blooms
Add Depth, Dimension, & Clarity to Realistic Flower Drawings with These Free Tips & Techniques
We’ve all seen stunning snapdragons, radiant roses or fascinating foxgloves that made us think, “Wow, I want to stare at this for hours and capture its beauty on paper because nature is so incredible!” And we’ve all sat down with our favorite art mediums and set up for success, only to be overwhelmed by the challenge of actually drawing the flower. Never fear–we are always here to help!
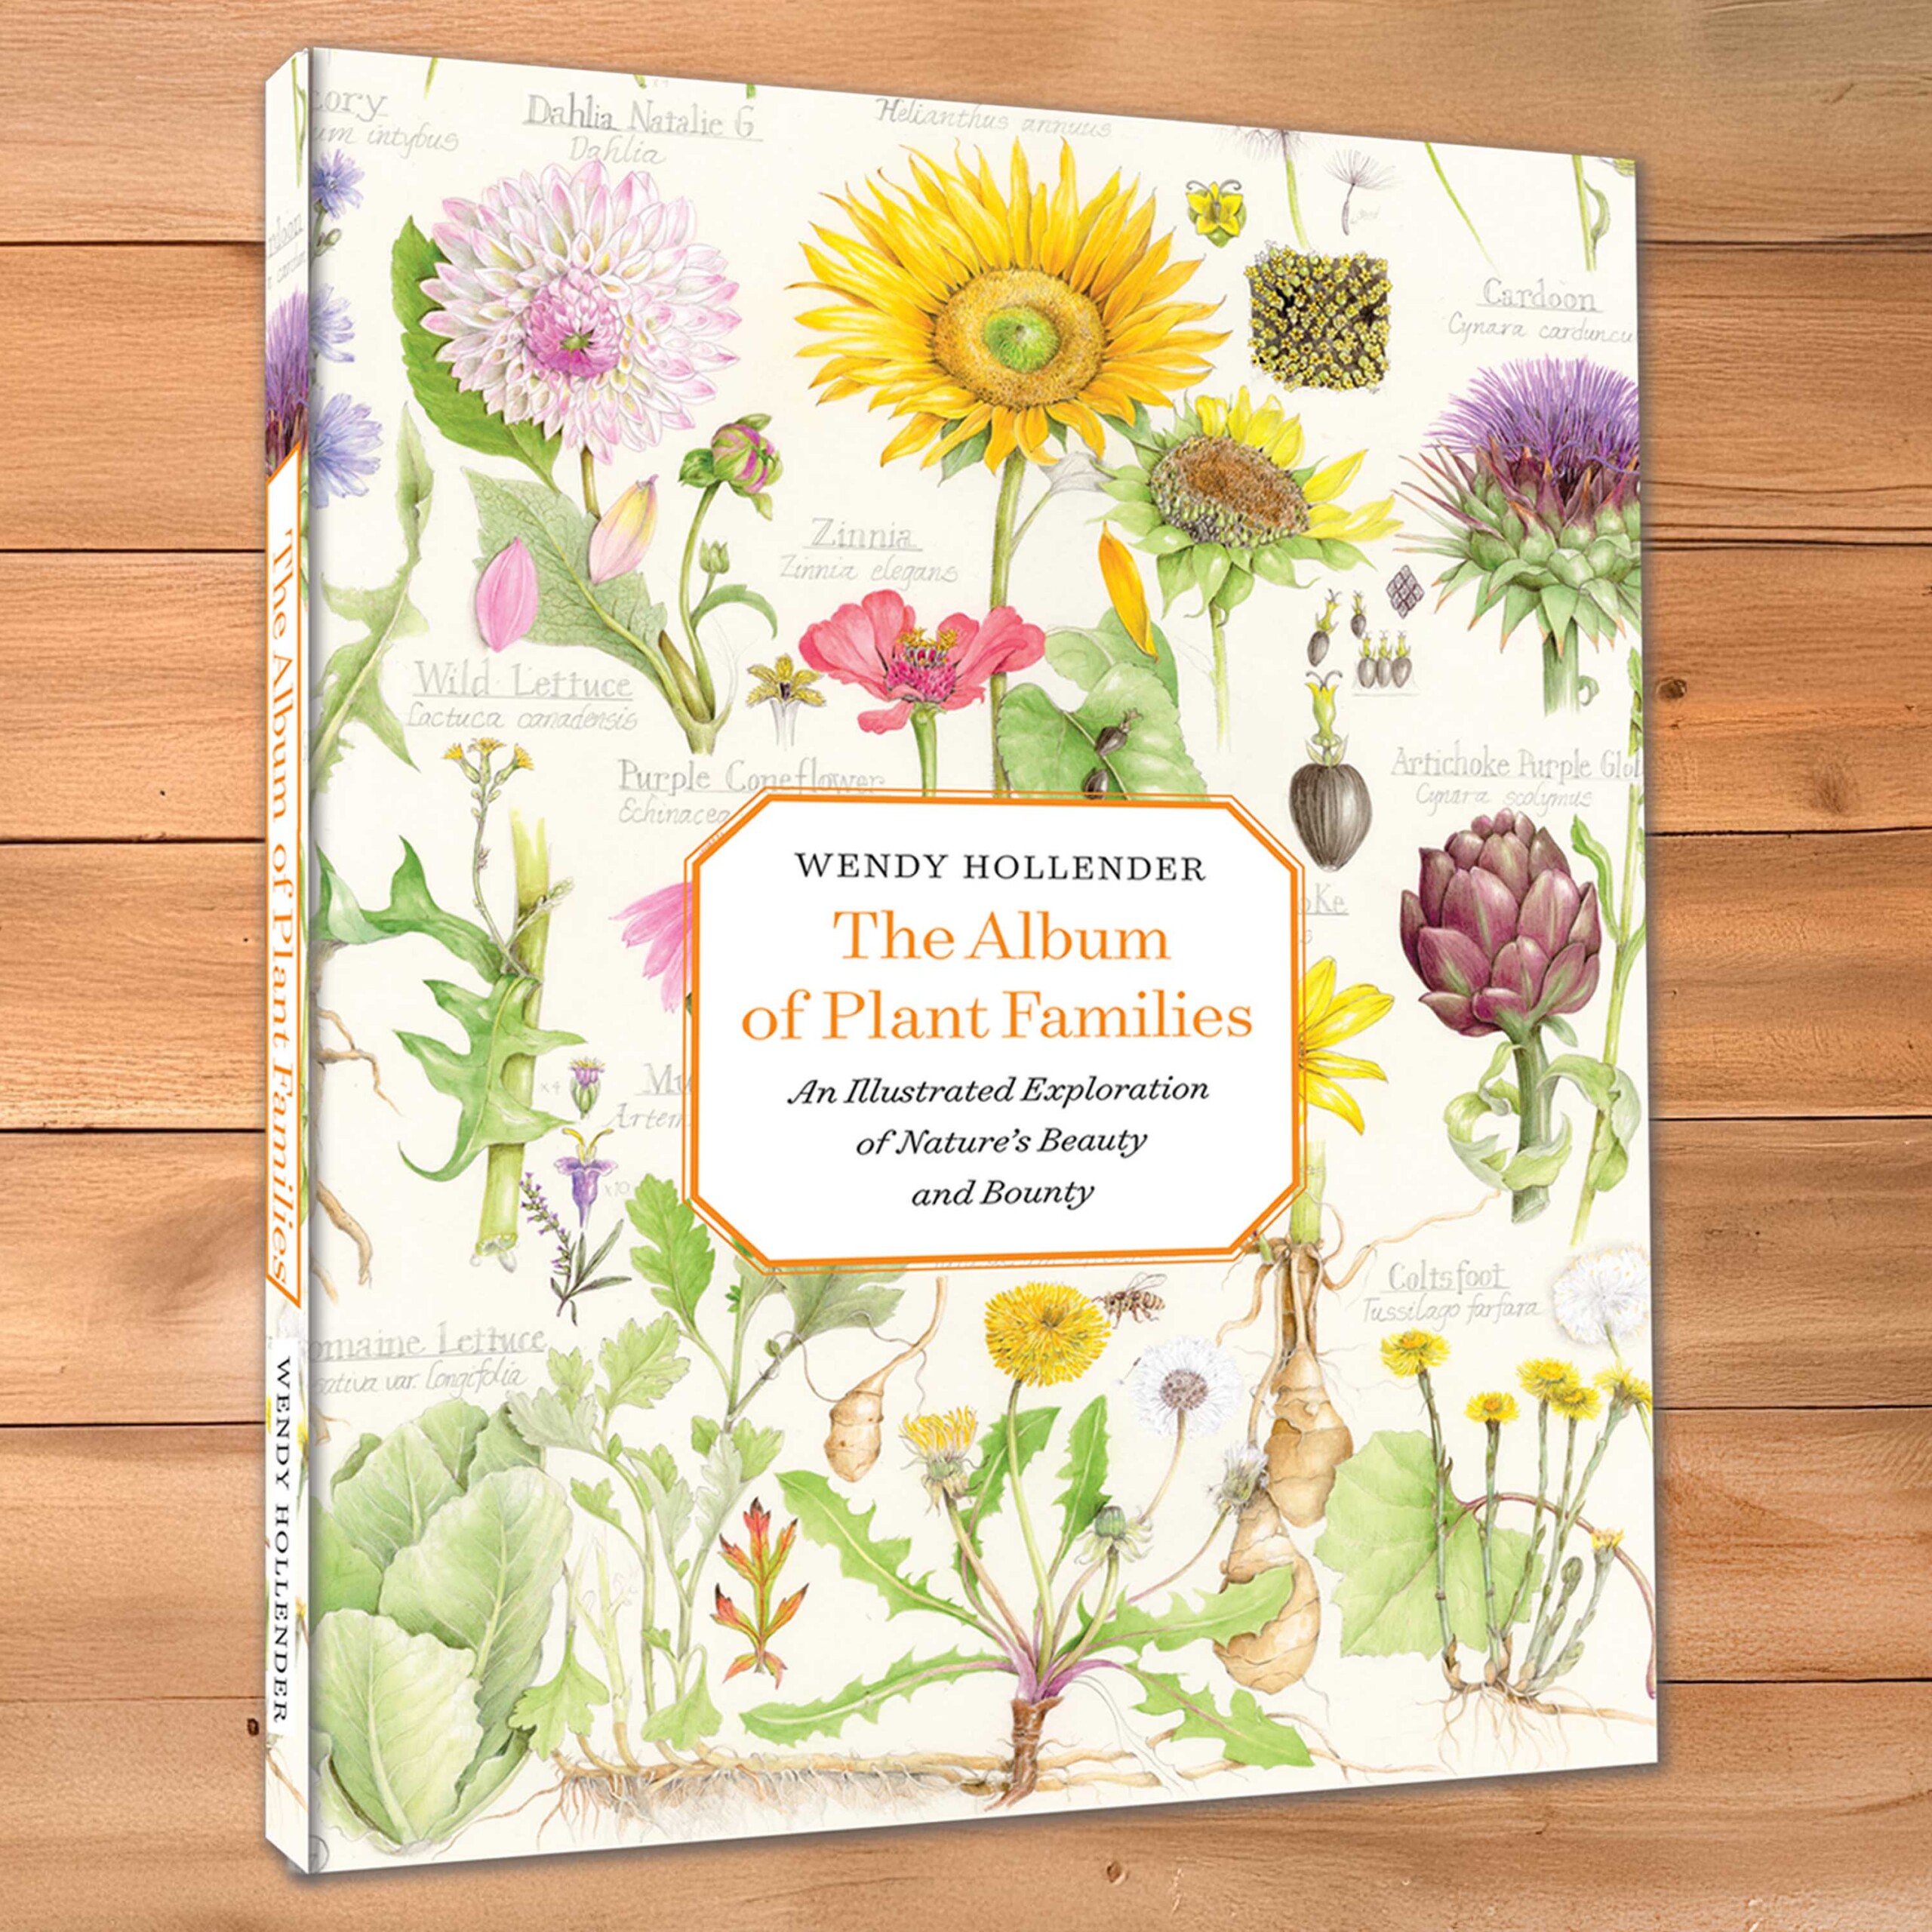
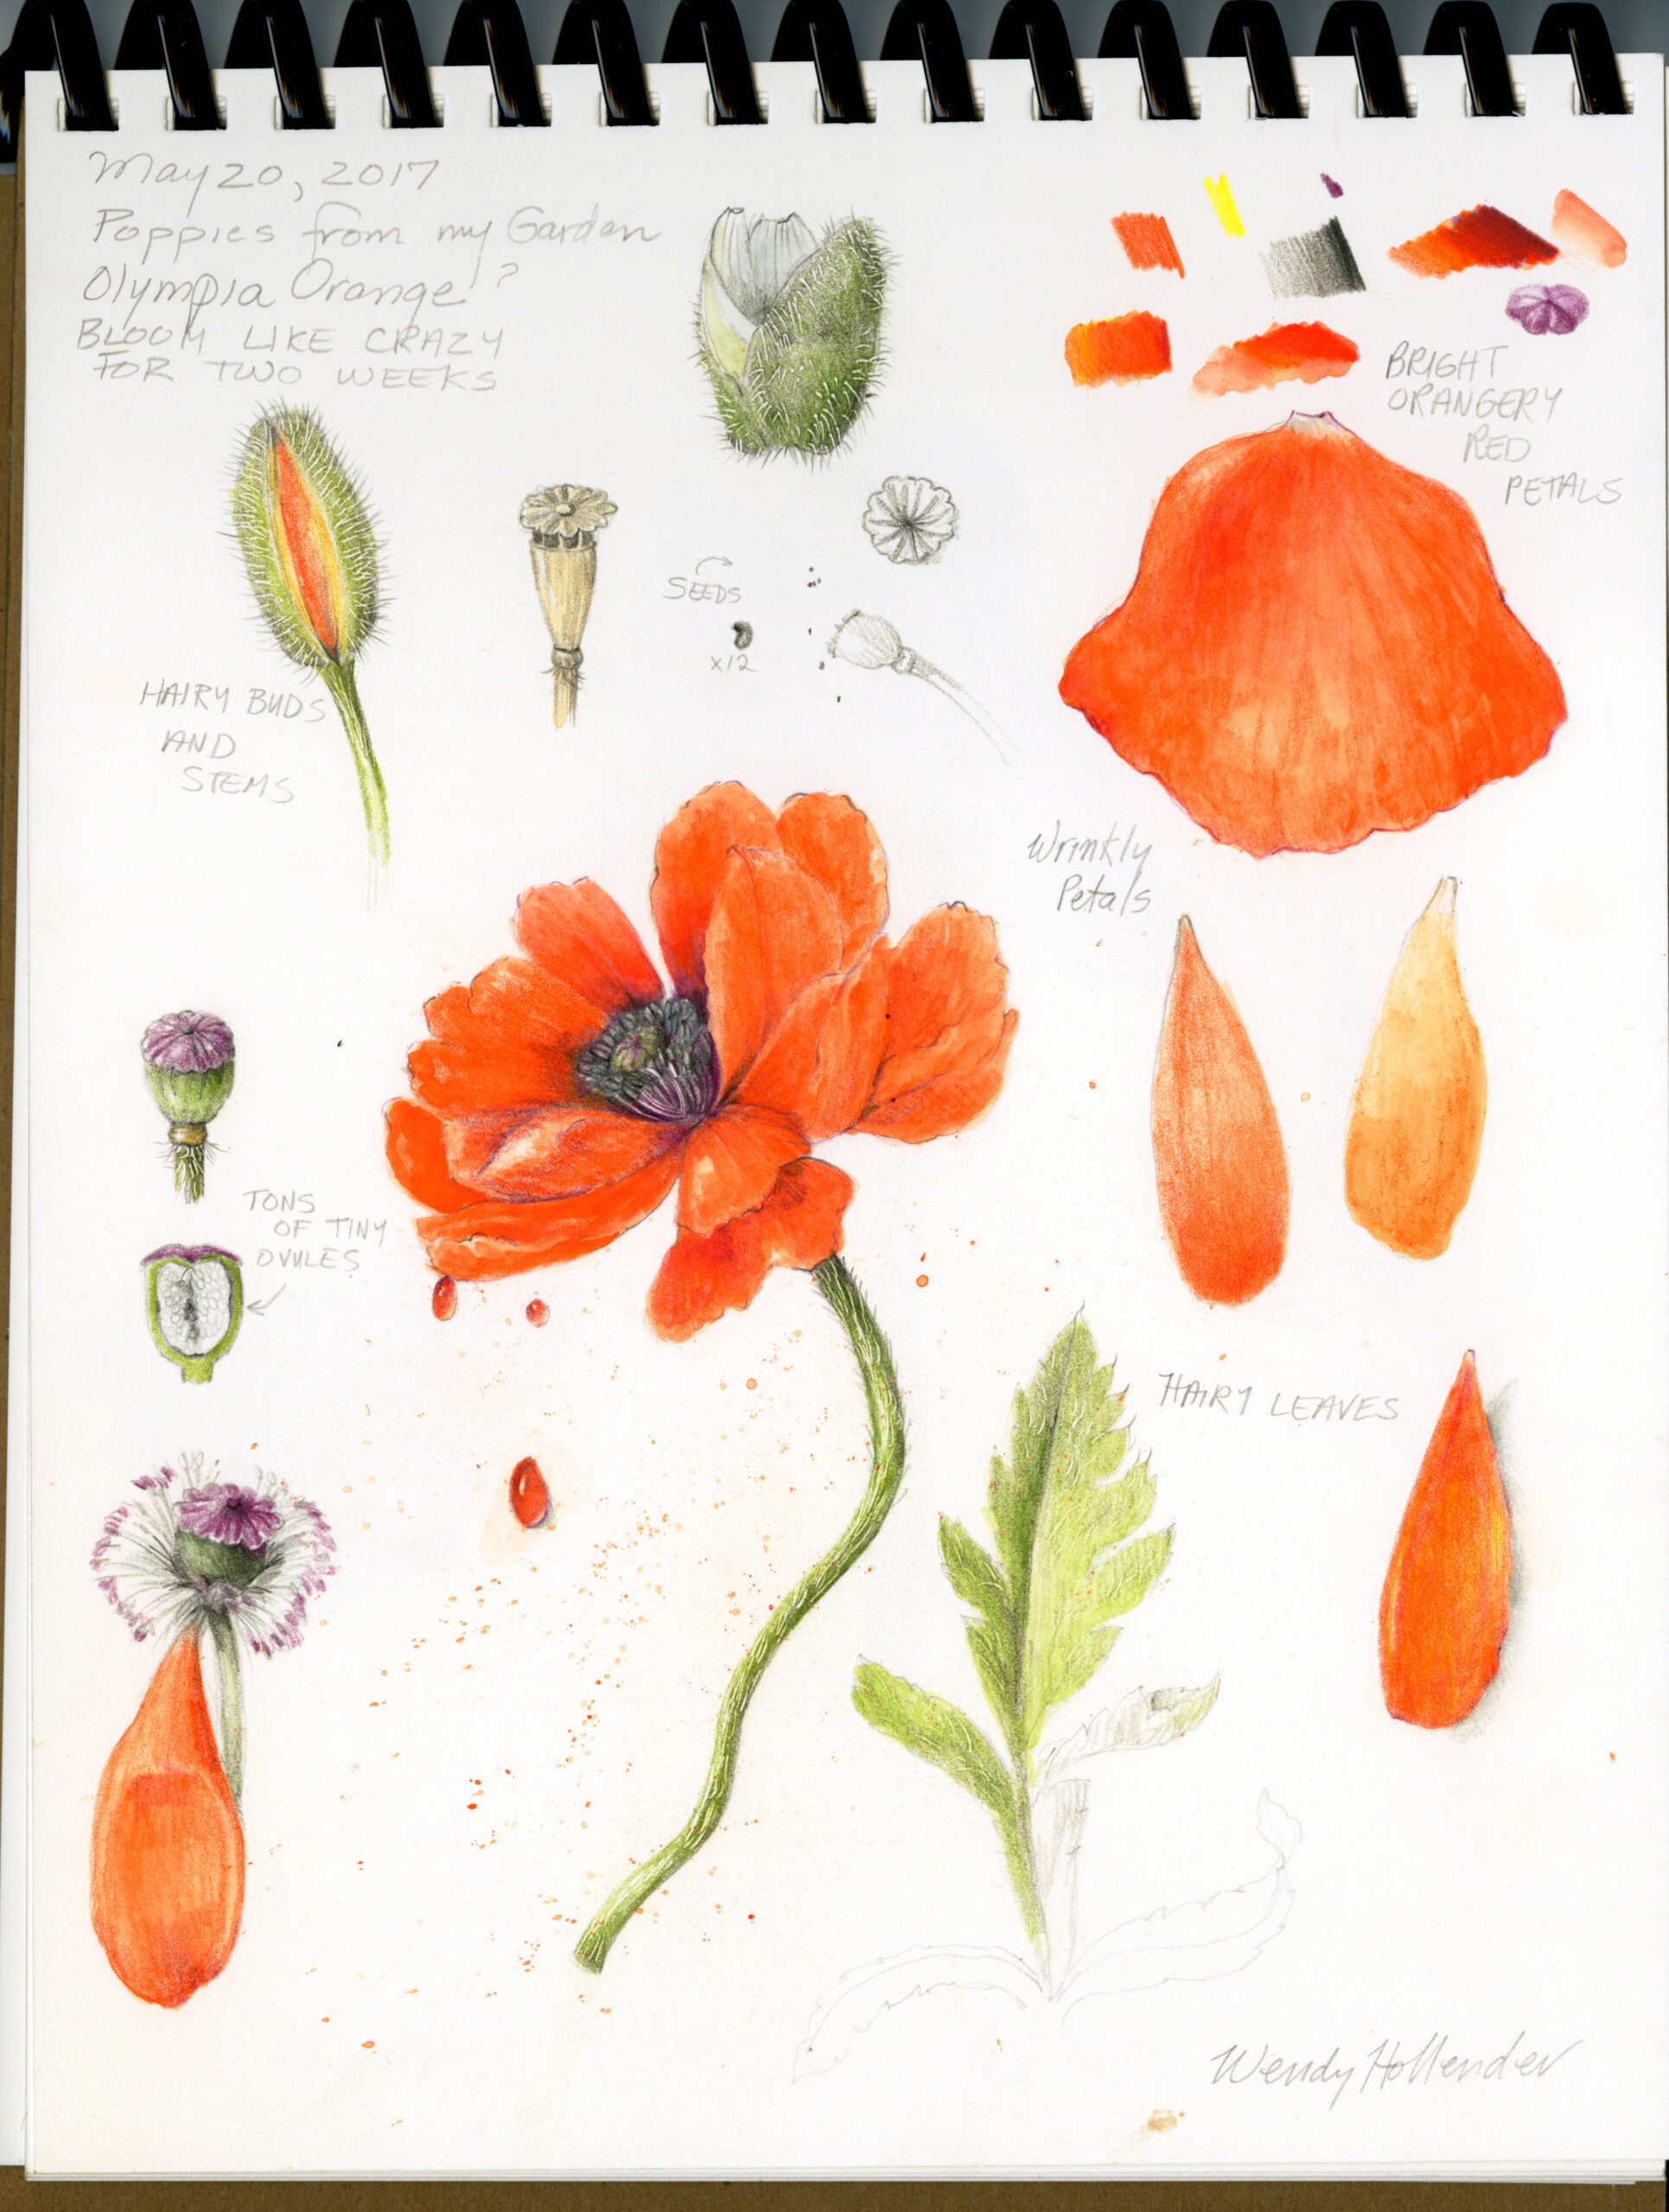
Our Understanding Flowers blog post is full of botanical fun facts and helpful study tools to use (like Vern’s example above!). Also, our Dictionary has definitions for many of the more technical botanical and artistic terms we use. Keep scrolling this post (or click the menu links below) for pro drawing tips:
–Understanding Flowers: Begin with Basic Shapes
–Slow Down and Enjoy Exploring
–Repetition Builds Clarity
–Add Dimension with Light and Shadow
–Use a Light Watercolor Wash to Set the Stage
–Listen to Nature’s Lessons
Join Live Online Workshops
Learn more & Register for DANDELIONS
Learn more & Register for SUNFLOWERS

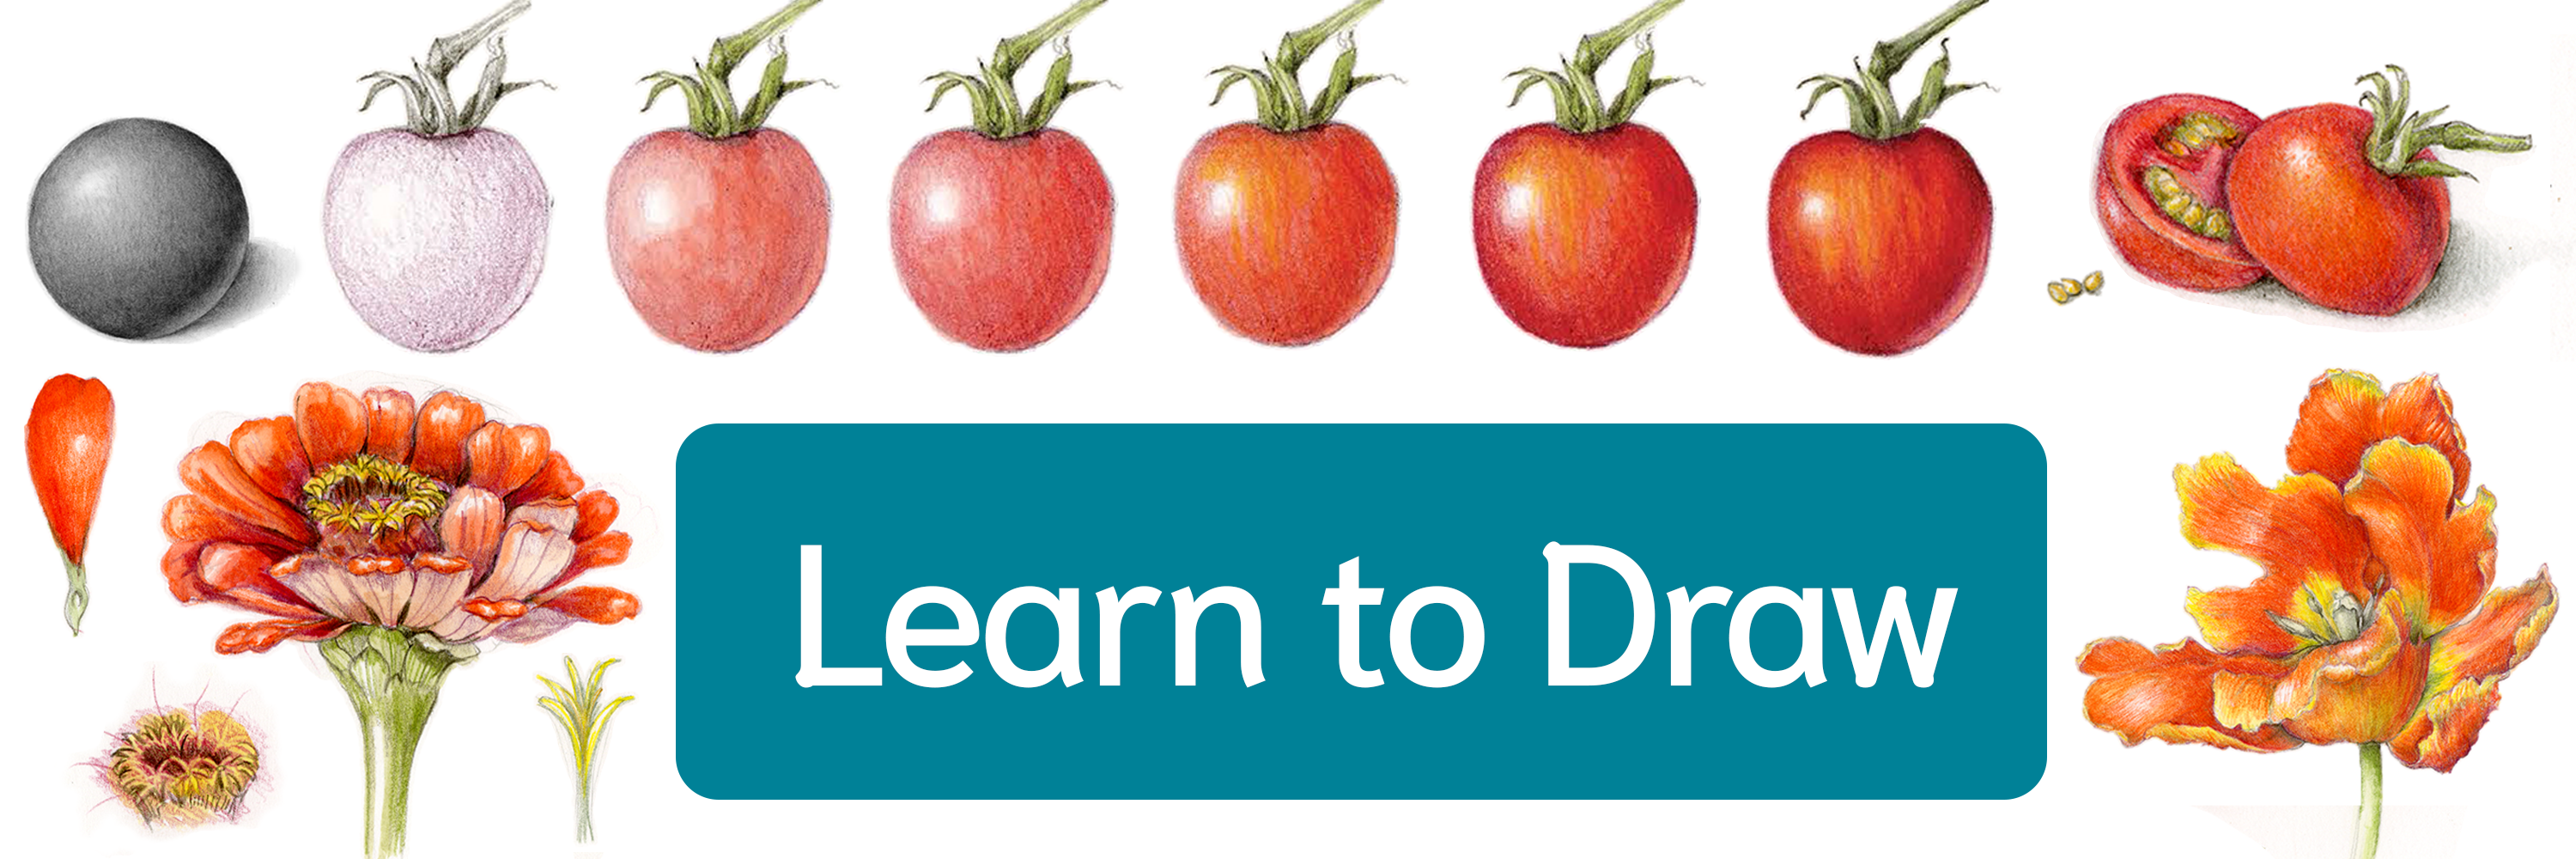
Understanding Flowers: Begin with Basic Shapes & Symmetry
Before you start sketching, observe the flower’s structure carefully. What basic shape does it suggest? For example, tulips resemble simple cups, and morning glories gradually widen from the base resulting in funnel-shapes.
Identifying symmetry in your flower will also help you map out your initial sketch, whether it has radial symmetry (like a zinnia) or bilateral symmetry (like an orchid). (Learn more about flower symmetry here.)
Tip: Consider different views, choose a perspective that makes your flower look 3D, and measure accurately from your viewpoint.
🌼 This helps you avoid a flat look and keeps proportions consistent as you build out the drawing.
Start simple with this 12-step tutorial to draw a tulip as general guidelines to draw ANY flower!

Slow Down and Enjoy Exploring
Take a few deep breaths, and resist the urge to rush right to a full composition. Separate a flower’s parts, study them individually, and understand their purpose in that plant’s life. Flowers are more than just their looks – they consist of complex parts that cooperate to contribute to their environment. Enjoy adventuring into their world!
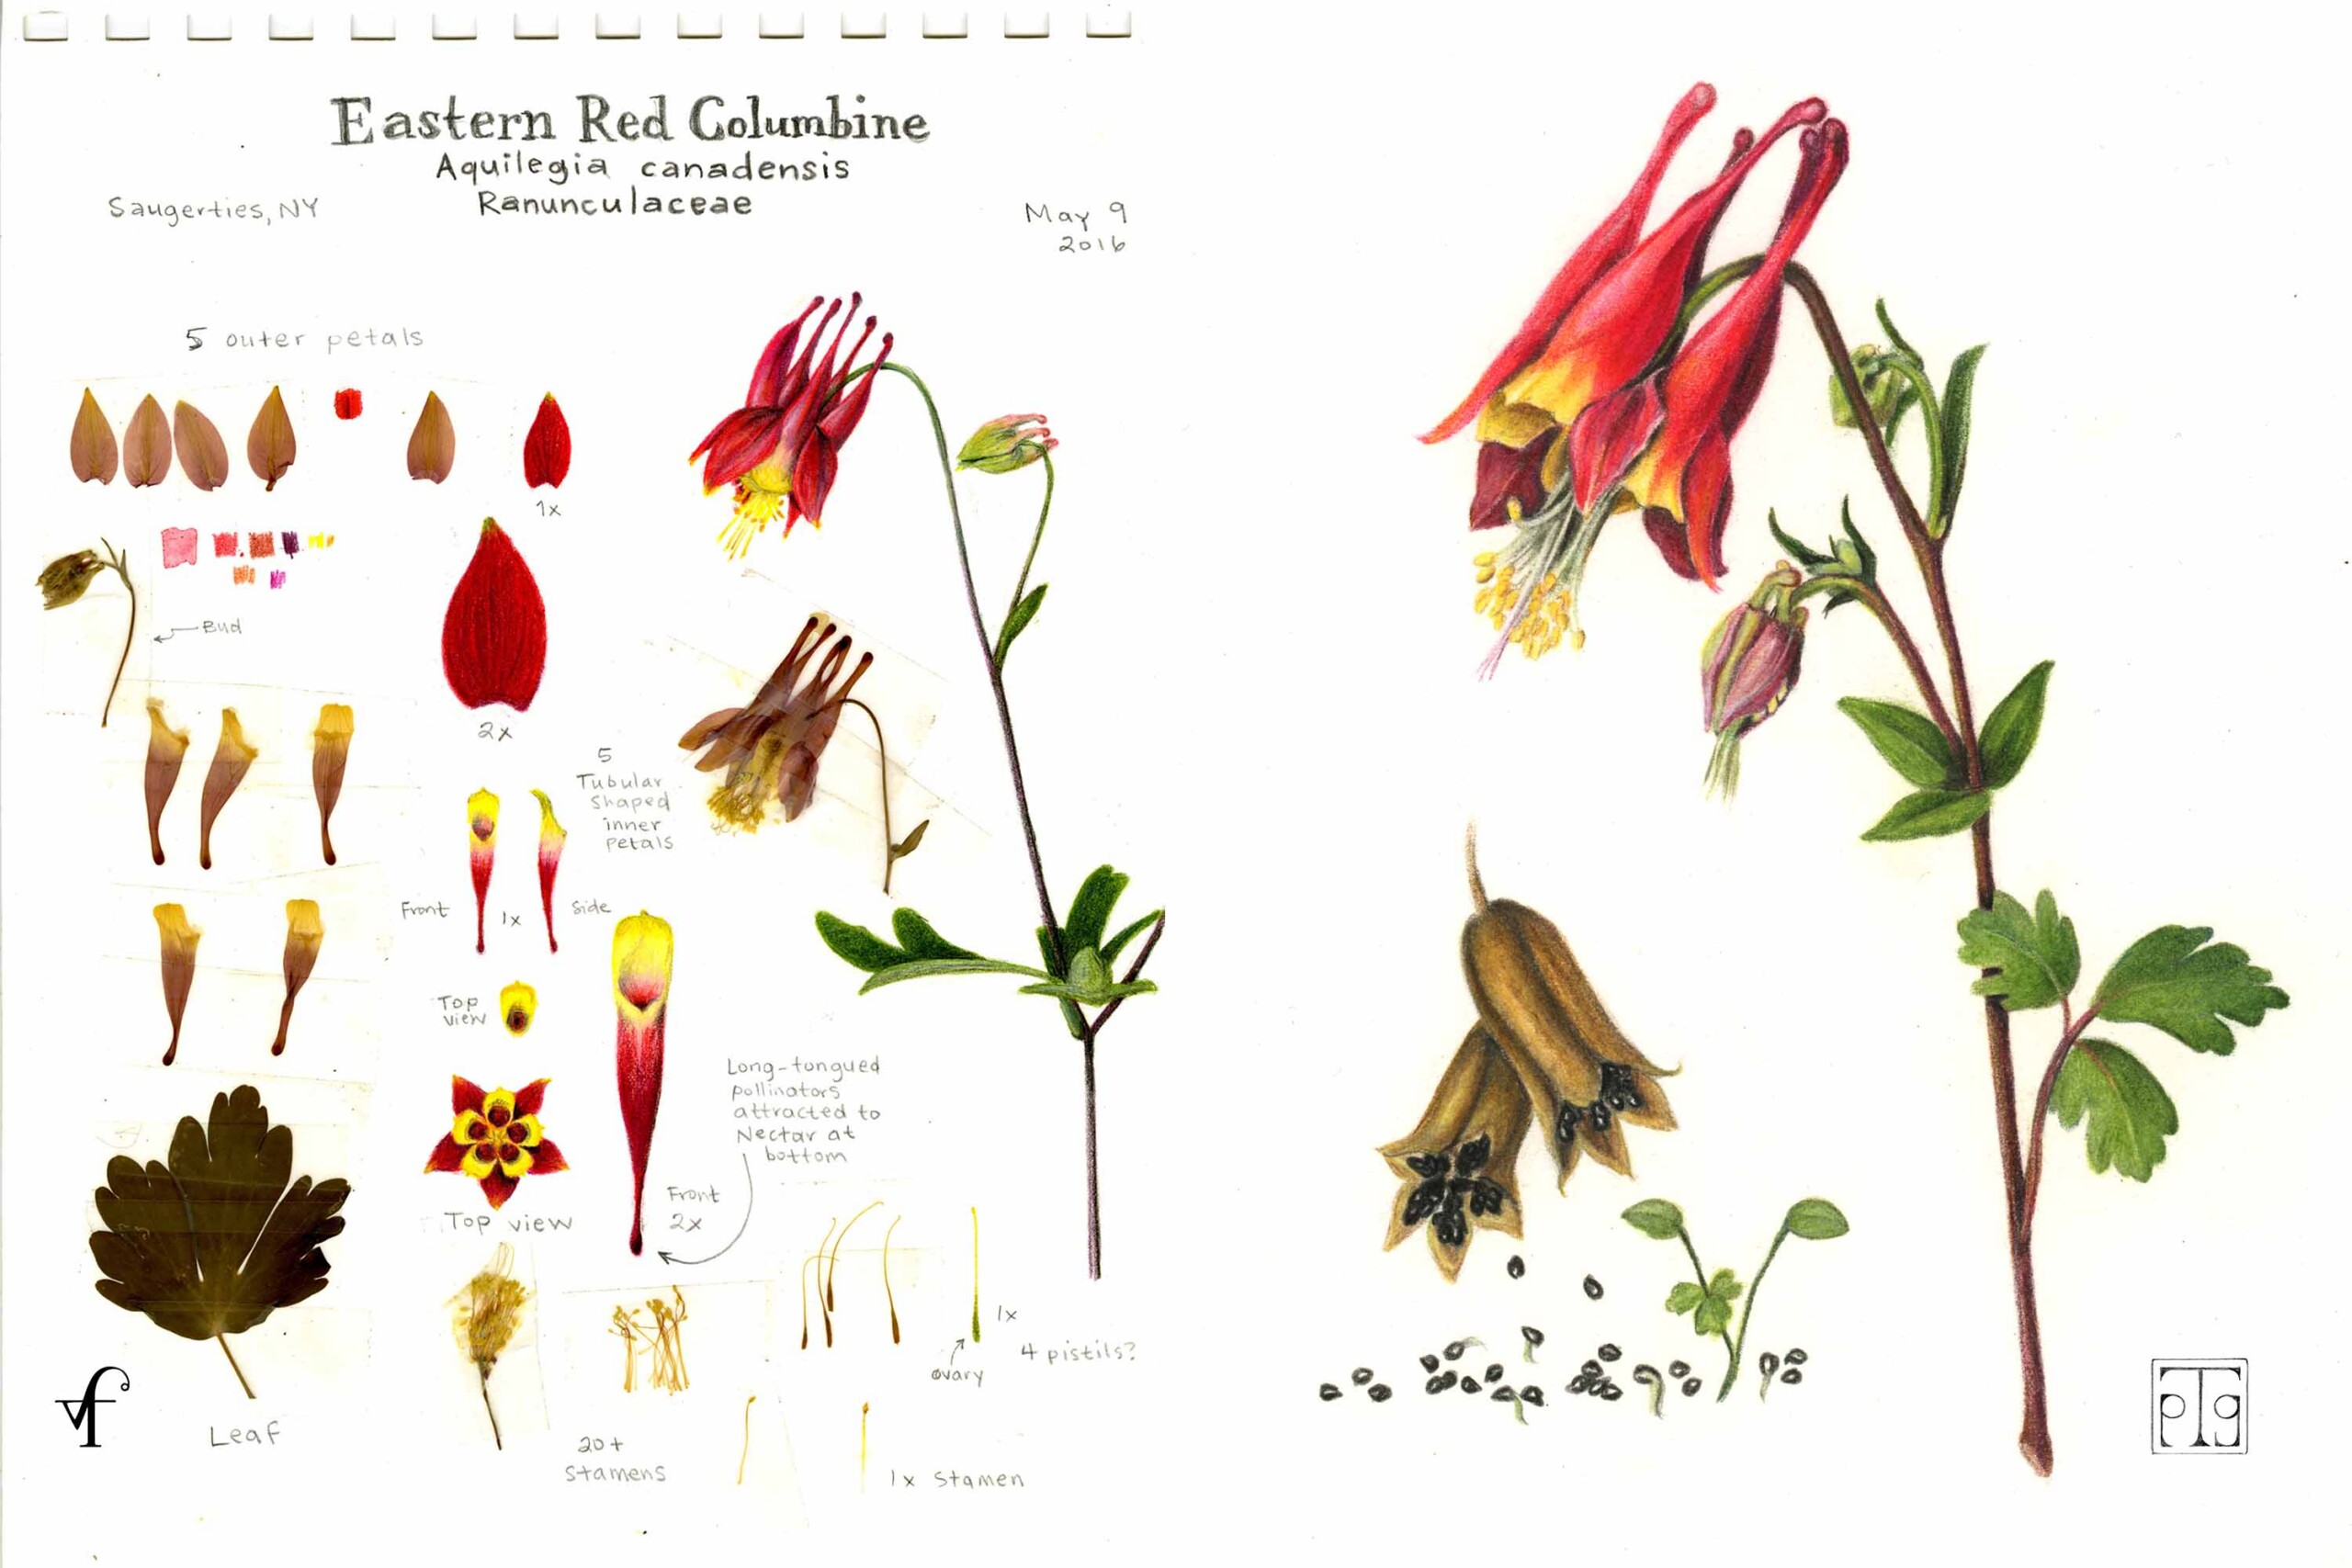
Before (or after!) you embark on your journey of drawing a full flower, don’t miss the experience to spend time drawing individual pieces like:
-A single petal (no color)
-A single petal (with color)
-A single petal from the front and the back
-The center of a flower with details of pistil, stamens, and other reproductive parts (varies by flower)
-Magnify elements to display smaller details
Tip: Keep a study page where you draw and label these elements. This builds your botanical knowledge and confidence in your artistic abilities. Learn more about study pages and herbarium pages here.
🌿 As lovely as it is to finish an aesthetically pleasing nature composition, the truth is that in botanical illustration (and daily life!), the most joyous part is the journey. Befriend plants, nurture that connection, and watch what blooms!

Repetition Builds Clarity
One of the best ways to improve is to draw the same flower multiple times, from different angles, focusing on a different aspect each time: structure, shading, color, and detail.
Tip: Don’t try to complete a “perfect piece.” Instead, make studies—quick, intentional sketches that target one skill.
🌀 Progress comes from practice, sketch by sketch. Each drawing teaches something new.
Here’s a free lesson on how to draw a realistic, three-dimensional rose! Try it again and again, and celebrate your progress. All Draw Botanical lessons are intended to be practiced again and again. Expand each lesson with new and different subjects!
Add Dimension with Light and Shadow
To make your flowers pop off the page, you need to understand where the light hits your subject. Identify your light source and stick to it. Here are some artistic vocabulary words, so we’re speaking the same language.
Tips for shading:
-Start with a light grisaille layer to map your form.
-Apply pressure gradually—start softly and slowly build up tone.
-Use a full range of values (lights, mid-tones, and darks).
-Deepen shadows at overlaps, at the base of petals, and where petals curve away from light.
-Tone continuously so that your values blend seamlessly together.

Defining 3D form with highlights and shadows is like building the theater before the watercolor wash can set the stage for the colored pencil details that will dance across the page. If you get carried away with color matching in the beginning, you can forget about contour and end up with a drawing that falls flat.
✏️When you establish form first, you start off with a strong foundation for a realistic final illustration.
To practice toning, check out these warm up exercises!
Use a Light Watercolor Wash to Set the Stage
If you’re working with watercolor and colored pencil (Draw Botanical’s signature combo), add a light watercolor wash of the flower’s main hue. Be sure to start from the shadows and inch toward the light, but also leave part of your paper white for the main highlights.
Tip: Make sure your watercolor layer is 100% dry before you begin to define form and texture with more layers of colored pencil and watercolor. Find more tips on watercolor techniques here.
🎨 Keep the initial wash transparent and soft. It’s not meant to show detail, just set the overall tone. This gets a bit of color down quickly so you can start to see your flower come to life.

Listen to Nature’s Lessons
We at Draw Botanical believe that nature is the ultimate teacher. When in doubt, look again. Look closer. Look longer. Look deeper. Flowers aren’t perfectly symmetrical, and that’s part of what makes them look alive.
Tip: Embrace slight imperfections in your lines and curves. They often add character and realism.
Learn to Draw at a Live Online Workshop
Register for DANDELIONS – Aug. 2 & 5, 2026
Register for SUNFLOWERS – Aug. 16 & 19, 2026
Want to learn more?
We hope these flower drawing tips help you improve your botanical art! If you’re looking for further instruction on certain types of flowers, check out these RECORDINGS of Zoom Workshops:
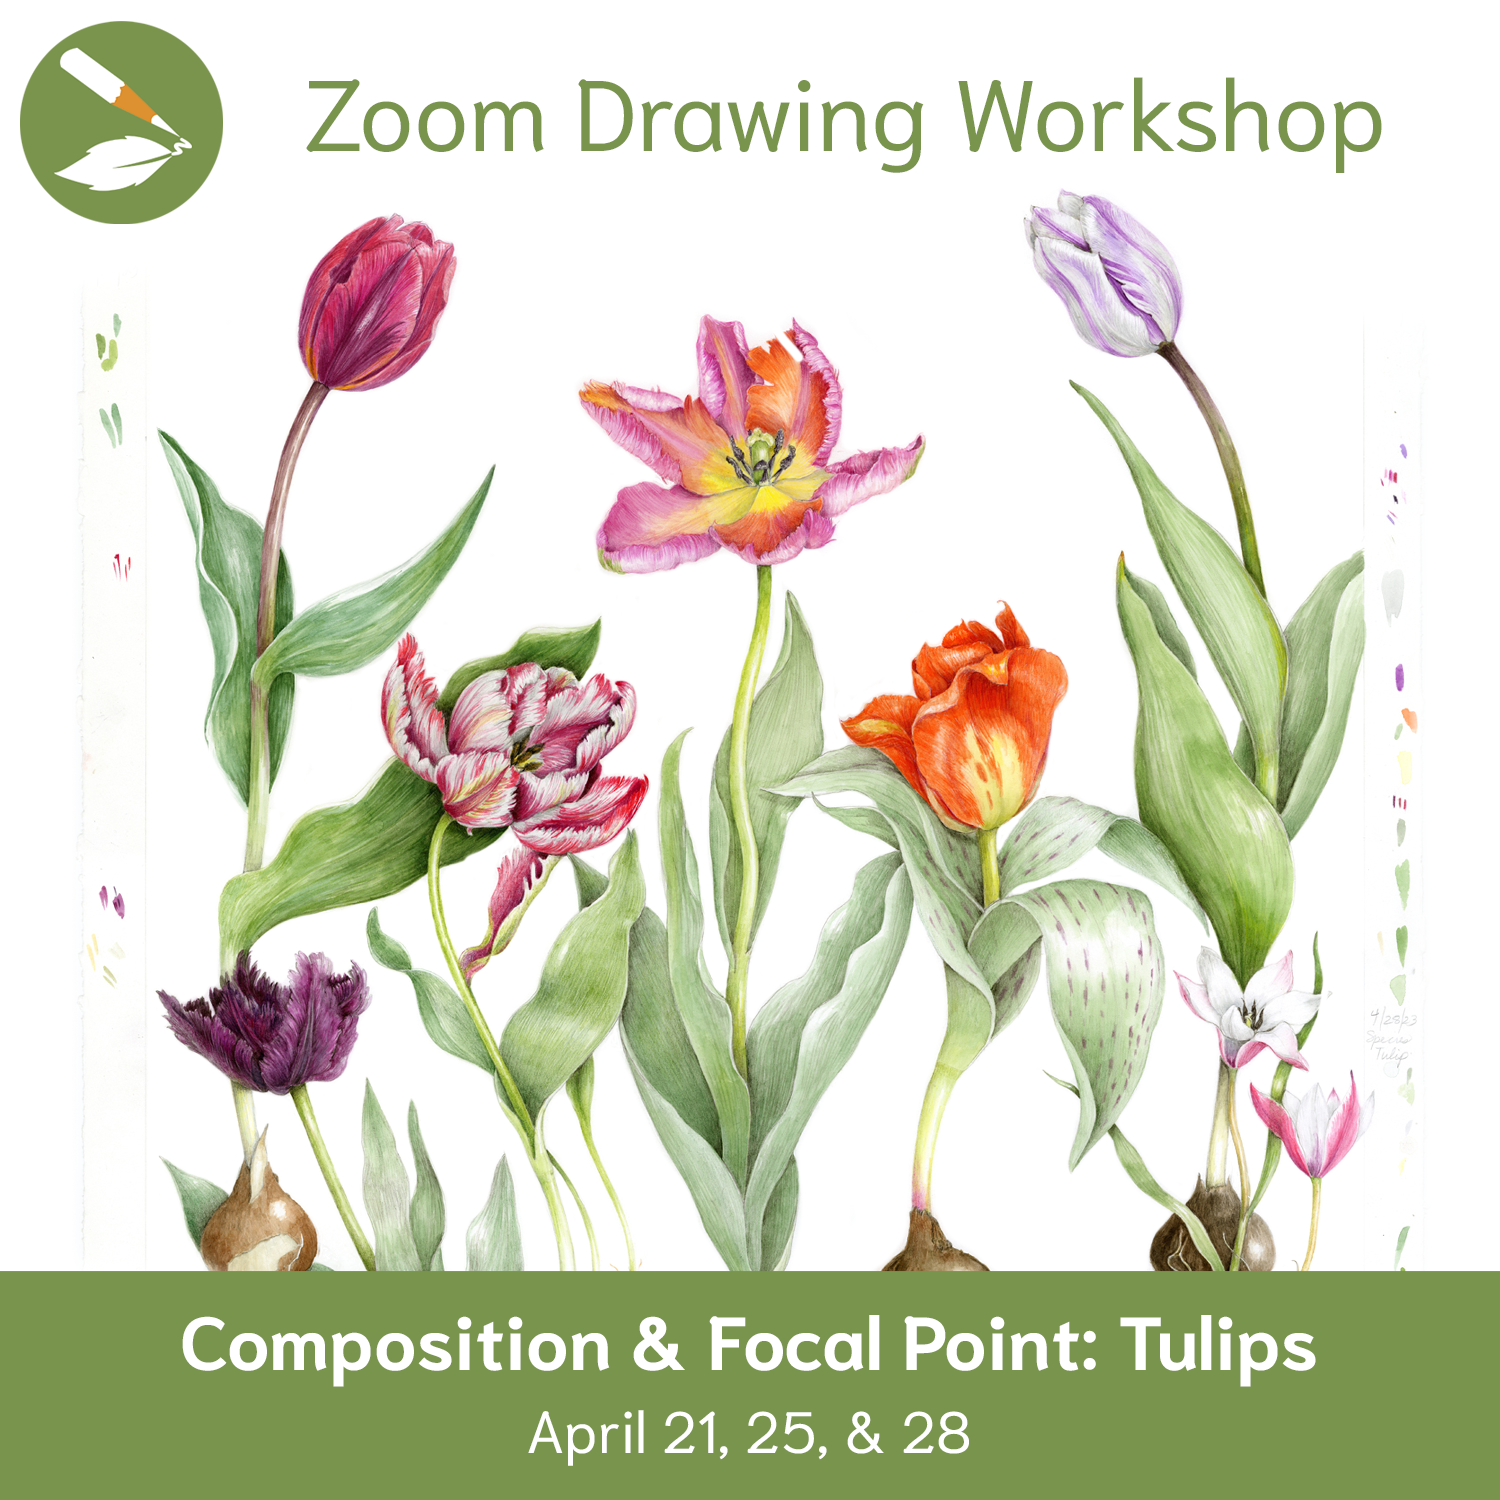
Composition & Focal Point: Tulips
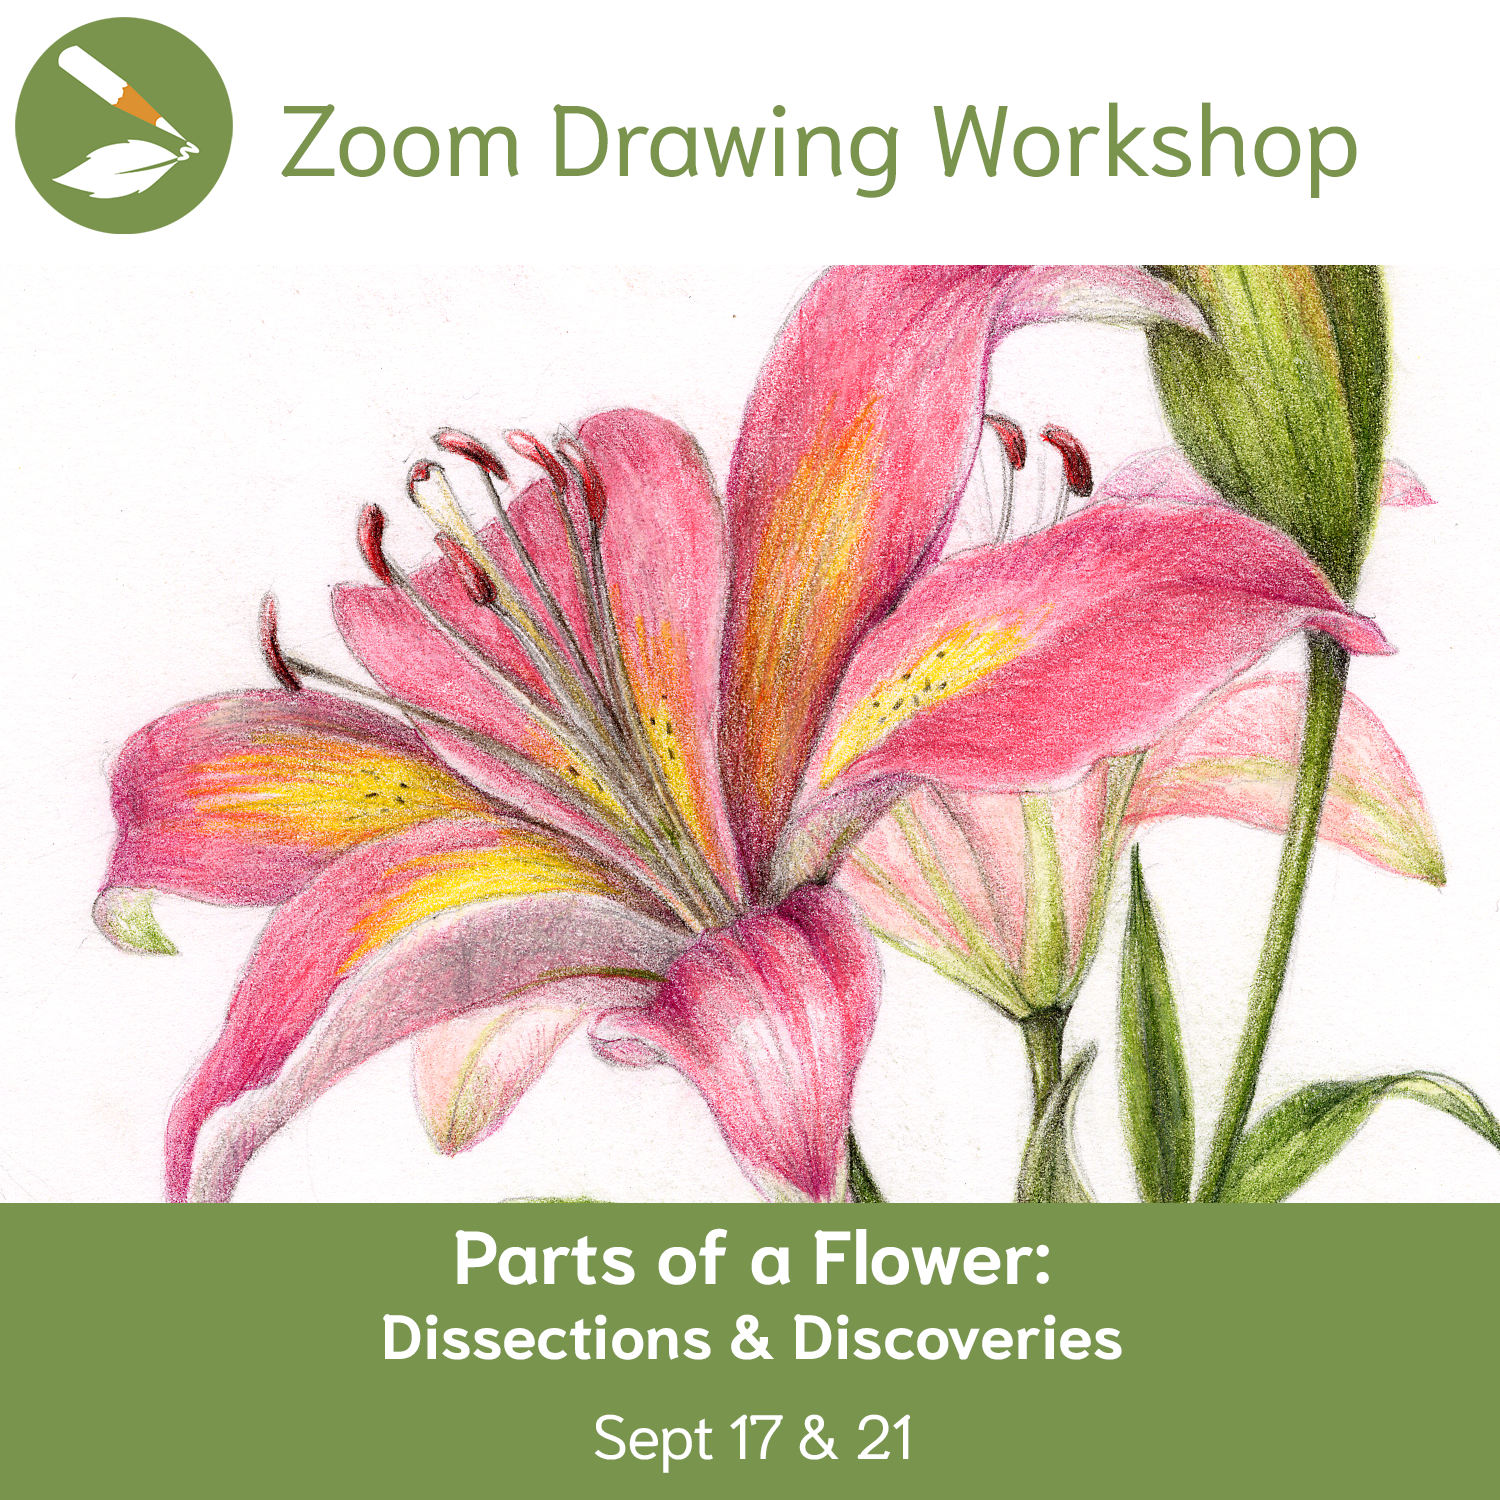
Parts of a Flower: Dissections & Discoveries
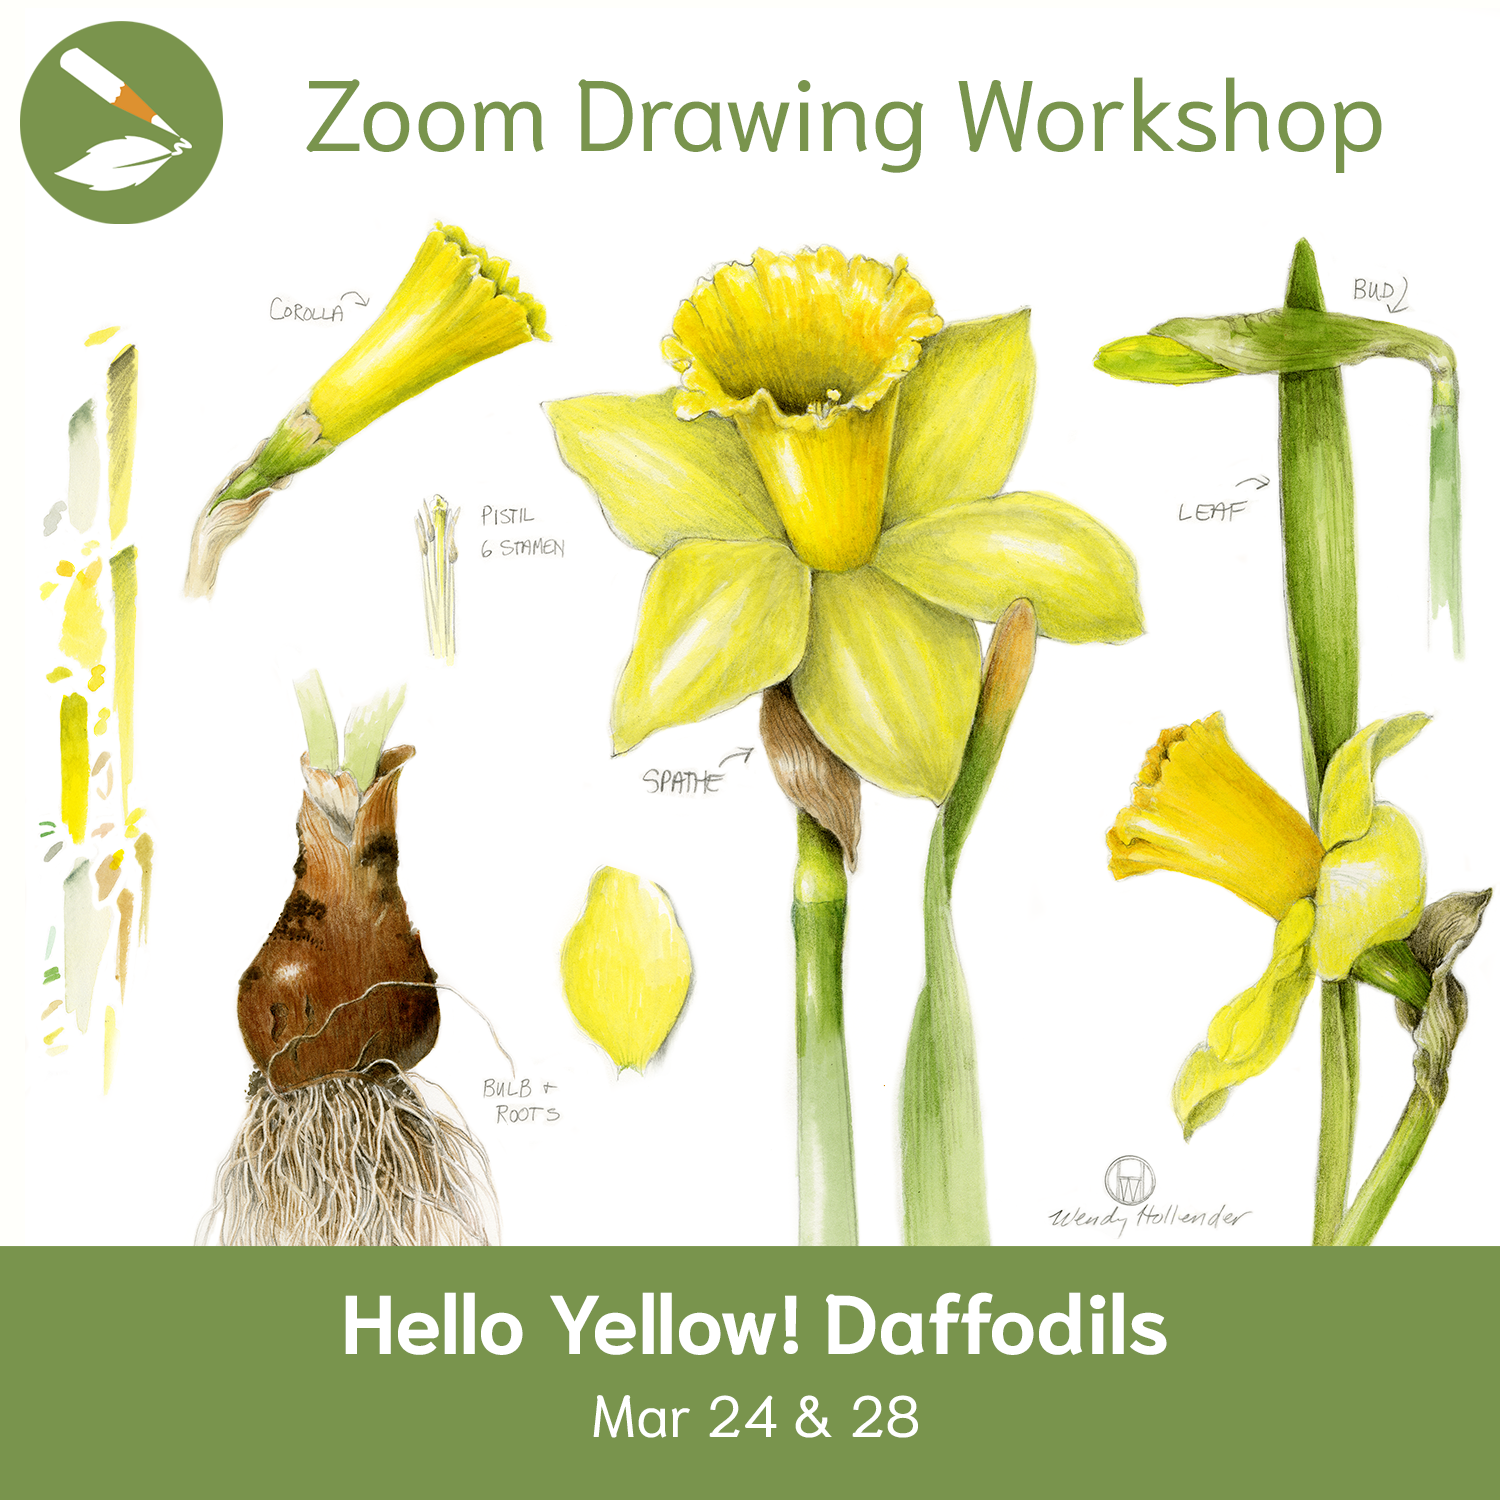
Hello Yellow! Daffodils
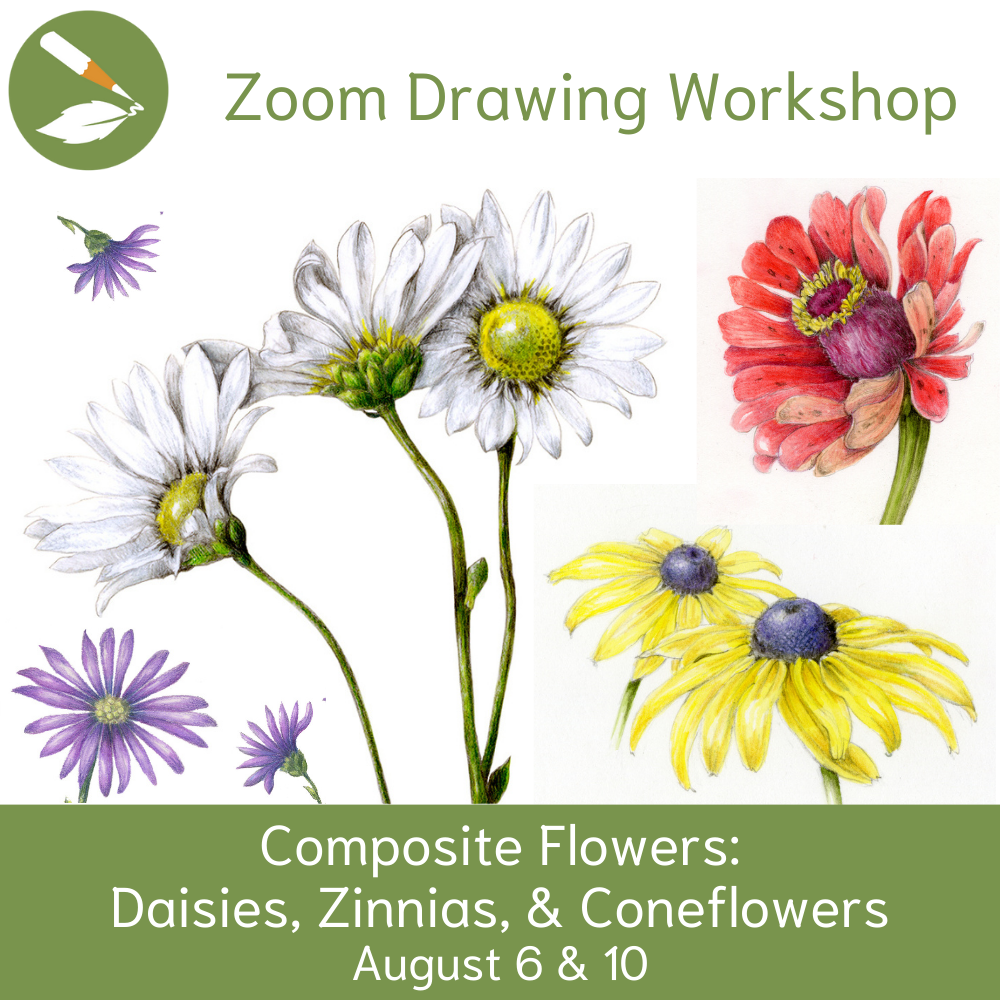
Composite Flowers: Daisies, Zinnias, & Coneflowers

Romantic Roses
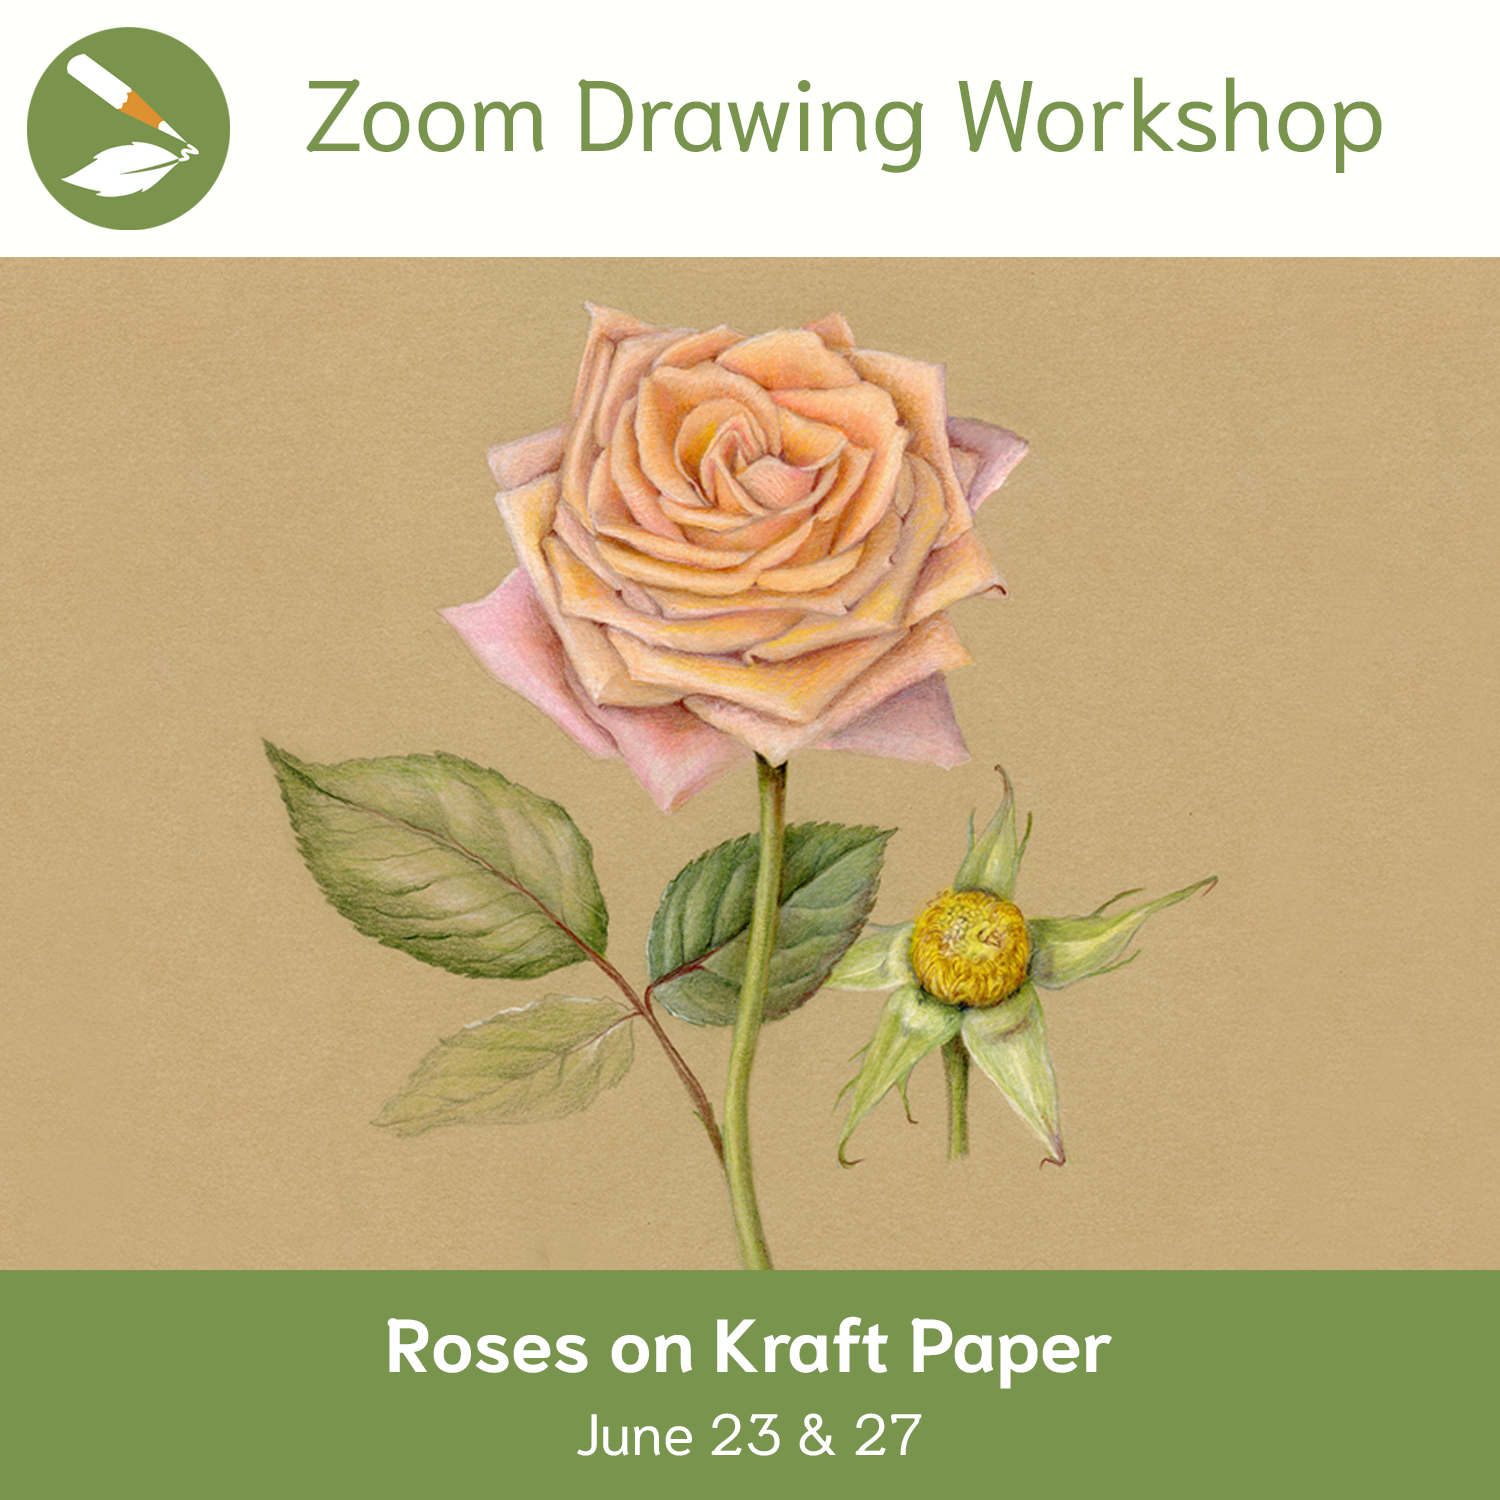
Roses on Kraft Paper

Daisies: White Flowers on White Paper